• About
    • Contact
    • Press
    • Sponsor
  • DIY
    • Home & Garden
    • Jewellery & Accessories
    • Yarn Crafts
  • Sewing
    • patternless & self drafted
    • Refashions
    • Commercial Patterns
    • Sewing Tips
    • Overlockers
  • The Refashioners

Portia Lawrie

DIY, dyeing, how to, refashion, refashioning, shibori, Tutorials

DIY: Bleach Shibori…

11/17/14

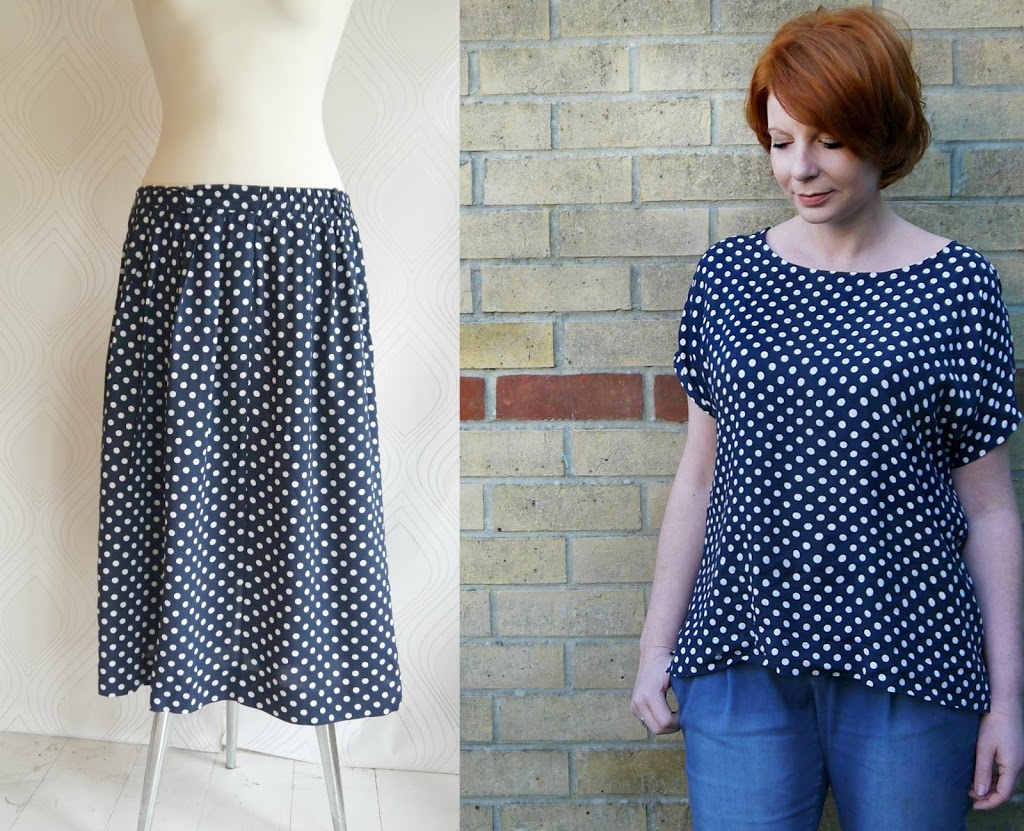
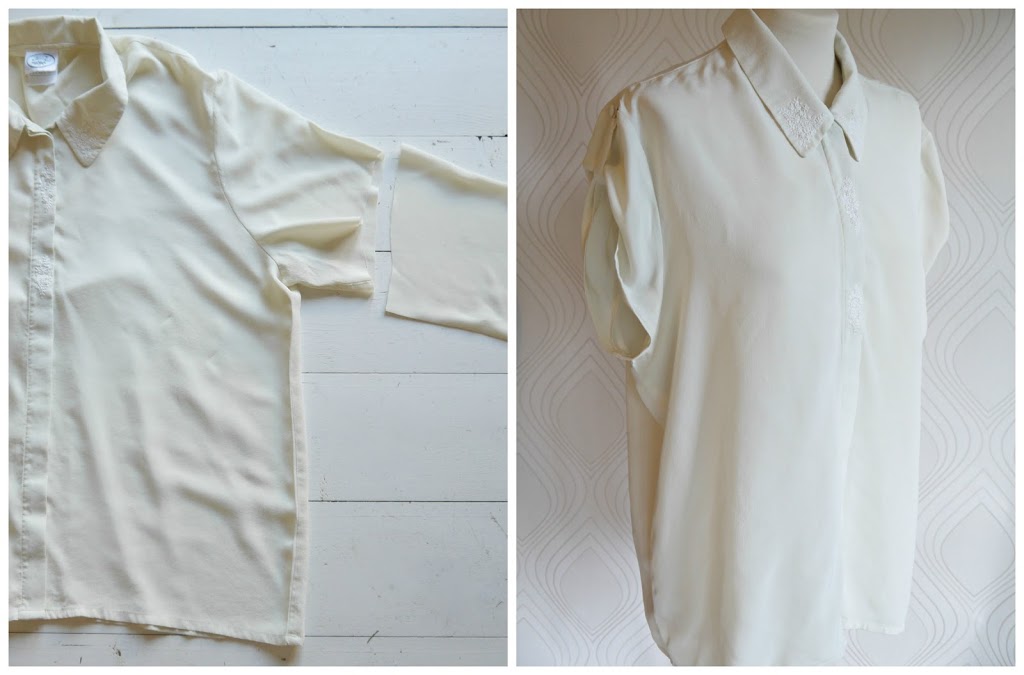
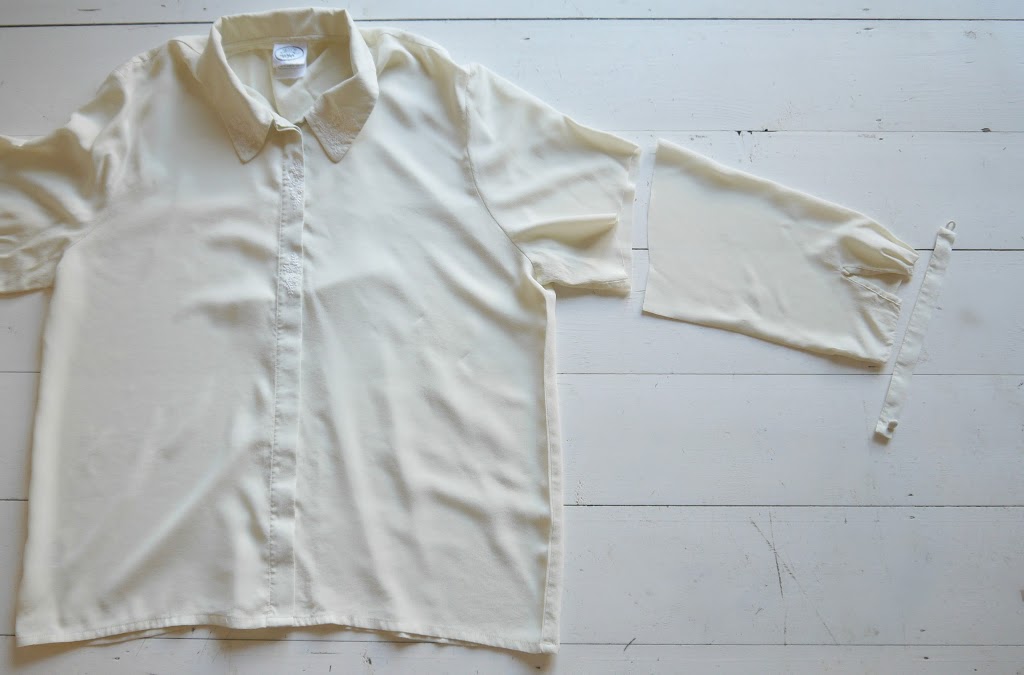
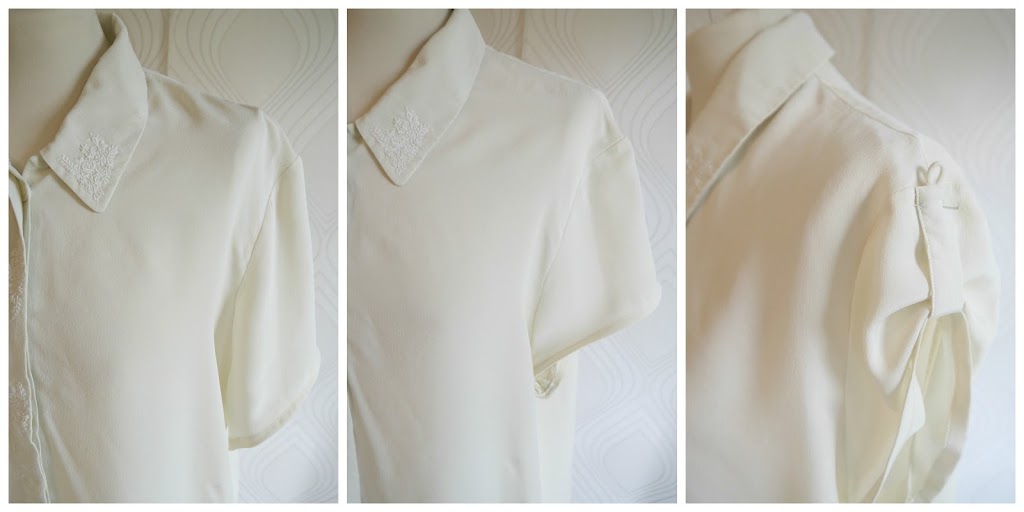
I’ve been wanting to have a dabble with Shibori for a while. I particularly love all the indigo Shibori projects that are popping up all over. But I’m also a fan of using everyday household materials/supplies for creative projects. I guess I just love the idea that if the creative mood strikes, I can just have a rummage in my cupboards and whip something up from what’s there. Rather than having to drive 40mins to my nearest craft store or order supplies online and wait with baited breath for them to arrive. This is one such project. Bleach, string, and a cotton kaftan top I had languishing in my stash, and hey presto….bleach Shibori!

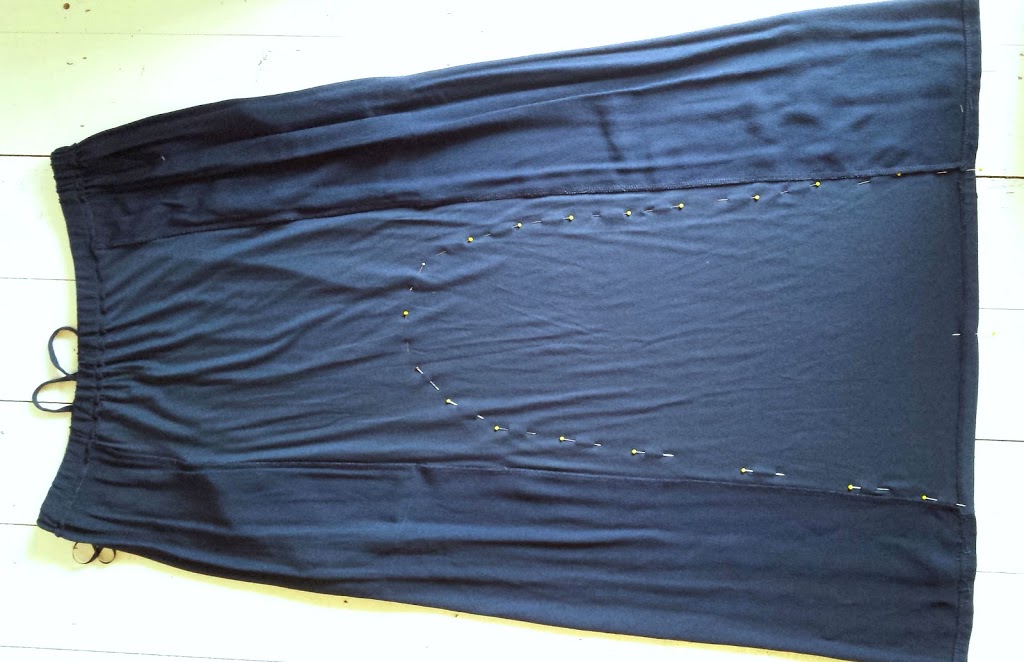
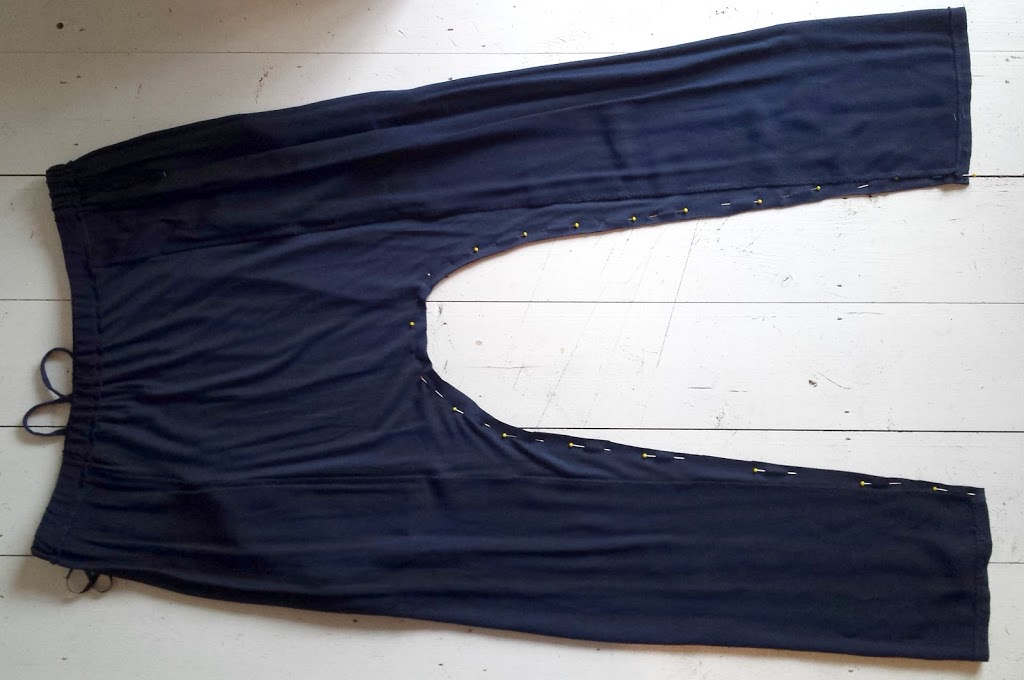
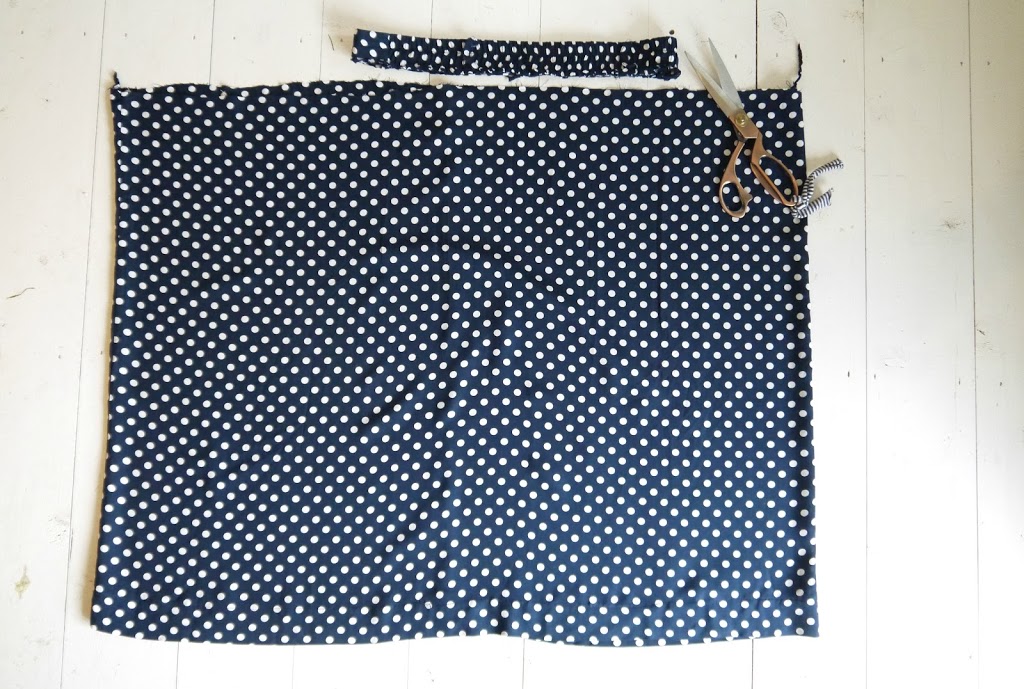
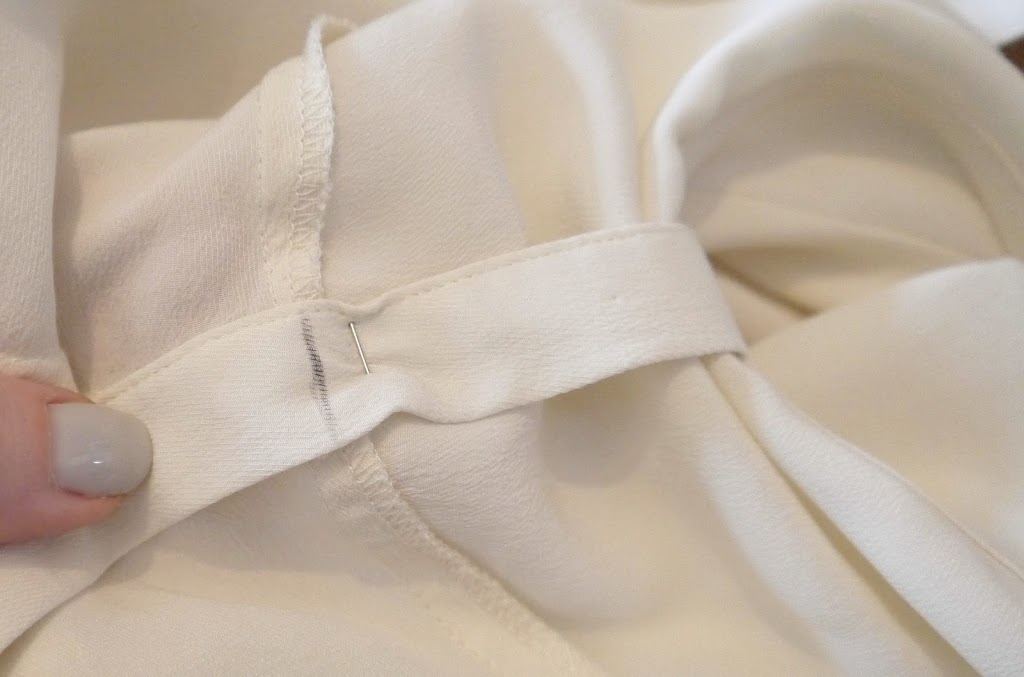
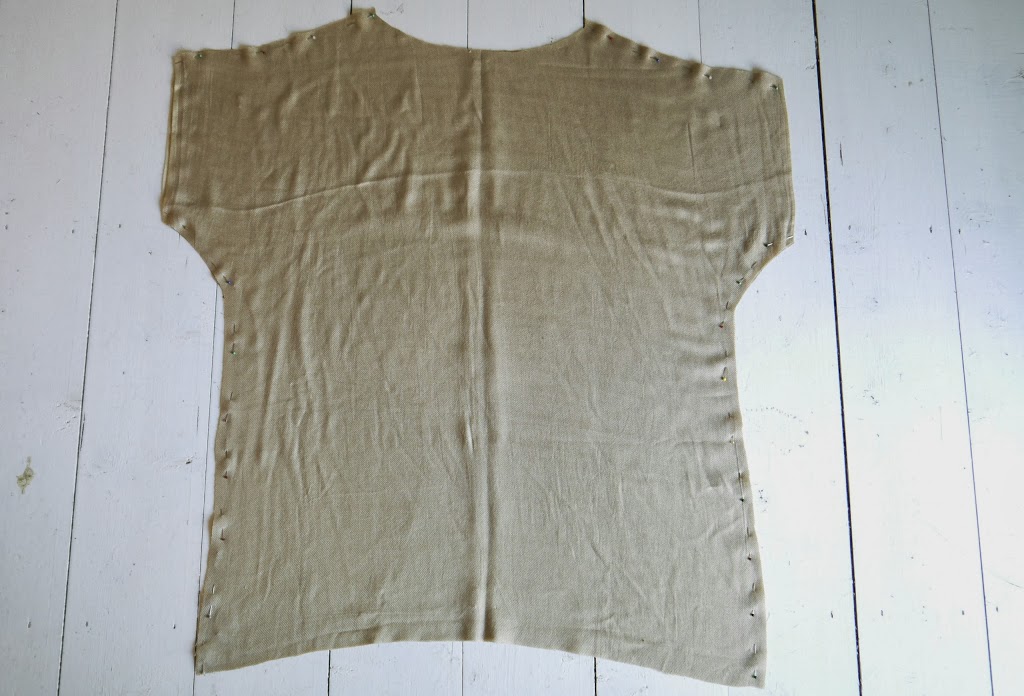
Shibori is a method of dying pattern into cloth (or in these case a kind of reverse dyeing with bleach) through a process of folding, pleating, gathering, and binding. Bleaching works best on natural cellulose fibres as opposed to synthetics, so this cotton kaftan was the perfect subject to experiment with. I started with folding my garment in half, and then pleating it concertina style up from the hem…

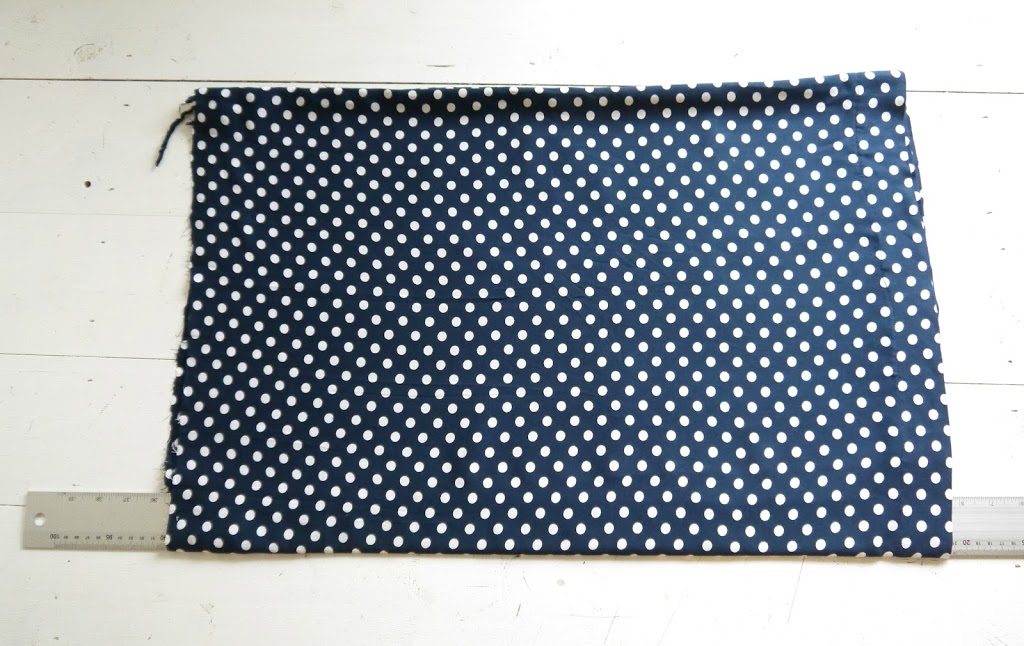
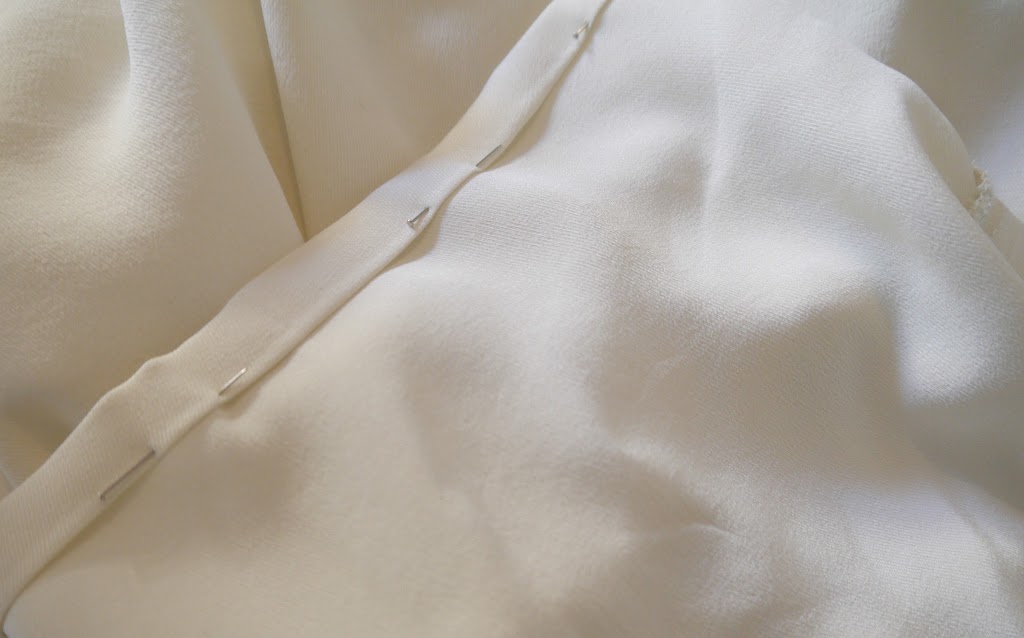
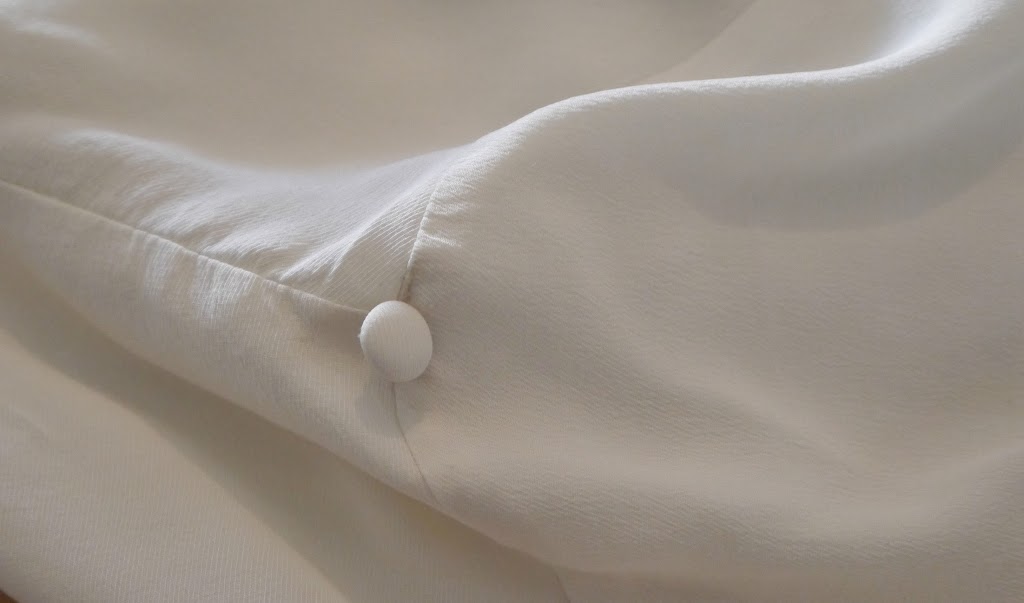
….folded the whole thing in half, and then bound tightly with randomly wrapped string….

Place in bleach solution and weight down with bowls or similar to ensure it’s fully submerged. I used a whole 79p bottle of bleach to about half a sink of water. That’s about as technical as I get! I left it in for just under an hour, checking the colour lift intermittently….

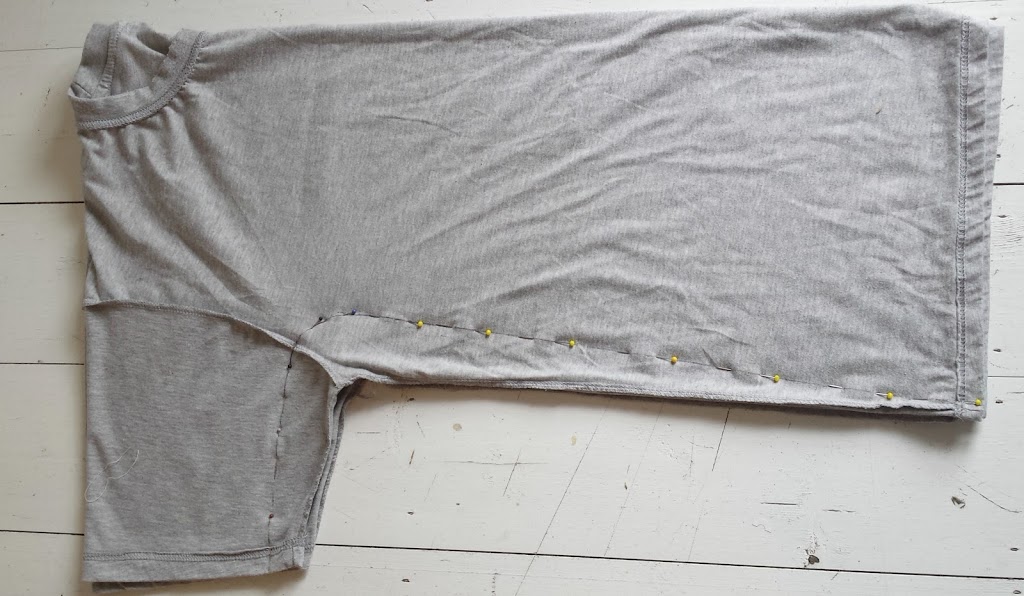
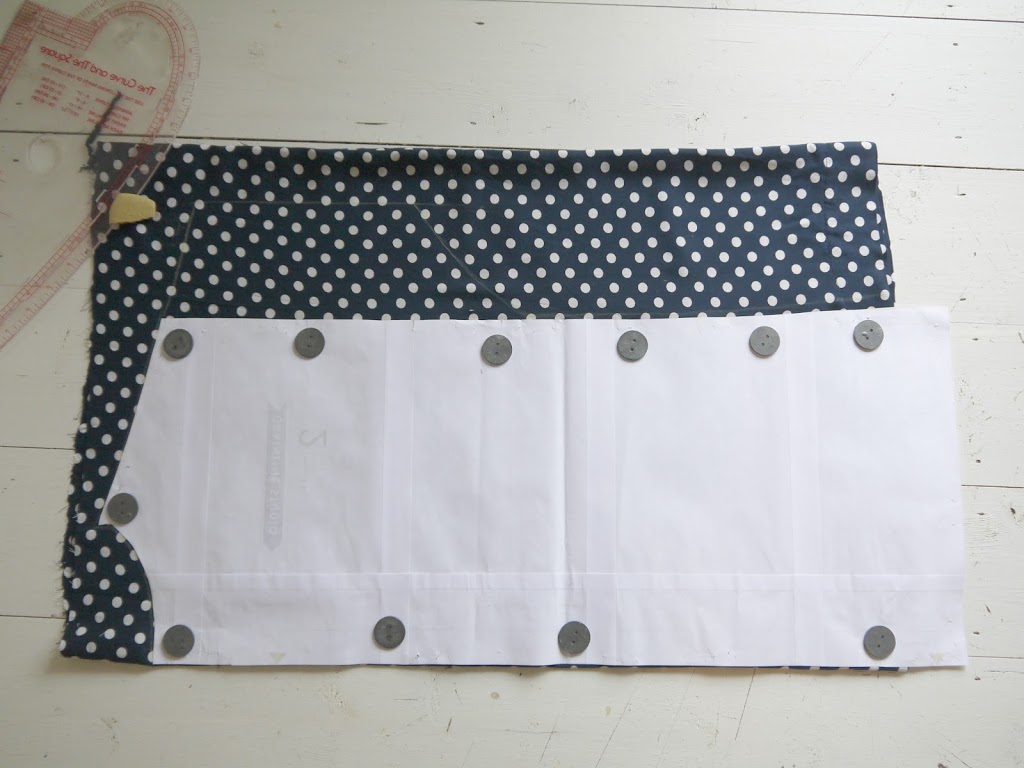
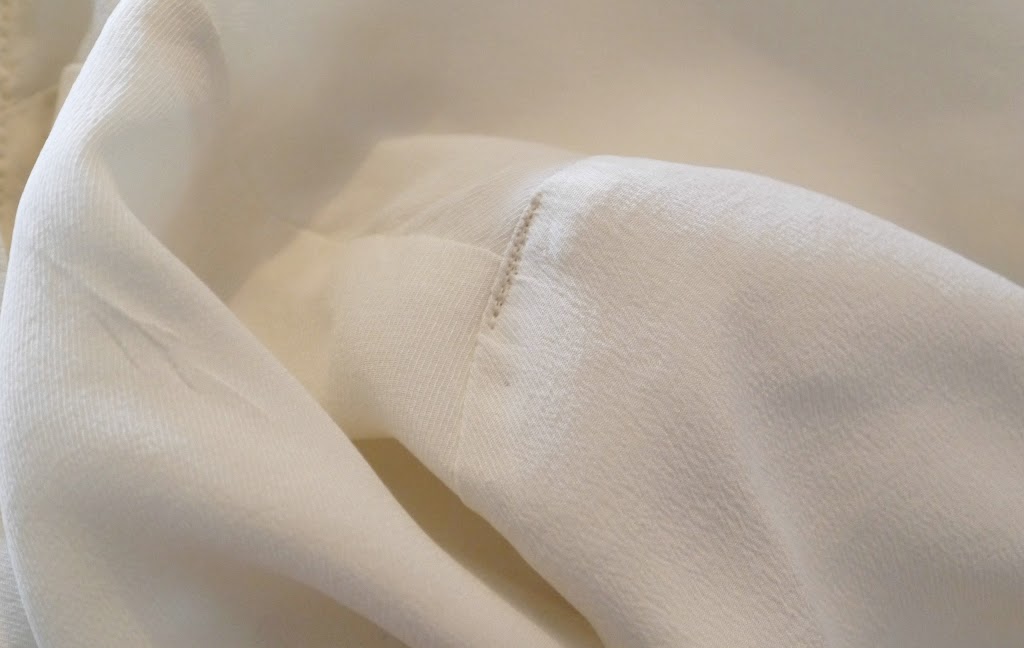
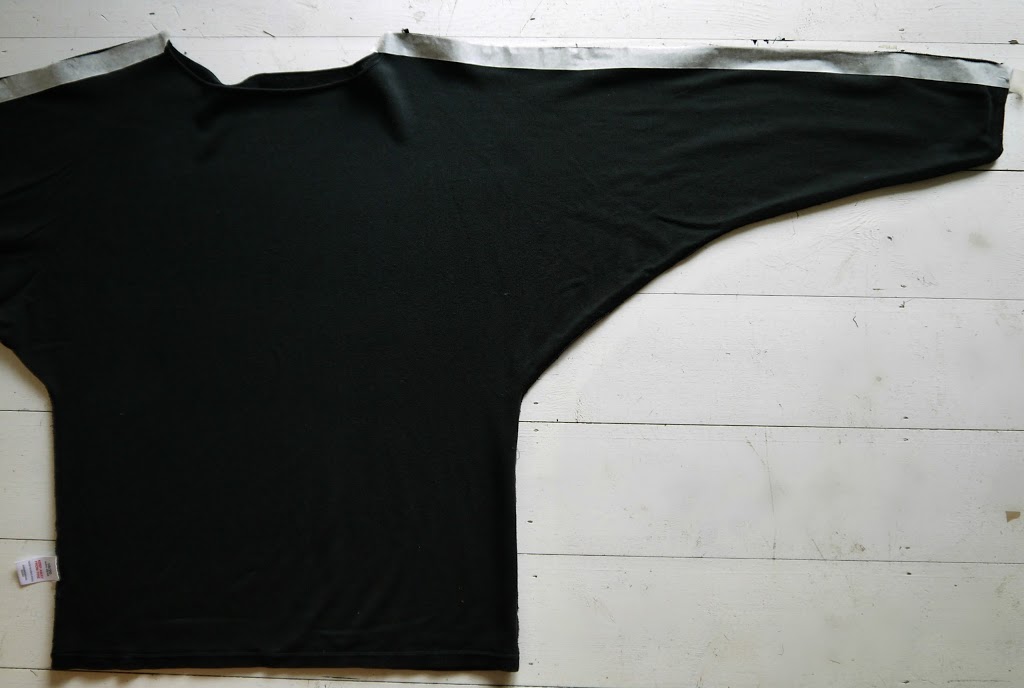
…and this is how it came out after I’d removed the string! (That hole on the left? Managed to that when I cut the fabric along with the string! Duh!)

After that I rinsed and rinsed and rinsed again in cold water, hung to dry and pressed.  (I’ve since discovered that it’s recommended to use a solution to neutralise the bleaching process as it continues even after washing apparently. So just a heads up if you’re planning on replicating this. Google neutralising bleach. It seems a product called bleach stop aka Sodium Thiosulphate is quite popular. But also a solution of hydrogen peroxide in a 1:10 ratio with water will apparently do the same job.)

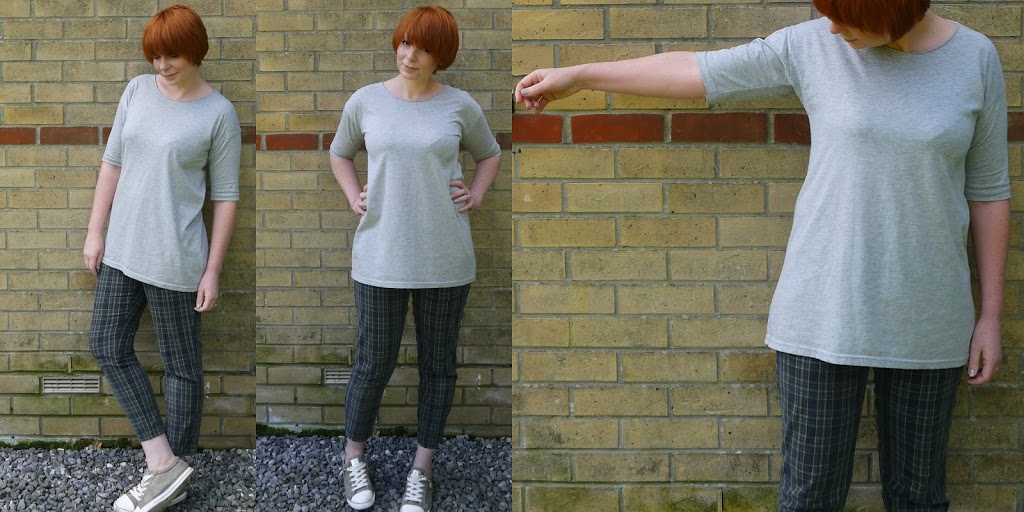
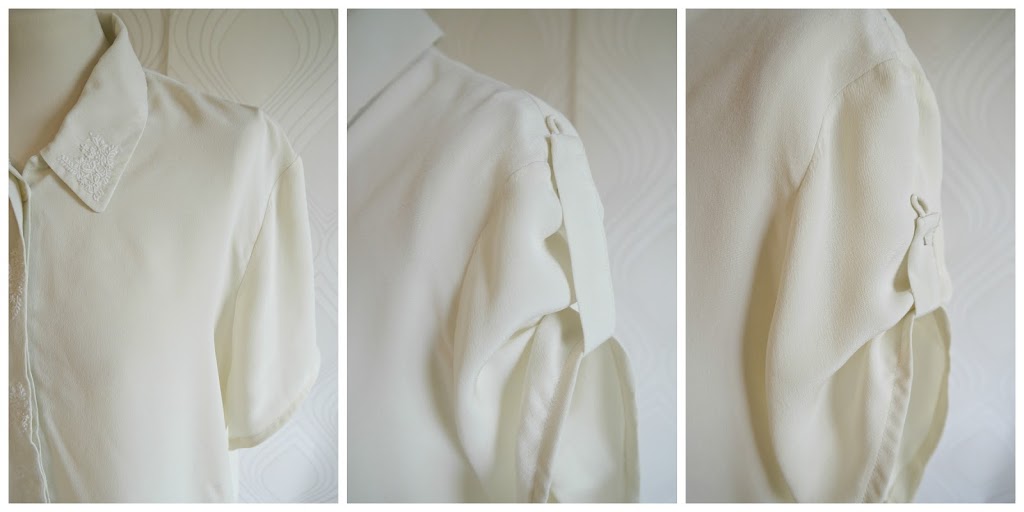
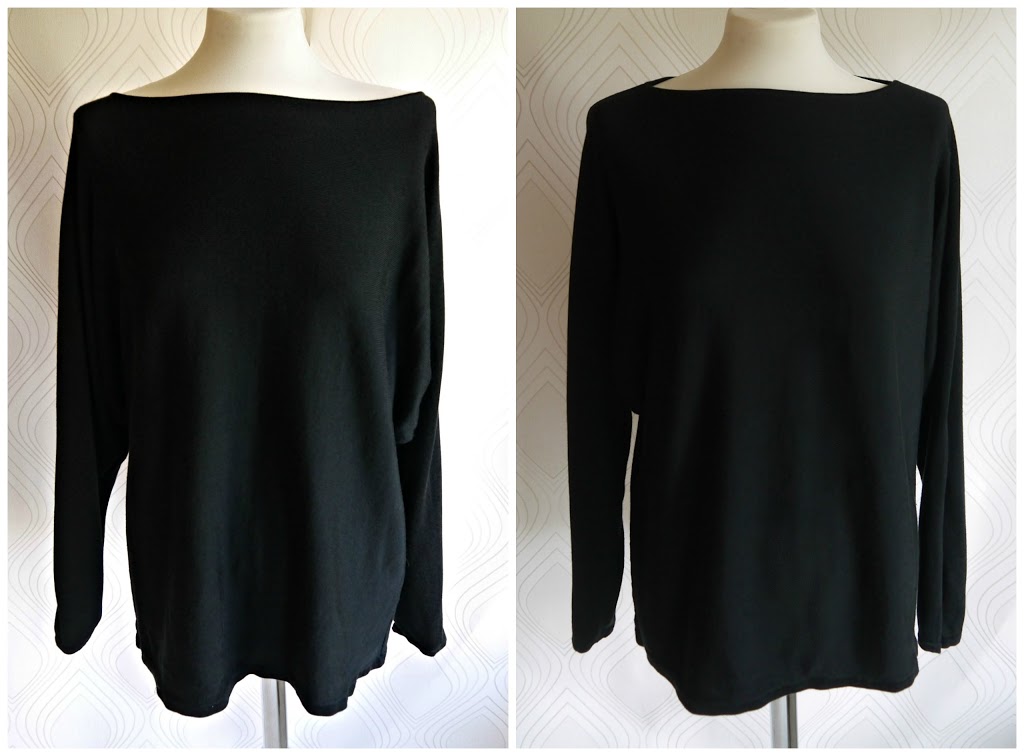
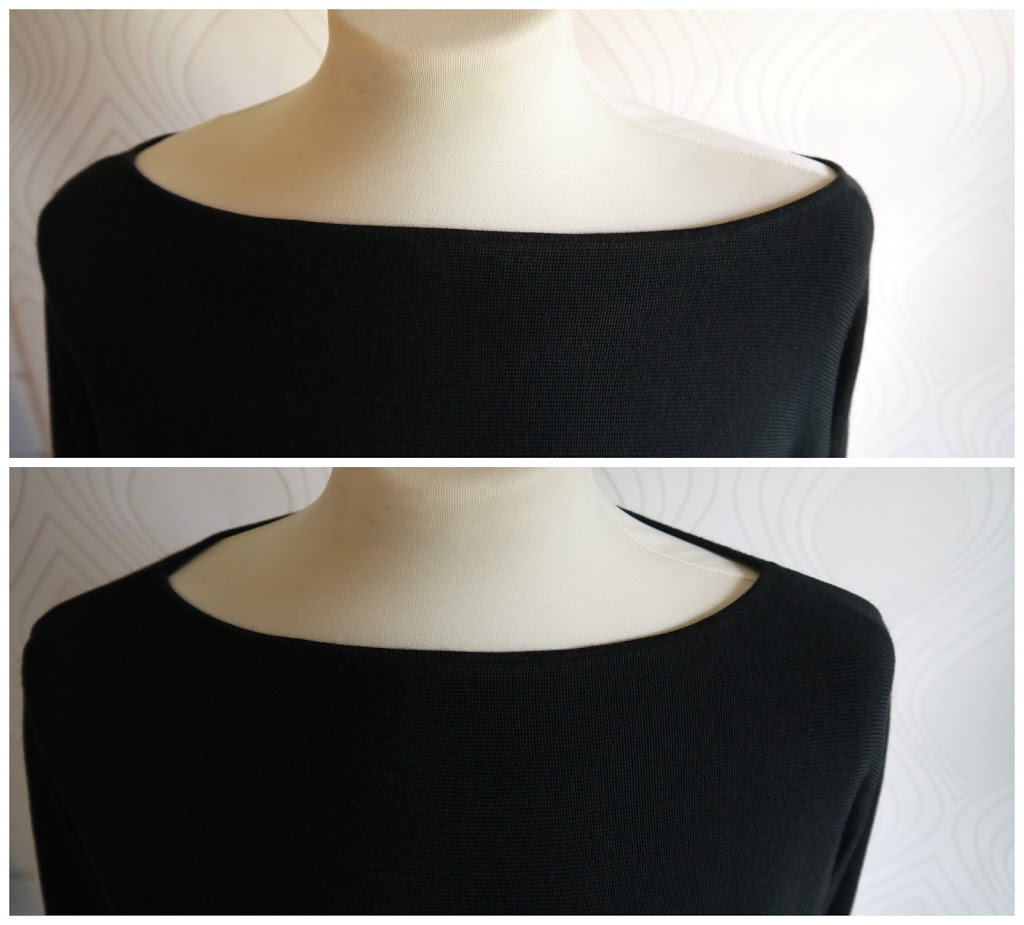
I think this turned out rather cute! I like the way the sleeve edges and hem carry the bulk of the lightening, and the slight “ink blot” effect down the centre that comes from folding the garment in half before bleaching, and I love the effect the string binding has given along the hem in particular, like a forest of sapling trees in silhouette 🙂

I’m already hatching plans for objects to use in more Shibori!

DIY, finished garments, how to, refashion, refashioning, Thrifting, trousers, Tutorials

Refashion: M&S Maxi to Slouchy Harem Pants

09/08/14

Before our house move (and the temporary loss of sewing facilities) a couple of weeks ago I had time to squeeze in a few projects. One was this refashion of a thrifted maxi into some so so comfy (read “worn to death whilst chilling at home”) slouchy harem pants. Difficult to tell from the picture but the skirt comprised of central jersey panels with the side panels made from a kind of textured crepe with utility style slouchy pockets….

You can kinda see the panelling and seaming in this photo

This could not have been simpler really! I marked out new inseams and a curved “dropped crotch” seam with pins…I completely eyeballed this…

Then I cut out the excess leaving a little allowance for serging…

…and…er…serged basically. That was it.

These are sooooo comfy for lounging around in at home, and were lovely to wear dressed up a bit more on an evening out during our trip to Malta, back in August. So much so that I used these as a base to draft a similar pair from scratch. Deets on that coming soon!


refashion, refashioning, Restyles, Thrifting

Refashion: Men’s Tee to 3/4 sleeve Tunic Tee

08/12/14

So….it’s been a little while…and posting on this blog may be erratic for a little while more…however there are changes afoot that should put pay to that and mark my return to a more consistent blogging and sewing/DIY schedule…and that makes me very happy indeed. If you follow me on instagram you’ll have seen a few little references to some of those changes. You’ll also have seen that there is a backlog of makes that have yet to make it onto this blog. Lately it’s been a straight choice between either making OR blogging. My schedule isn’t currently allowing me to do both….and at some points hasn’t allowed me to do either. Well…that’s about to change as I can’t continue with that particular status quo any longer. But in the meantime…back to that backlog of makes…

First up is this quick and dirty tee refashion. Nothing spesh. A simple tee reshaping that takes about 20mins. ALMOST not blogworthy at all, except that I thought it would be a good opportunity to share my little technique for ensuring I adjust both sides of a garment evenly and identically…..

…(and let’s face it, a 20min refashion when your schedule sucks in sewing terms, is absolutely noteworthy!)

The first step is to establish a new stitching line on one side of the  garment. I tend to do this using a combo of pinning, eyeballing and very occasionally, when I’m feeling virtuous…measuring…

Next, fold the tee in half lining up armscyes, underarm and side seams; then pin along the newly marked line through all layers…

Pin through all layers directly on top of the marked line making sure not to angle the pins in any way, so the entry and exit points are completely consistent with the marked line…

Now flip over and there’ll be a line of pins that will mirror exactly, the line that is marked on the other side…

Mark between these pins and you duplicate exactly the line that is on the other side of the garment. Remove the pins, serge along these lines, and hey presto. The garment is reshaped identically on both sides!

I use this method on jeans and trousers that I want to reshape too. A quick and easy way to ensure that adjustments are even on both sides of any garment!


Dressmaking, hemlock tee, refashioning, Sewing, Thrifting

Refashion: Polka Dot skirt to Tee

04/21/14

Simple gathered skirts are a great source of fabric for refashioning…

Once you remove the waistband lay the fabric flat, just look how much there is to play with…essentially a very wide tube of fabric…

To create this top I simply folded the tube in half…

When I have a slippery fabric like this (a very light drapey polycotton) I sometimes find it tricky to get a double fold. The under layer will slip and slide and flop about. To overcome this I fold over my metre rule which acts to butt the underneath fold right up against the outer fold. Then I gently slide the metre rule out again and place my pattern pretty sharpish, before the fold slips again!

I used the hemlock tee as a base pattern…

and extended the shoulder line to create a grown on sleeve. Exactly as I did here….and here…

cut out….

Pinned…

and sewed along the shoulder and side seams…

I hemmed the sleeves, bias faced the neckline and the hem is original to the skirt (so no sewing required there). I incorporated a couple of side slits in the hem for comfort and ease and I was done 🙂

Even though I’m not a skirt wearer, I’ll always check out the skirt rail in a charity shop. Look for simple skirts gathered into a simple waistband, in a fabric and print you love, and turn it into a cool and comfortable summer top 🙂


DIY, how to, refashioning, Thrifting, Tutorials

Refashion: Oversize to Tank Tee

03/19/14

This little tank has already become one of my “go to” little numbers. Layered under a cardi for now of course but I know this is going to be in heavy rotation in the summer too. It’s a shape I feel really comfy in and is so easy to refashion from an oversize tee….

Here’s the obligatory before & after! See how much more flattering it is without the sleeves and with a bit more fitting around the “boobettes”?! (I’m not usually one to intentionally direct someone’s gaze to my boobettes, but there’s a point I’m trying to illustrate and, well, I feel I’ve known you long enough now not to be prissy about it!)…

The key to this is finding a tee with a drop shoulder seam like this. (Essentially where the shoulder seam extends past the shoulder. The sleeve part will have a super shallow, almost non existent sleeve head because there is practically no armhole curve). Then remove the sleeve by cutting it away very close the the shoulder seam line…the “old” shoulder seam, will become the new sleeve hem…

You can see how shallow the armhole curve is below. With the sleeves removed, the armholes are way to big for the look I was aiming for. See where the yellow pin is in the first pic? Well in reality I ended up 2 stripes above that! But essentially, try it on in front of a mirror, and pinch closed the armhole until the armhole fits you comfortably and resembles a cap/kimono shape, as opposed to a big flappy gaping armhole! Mark that point with a pin. Then sew from that point down & blend your line of stitching down into the side seam. Trim away the excess…

You should have the original overlocking from the shoulder seam still attached. Turn under and stitch down…

As a finishing touch, I cut away the neckline ribbing….

I really love this little tee. The original garment cost me £1 from the local charity shop and is a really good quality jersey. I think it was one of those “yachty” sailing type brands. In any case, this took about 30 minutes. So in an afternoon, with a stash of thrifted T shirts, you could have a whole array of new summer tank tees for a few quid!
Nice huh?!

finished garments, grainline, hemlock tee, knits, overlockers, refashioning

FO: Sheer Knit Hemlock Tee Variation…

02/22/14

I recently whipped up this variation on Grainline’s Hemlock Tee. It’s made using a sheer knit fabric (hence I also had to whip up the vest top underneath!) that I bought from Minerva crafts at £4.99/m available here. I bought the ivory, which as you can see is much more white in reality. I used the exact same process on this make as I used for this pashmina refashion if you want more step by step deets….;)

Thinking I might whip up a few vest tops in different colours to layer underneath. (In fact if Minerva had this type of fabric in a range of colours  I’d probably make more of these too) I kinda hashed this vest top a bit. It hardly qualifies as self drafted as I literally laid a vest top I already had straight onto the jersey fabric, cut around it, and then whizzed it through the overlocker. Not my finest hour, lol!  Can any of you recommend a simple vest pattern??

Oh,and I had a couple of emails asking to see what my recently refashioned coat actually looked like on…and being the obedient gal that I am…

My best friend, who is extremely honest (which I love about her 😉  said that when she had seen my recent post about this coat, she thought it looked a bit “granny’ish” on the mannequin; but that actually it looked better on. I’m still not sure whether that meant that she approved overall. But I’m happy to settle for “granny chic”….

DIY, how to, refashioning, Restyles, Tutorials

Refashioned Winter Coat…

02/01/14

Regular readers will know that progress on my Andy coat was stalled by a number of factors. In the midst of winter no less. Which left me with a bit of a warm coat dilemma. Since I couldn’t finish my Andy coat in time for the onset of winter, and neither did I want to fork out for a brand new coat when I had one “in the works”…I looked at my refashioning options. Since my sewing machine was not working, this refashion was done entirely by hand.. Over the course of a few cold winter evenings, I cosied up in front of the telly with a seam ripper and a needle and thread….

This coat was a bargain from TK Maxx last winter. I negotiated them down to £35 because a load of buttons were missing. (Which was easily remedied when I got it home with a few oversized vintage buttons from my stash). I loved the fabric, pattern and colour mix, heck I even liked the style of the coat. But it was a bit of a rushed purchase. I was in a hurry and didn’t take the time to consider the overall proportions. Just the size. It soon became apparent that the proportions just didn’t work on me. The whole thing seemed to swamp me. The huge collar made my head look tiny and I found it a bit claustraphobic and annoying. It never seemed to sit right, and the sleeves and hem were a touch too long for it to look properly fitted on my frame. So I removed the collar and took the sleeves and hem up by a couple of inches….

Amazing what a few simple alterations can make, no? This coat feels much more “me” now. Simpler lines and better proportions. I included the middle photo to show how the coat looked with just the collar removed. A vast improvement in itself. But by shortening the sleeves and hem after that, well, it just looks so much better don’t you think?

As I said, I started by seam ripping out the collar. Chunky scarves and cowls sit so much more comfortably over the simple rounded neckline than they did with that huge collar…

The original collar was sandwiched between the shell and the facing. I simply slip stitched between the two layers to hold them together once I’d removed the collar. The shot on the right is a “before”. It sits much flatter than that now it’s stitched together….

The next stage was shortening the sleeves and hem. I’m raising the hem by 2″ here. I used a seam gauge to measure and thread mark a line all the way around. (Important to note that the thread passes through JUST the outer shell and not the lining….) This thread line marks where the new fold line will be…

Also worth noting that accuracy is important on the kick pleat opening at the back if they are to meet as accurately after I’m finished as they did before….

Same process on the sleeve hems. Raising these by 2″ too….

The next few stages apply to the sleeves and hem. For simplicitiy I’m just showing the sleeves from here on out.

Unpick the lining and peel it back out of the way. Before doing anything, note the construction of the original cuff. You can see mine has a 2″ band of interfacing extending from the cut edge to about 1/4″ past the original fold line. The distance between the cut edge and the original fold line is approx 1 3/4″…

Therefore, I cut away the excess to leave 1 3/4″ between my the cut edge and my NEW fold line….

…and added a 2″ band of interfacing that extends 1/4″ past the NEW fold line. Just replicating what was originally there, but further up the sleeve. The interfacing is important on the fold line. It’s an area that will see alot of rubbing and friction and render the fabric susceptible to wear and fraying…

Fold the new hem over so that the thread line sits exactly on top of the fold….

Pin in place, then handstitch carefully. I used a herringbone stitch which allows for a little bit of movement…

After that, simply roll the lining back down and hand stitch back in place about 1/4 above the new fold line. I used a herringbone stitch for that too. I guess I just like me a herringbone stitch! On thicker fabrics you may want to steam and “bash” the fold line to get a really crisp edge. It wasn’t necessary on this particular fabric

This coat was languishing on a coat hook. I just didn’t feel comfortable in it. Now it’s much more simple, unfussy and better proportioned, I haven’t stopped wearing it since….

What’s more, it’s reminded me how satisfying and therapeutic hand sewing can be.
I also can’t help but think, I’ve subconsciously refashioned me a coat that’s spookily similar to the one I’m making from scratch…..is it just me?

Oh, and yes! In answer to your comments (and compliments, thankyou!) about my hair in the last post, yep. Another haircut. I’ve finally given in to my hair’s natural wave after years of fighting it with GHD’s. Takes me 5 mins to dry it now instead of up to 30mins of faffing.  Joyous!


DIY, how to, Laura Ashley, refashioning, Restyles, silk, Thrifting, Tips and Tricks, Tutorials, vintage

DIY: Refashioned Vintage Laura Ashley Silk Shirt….

10/22/13

I come across shirts all the time on my thrifting escapades. I do love me a shirt, but long sleeves are a no no for me; and standard short sleeves I find a little bit “meh”. This particular shirt has been in my stash for….ahem….2 years…ish! It’s a vintage silk Laura Ashley number and whilst I loved the fabric and the gorgeous embroidery on the collar and placket, the sleeves were way too blousy. A real throwback from the 80’s/90’s when blousy silk shirts were kind of a “thing”. I’ve had this idea in my head for about a year and this week I finally got around to testing it out…..

So essentially, this is the shirt as it was. You can see that I have cut the sleeves to a short length. I also harvested the narrow cuff which had a covered button and rouleau loop fastening. That will come into play shortly…

I began by hemming my newly shortened sleeves…

Then I played with the placement of the harvested cuff piece, using it as a sleeve tab to ruche the sleeve…

I decided that the sleeve needed to be shorter and in the end went for a slightly more cap sleeve length. My sleeve tab piece is pinned to the underside of the shoulder seam. I then played a bit with the length of the tab and the position of the button loop on the outside until I came up with an arrangement I liked….

On the underside of the garment, I marked where my sleeve tab lined up with my shoulder seam…

I then removed any excess of the sleeve tab/former cuff beyond this line, finished the raw edges, and harvested the covered buttons. So I had what you see below….

I stitched the end of my sleeve tab to the inside of the shoulder seam…

Secured my harvested button on top of this line of stitching….

Then flipped the tab up from the inside and fastened….

Et voila! Blousey long sleeved shirt to tab sleeved cutie in a few easy steps!

I think it brings this vintage shirt bang up to date. I’ve already got a couple more shirts I want to try this technique out on…

DIY, how to, refashioning, Restyles, Tips and Tricks, Tutorials

Resizing a Slash Neck…

10/16/13

Peops, it’s been a little while! I have a few bits of news to share with you….but all in good time! First let’s get down to a little bit of garment tweaking!

I bought this particular garment a little while ago. It was a few sizes bigger than my actual dress size. No matter I thought. It would just look lovely and slouchy. Which is the kinda mood I’m in style wise. So merrily I paid and left the shop. Well the next day I wore this top for a trade fair at Alexandra Palace (there’s a slight hint to a bit of news I have right there ;). Aaaaanyway, slouchy it was. But not in a good way! I love me a slash neckline, but I spent the whole day pulling the sleeves back up and hoiking the thing back onto my shoulders. Bloomin’ irritating! So on my next day off (another hint 😉 I slapped it onto my sewing table and set to work….I promptly sorted it in all of 10mins…

This shot better shows the difference in the neckline…

Using this method I managed to sort the too wide neckline, and falling down sleeves in a few quick and simple steps. I used inch wide masking tape to mark a new stitching line all down the sleeve seam; from the neck to the cuff…

…pinned my new stitching line and removed the masking tape guide…

…stitched along the new seamline, zig zag stitched next to that (still no overlocker!) and trimmed off the excess.

A simple 10 minute fix to a top that was several sizes too big, and now fits beautifully!

Sometimes a quickie project can be just as satisfying as something more complex 🙂


DIY, hemlock tee, how to, pashminas, refashioning, Restyles, Thrifting, Tutorials

DIY Pashmina Refashion – Number 3

09/24/13

Of the 3 pashmina refashions, this is the one where I treated the pashmina, essentially, as a piece of flat fabric. With the other two I utilised the full width and/or length of the pashmina as well as retaining the selvedges. They were completely patternless projects. For this make, I used an existing pattern, with one minor alteration….

Essentially, this one is an incarnation of the Hemlock Tee. The only difference being that instead of using the set in sleeve that came with the pattern, I adapted the pattern to incorporate a “grown on” kimono style sleeve.  Although the Hemlock Tee is designed with knits in mind, there was enough ease in this pattern for me to use it on a woven fabric like this pashmina…

To start I folded the pashmina in half length ways, then again width ways, placing the pattern piece on the folded long edge…

To create the kimono sleeve I simply extended the shoulder line up to the selvedge….

Starting on the selvedge, in line with the armhole notch on the pattern, I drew a curved line that blended into the side seam about 3″ down from the armhole notch….

Once cut and opened out I had two identical pieces.  Note the sleeve hems…they won’t require finishing as they are selvedges…..

Otherwise this make is a simple following of the Hemlock Tee pattern instructions, plus a patch pocket! Download it for free here. For me, it’s proving to be a fantastic “base” pattern, that I can tinker with and add little details too.
I guess you could call it a pattern crush then!

Newer Posts
Older Posts
Portia
Follow
Sewbox

© Copyright 2026. Portia Lawrie. All Rights Reserved. Managed by WordPress Web Dev Cornwall .