I come across shirts all the time on my thrifting escapades. I do love me a shirt, but long sleeves are a no no for me; and standard short sleeves I find a little bit “meh”. This particular shirt has been in my stash for….ahem….2 years…ish! It’s a vintage silk Laura Ashley number and whilst I loved the fabric and the gorgeous embroidery on the collar and placket, the sleeves were way too blousy. A real throwback from the 80’s/90’s when blousy silk shirts were kind of a “thing”. I’ve had this idea in my head for about a year and this week I finally got around to testing it out…..
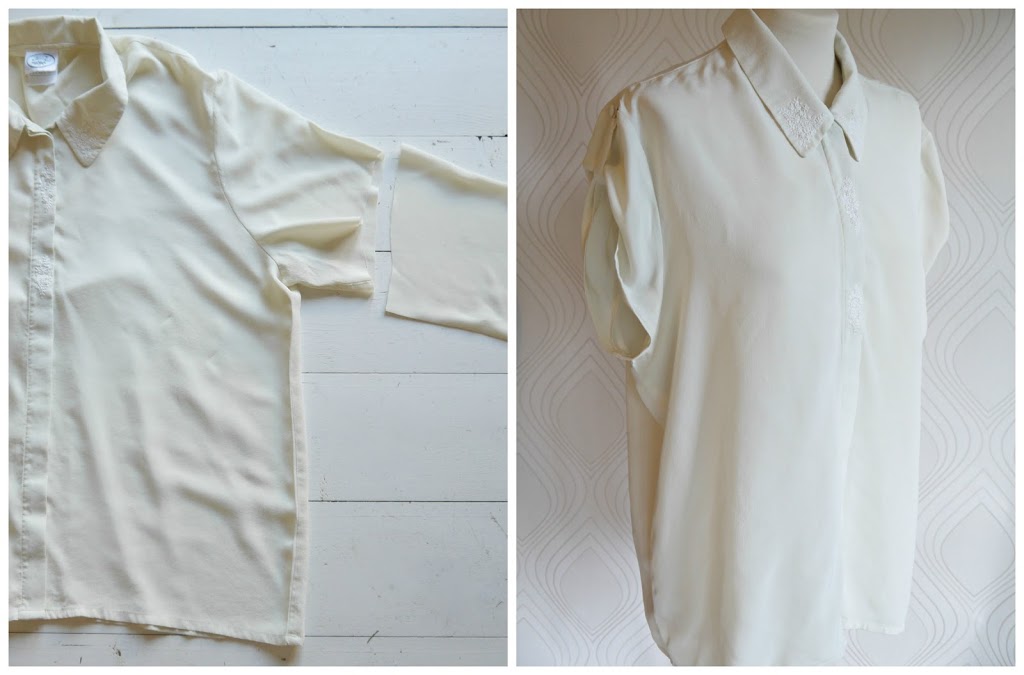
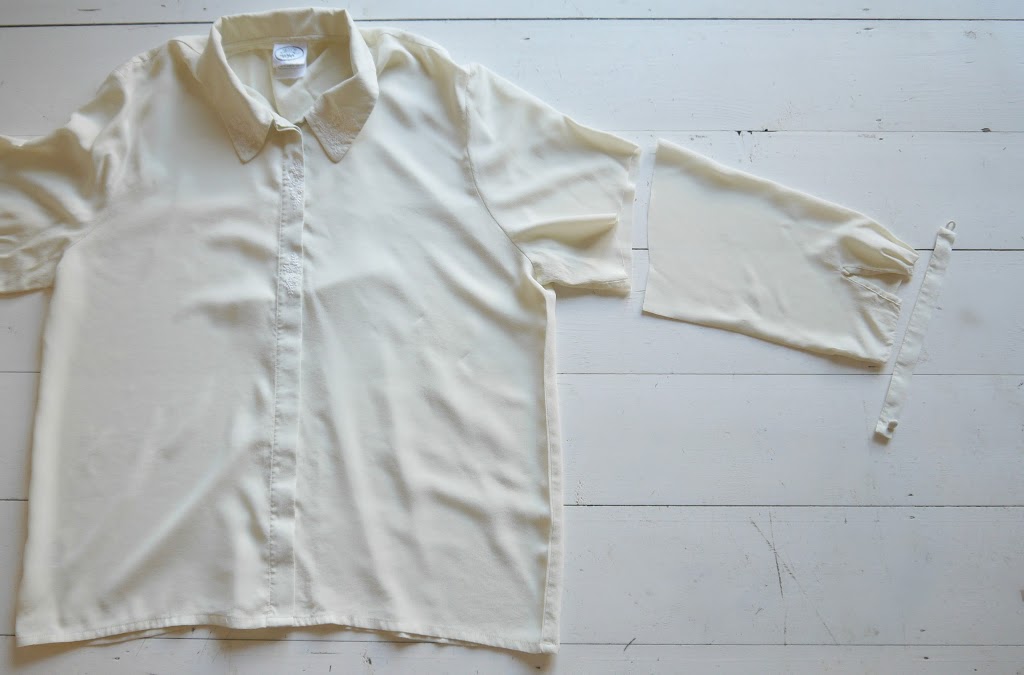
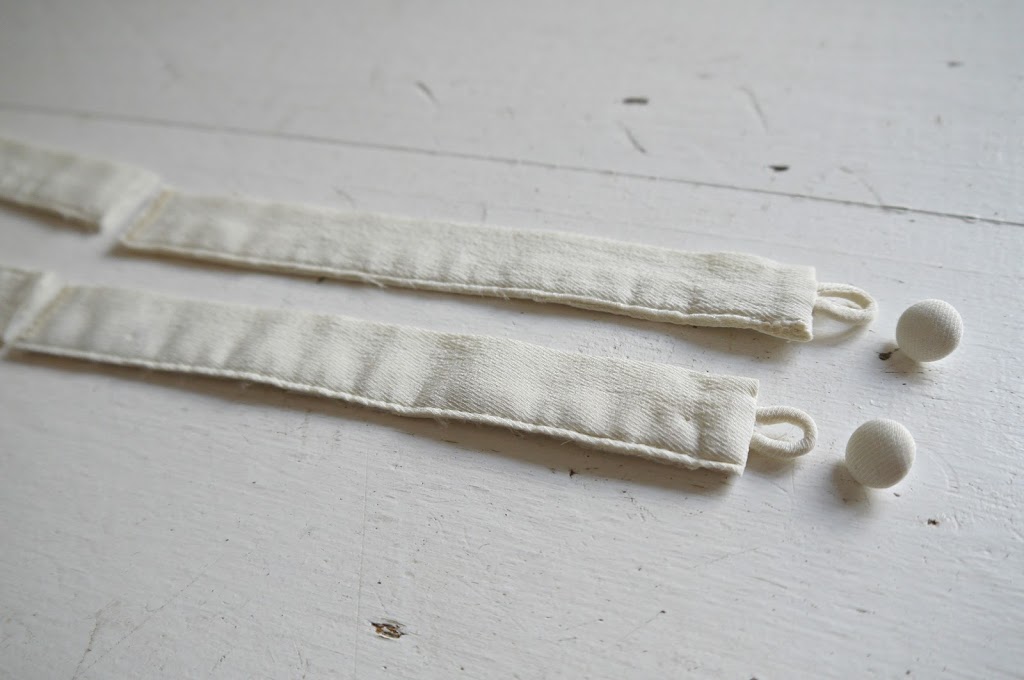
So essentially, this is the shirt as it was. You can see that I have cut the sleeves to a short length. I also harvested the narrow cuff which had a covered button and rouleau loop fastening. That will come into play shortly…
I began by hemming my newly shortened sleeves…
Then I played with the placement of the harvested cuff piece, using it as a sleeve tab to ruche the sleeve…
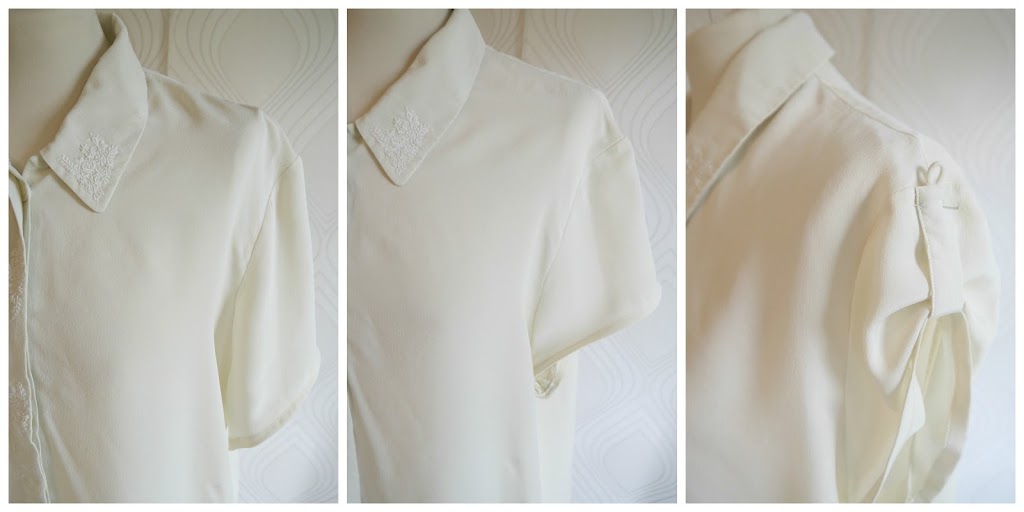
I decided that the sleeve needed to be shorter and in the end went for a slightly more cap sleeve length. My sleeve tab piece is pinned to the underside of the shoulder seam. I then played a bit with the length of the tab and the position of the button loop on the outside until I came up with an arrangement I liked….
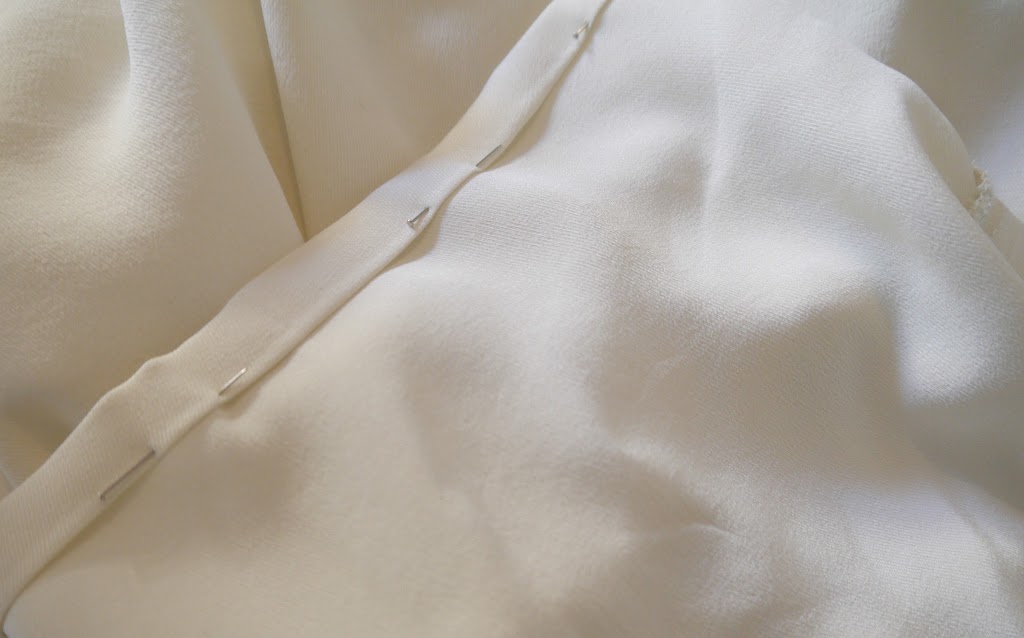
On the underside of the garment, I marked where my sleeve tab lined up with my shoulder seam…
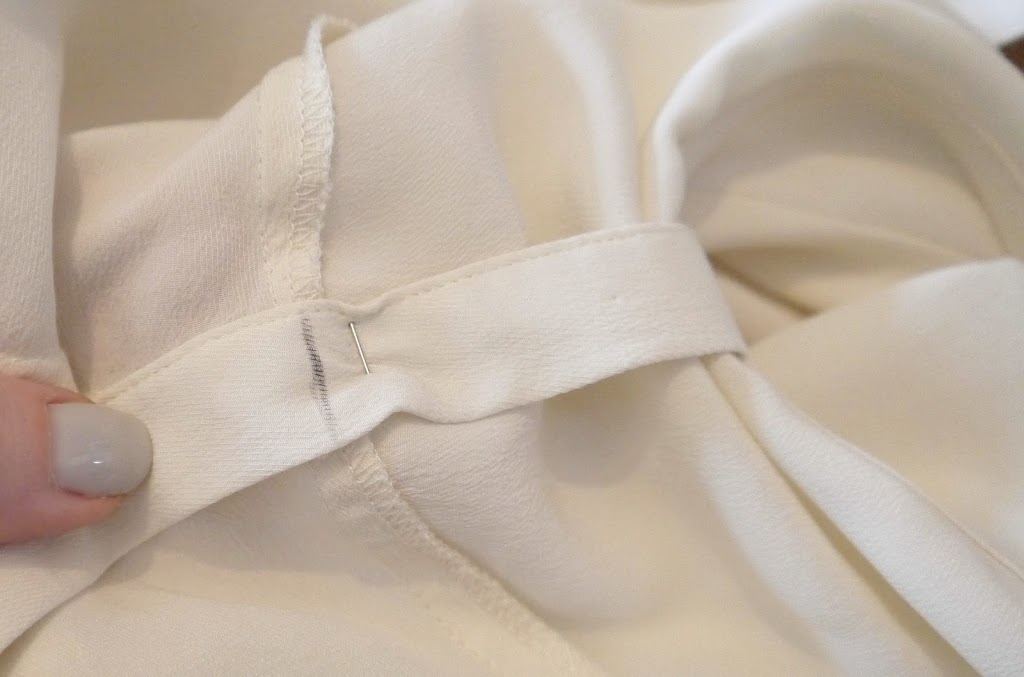
I then removed any excess of the sleeve tab/former cuff beyond this line, finished the raw edges, and harvested the covered buttons. So I had what you see below….
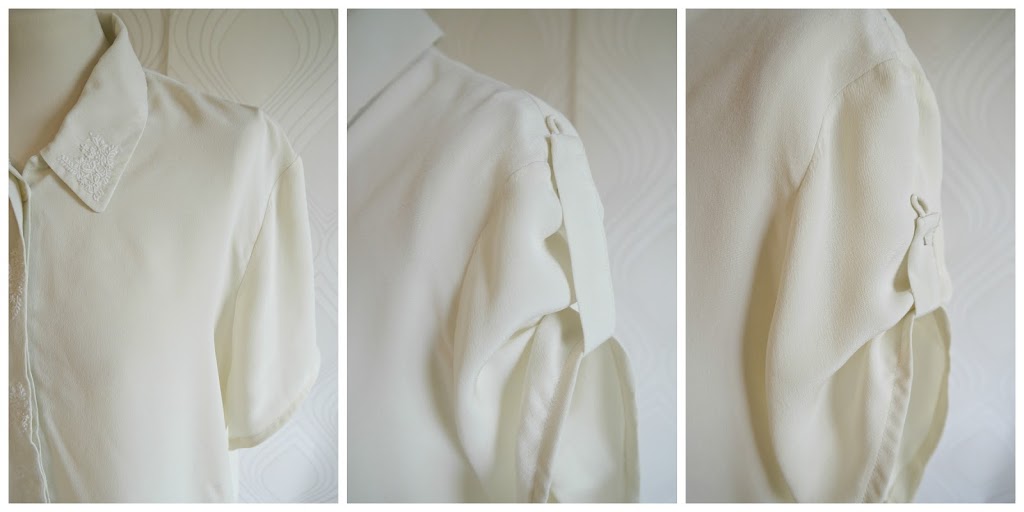
I stitched the end of my sleeve tab to the inside of the shoulder seam…
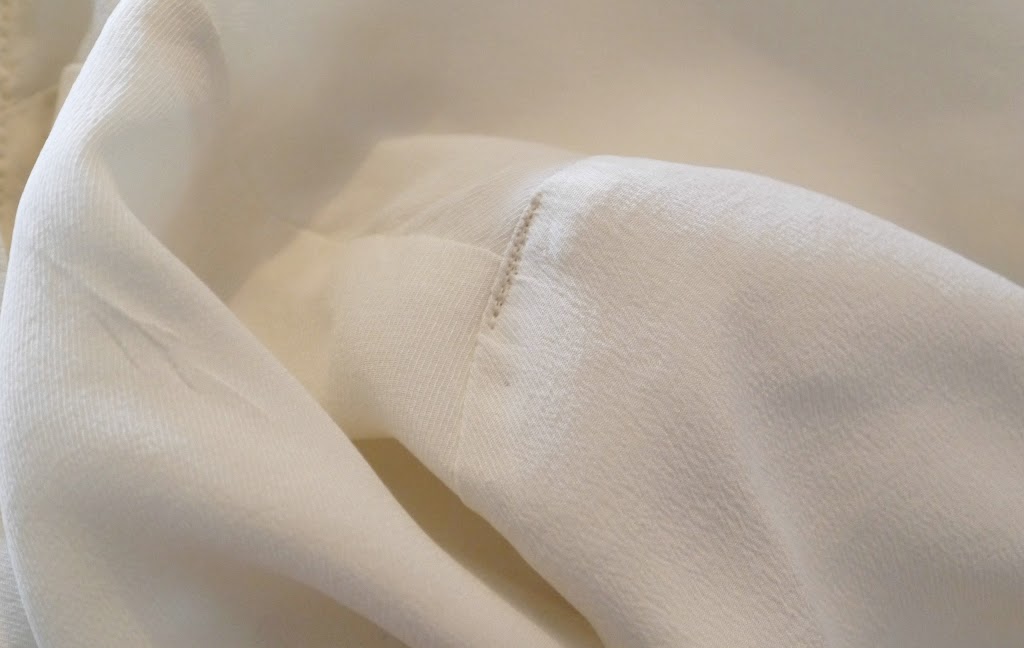
Secured my harvested button on top of this line of stitching….
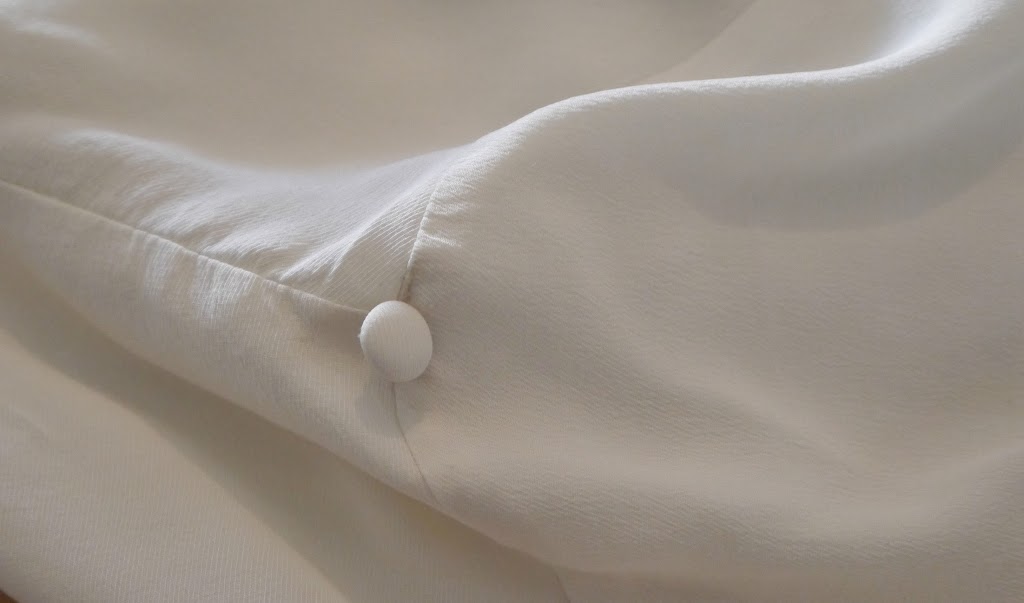
Then flipped the tab up from the inside and fastened….
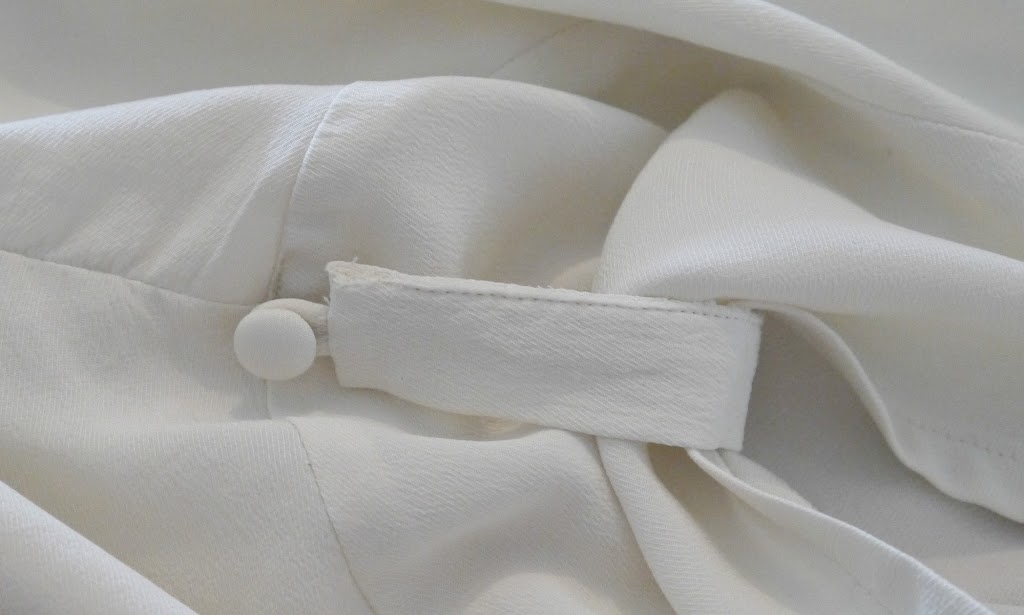
Et voila! Blousey long sleeved shirt to tab sleeved cutie in a few easy steps!
I think it brings this vintage shirt bang up to date. I’ve already got a couple more shirts I want to try this technique out on…
