• About
    • Contact
    • Press
    • Sponsor
  • DIY
    • Home & Garden
    • Jewellery & Accessories
    • Yarn Crafts
  • Sewing
    • patternless & self drafted
    • Refashions
    • Commercial Patterns
    • Sewing Tips
    • Overlockers
  • The Refashioners

Portia Lawrie

DIY, how to, refashioning, repurposing, Restyles, Sewing, stripes, Thrifting, Tutorials, vintage

refashion: the combo shirt

02/25/15


THE COMBO SHIRT REFASHION at www.portialawrie.co.uk
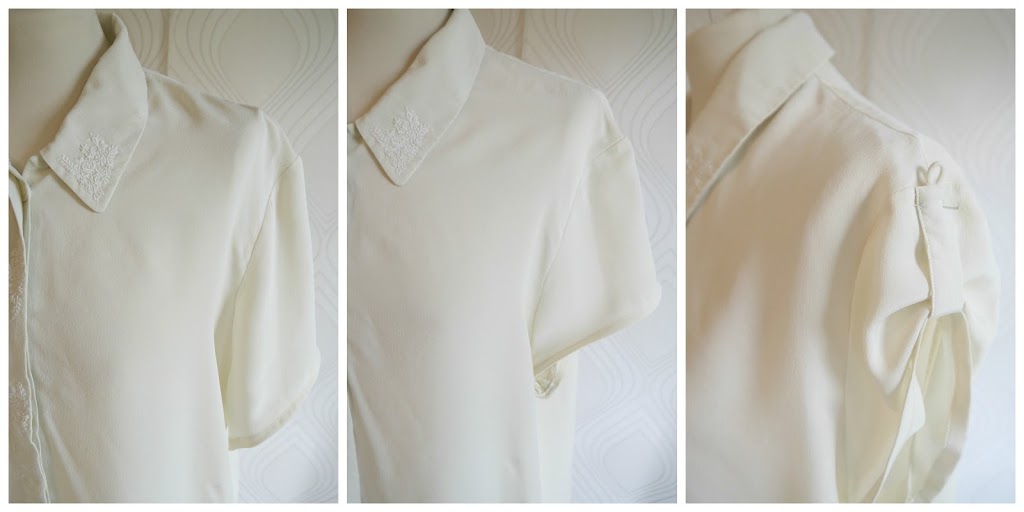
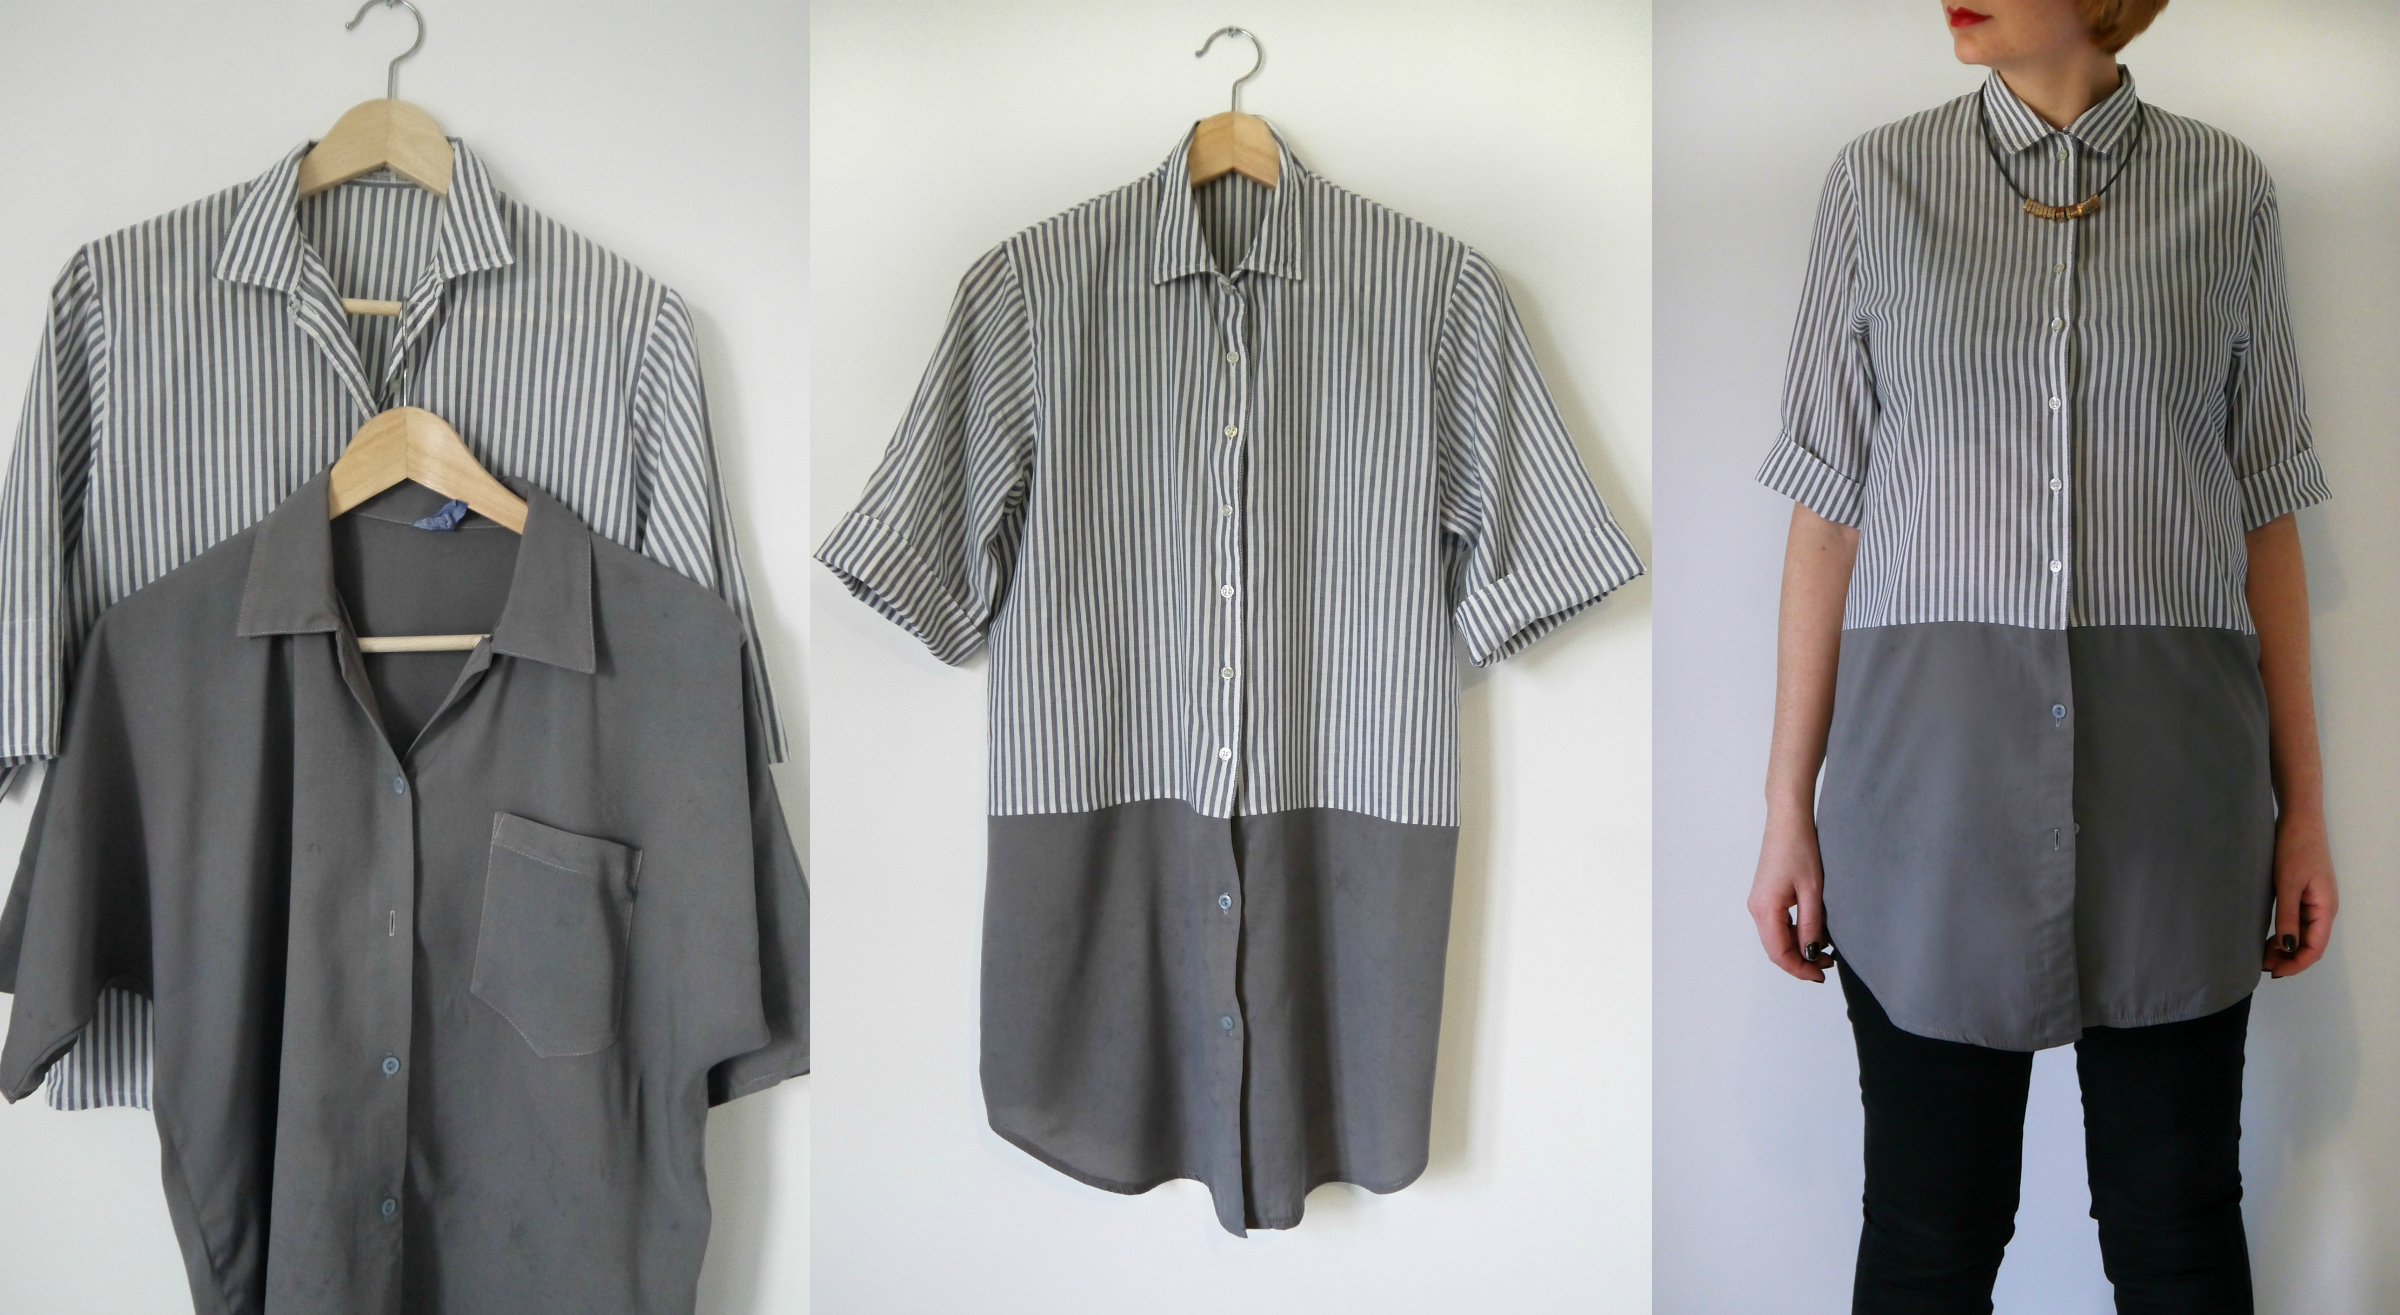
I’d had both these vintage shirts hanging in my wardrobe for a few months. The spoils of a thrifting trip. The stripe one is a vintage Jaeger but was too short and had a straight hem which was not flattering on me at all. I like me a shirt tail hem….which fortuitously…the grey one had….hmmm…no brainer right?! Here’s how…


Turn 2 shirts into one at www.portialawrie.co.uk

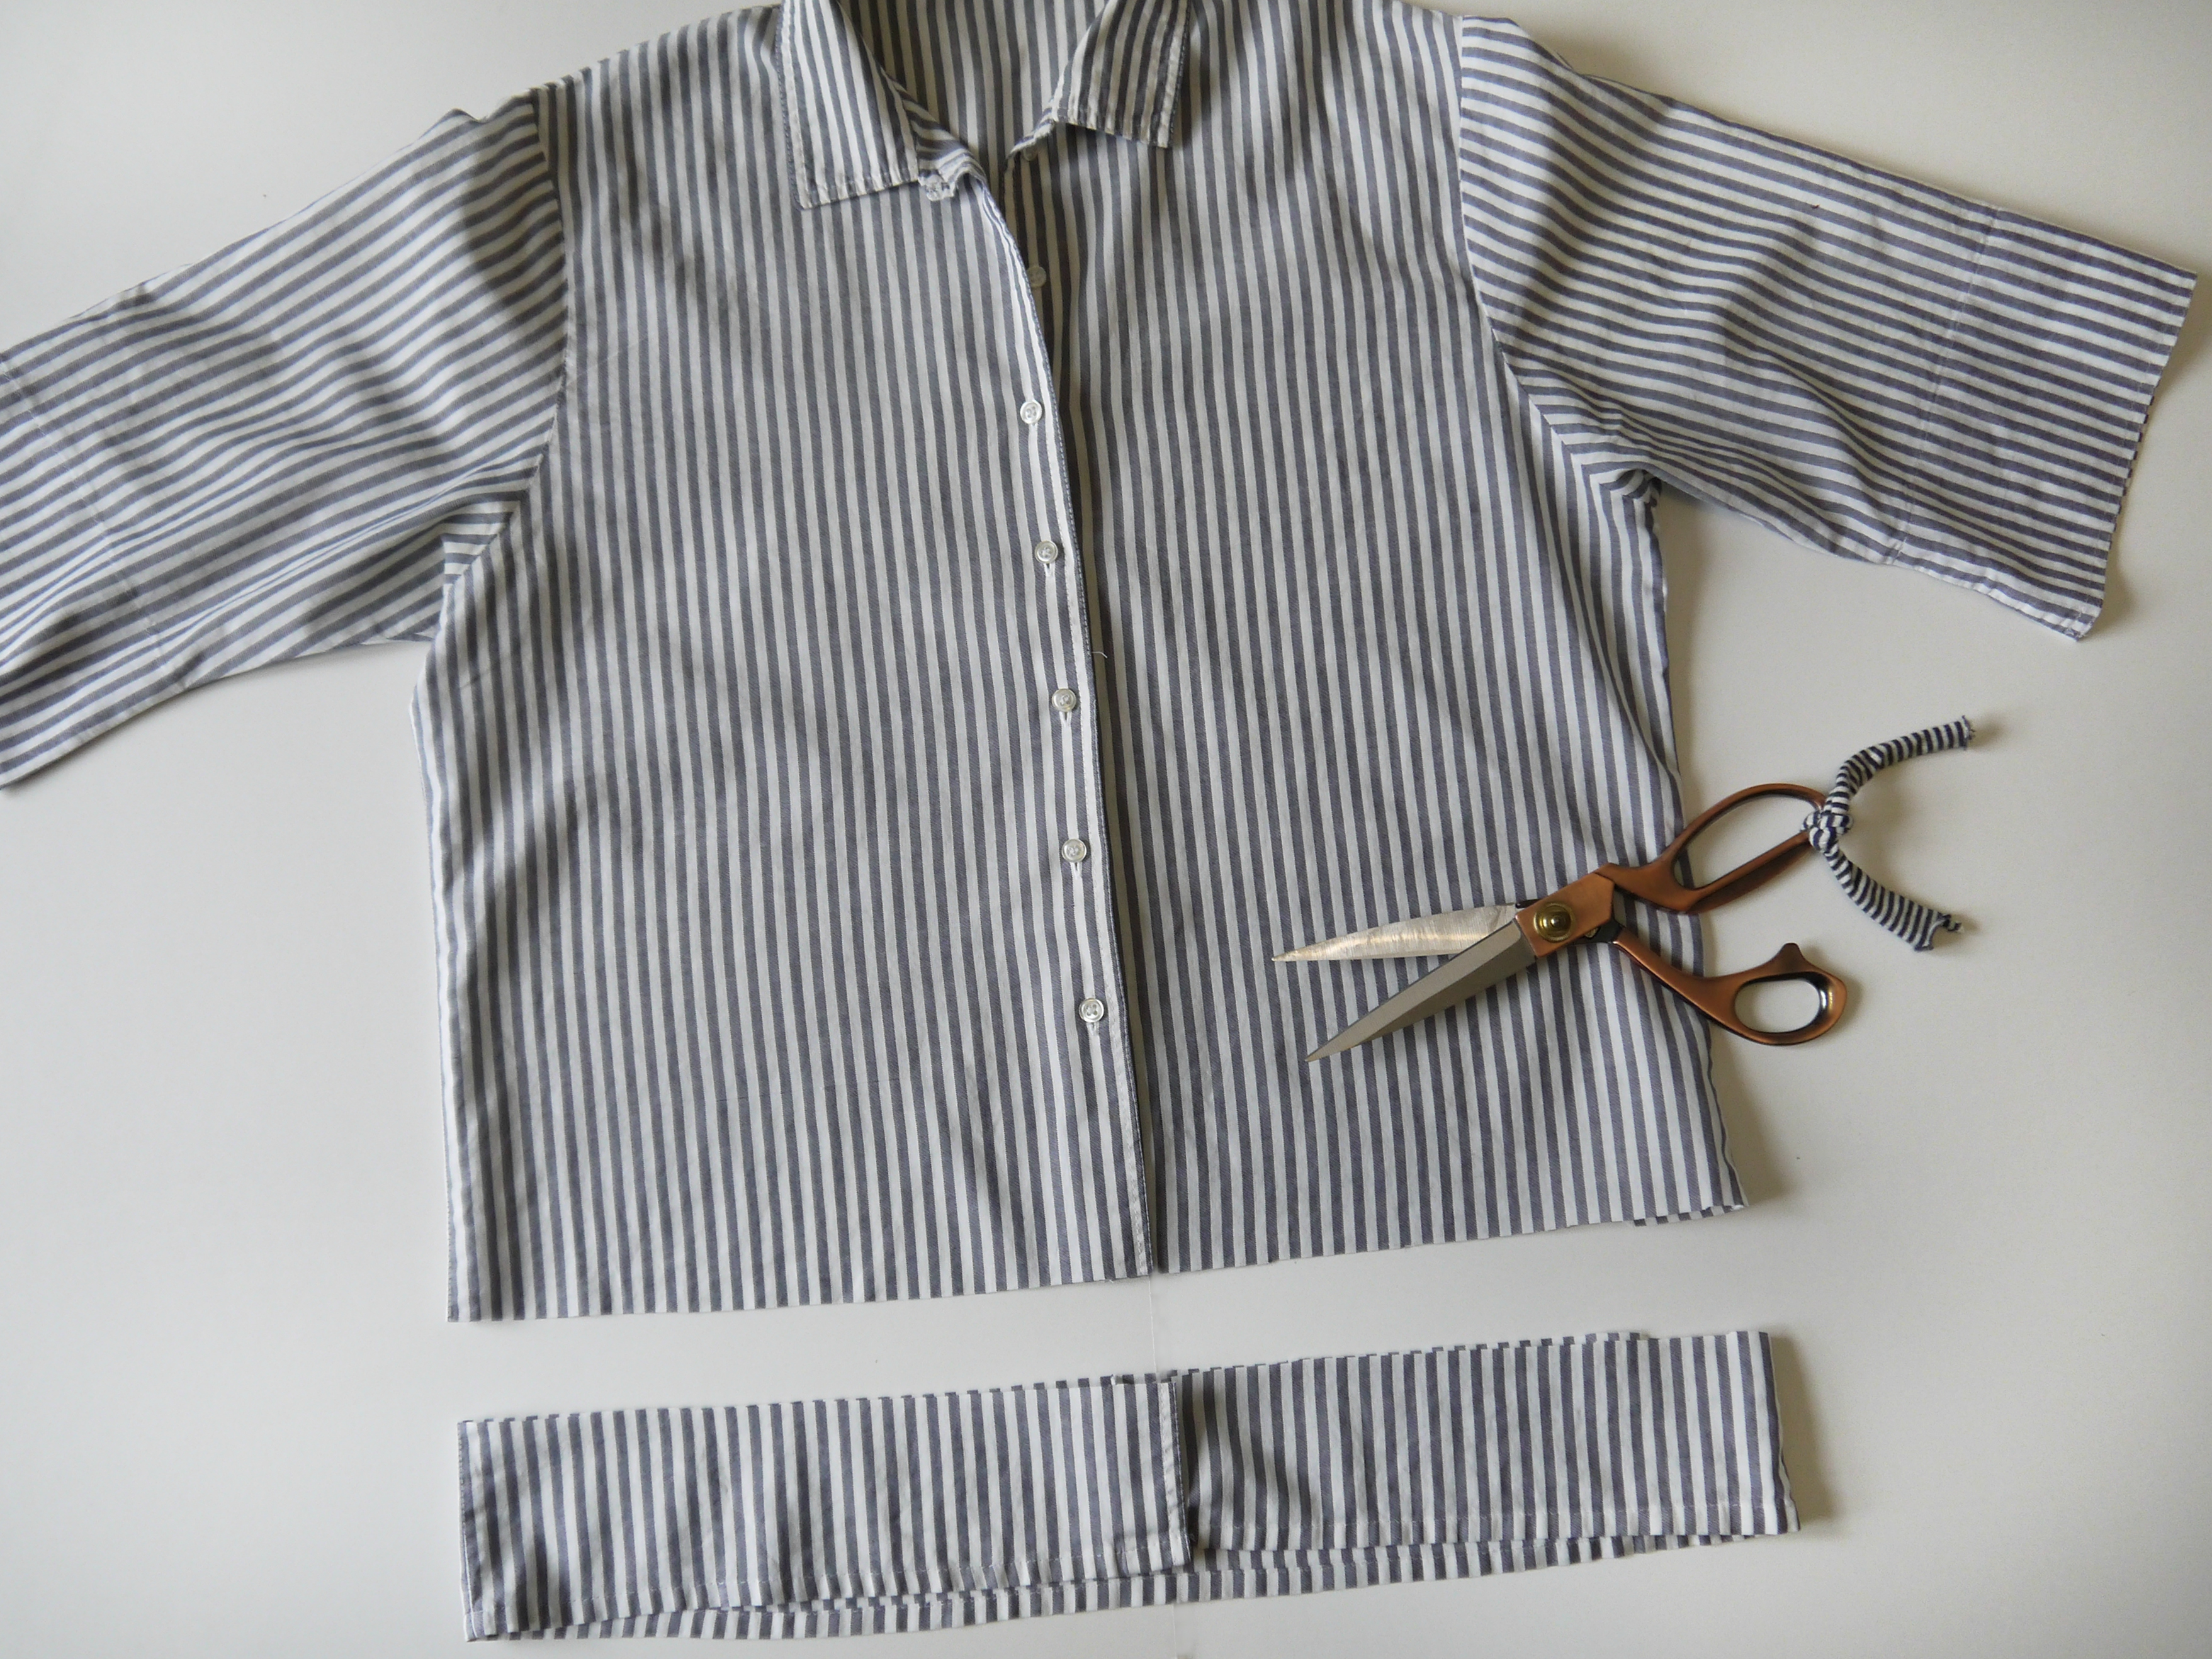
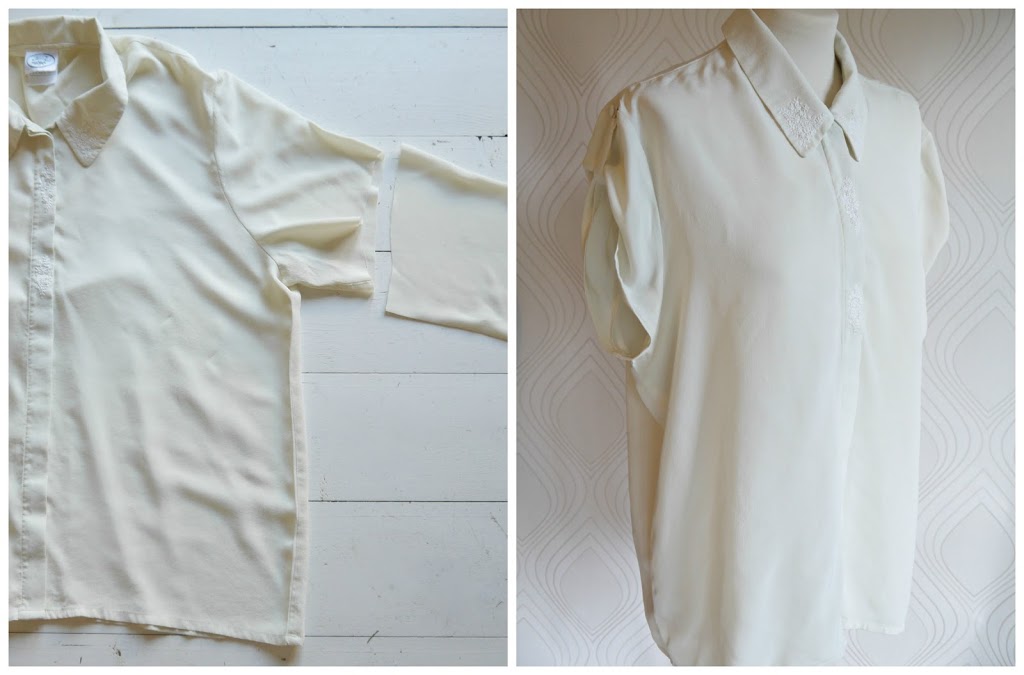
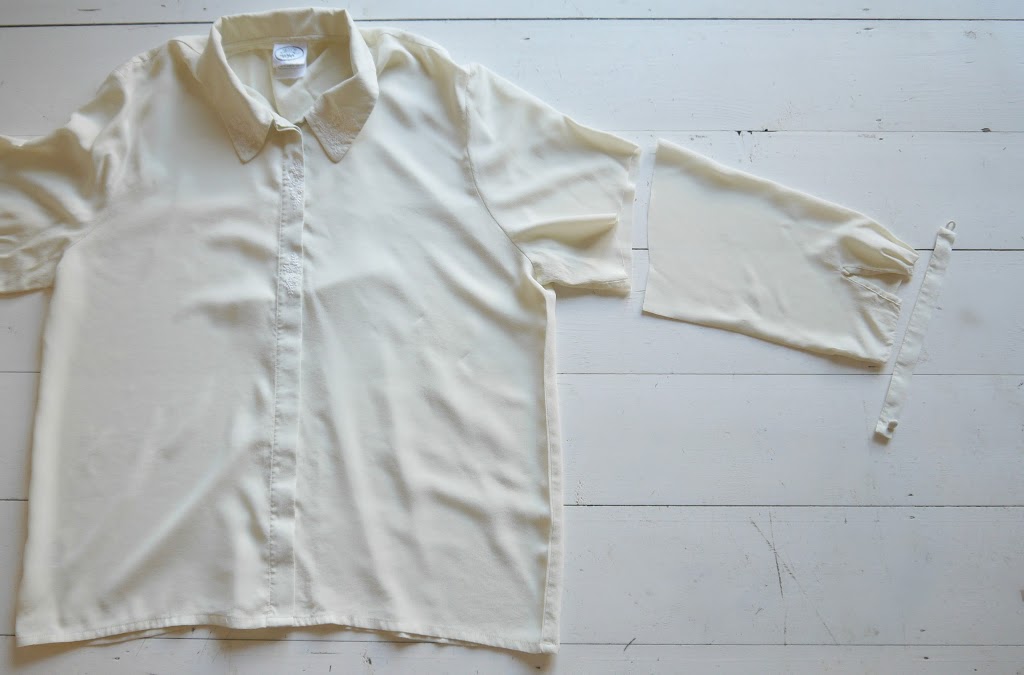
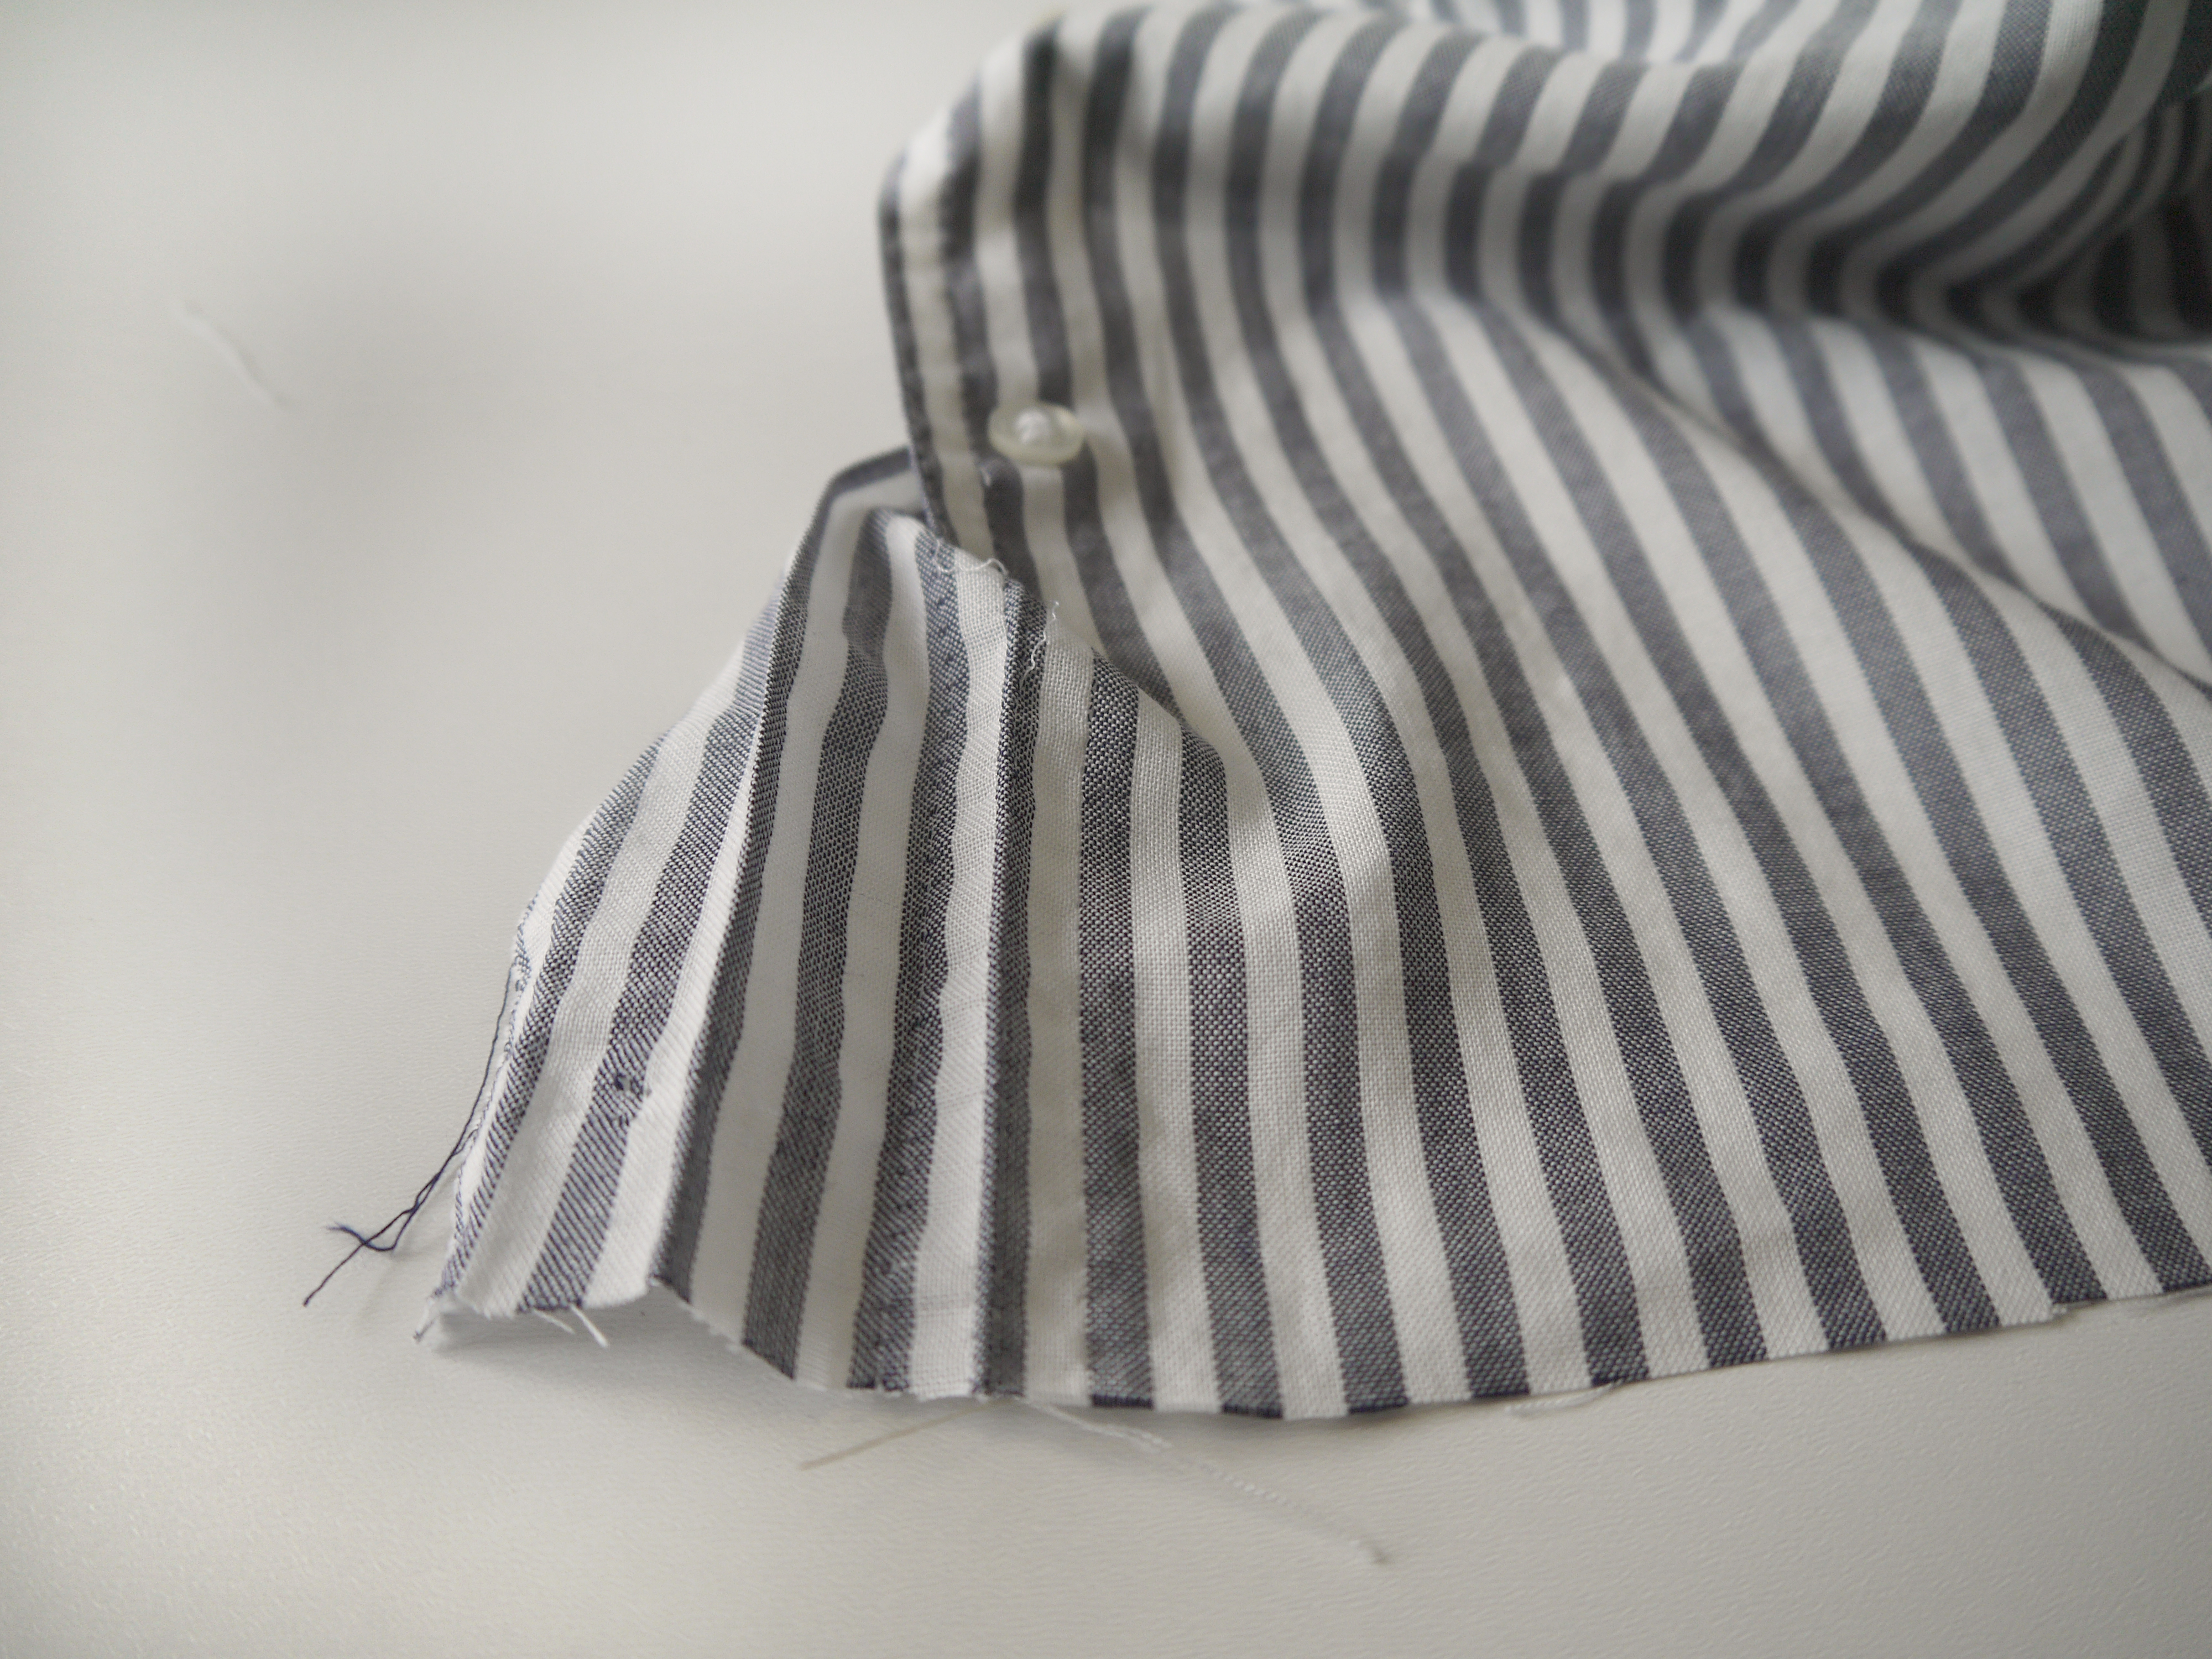
Trim the first shirt to the point where you want the colour block effect to start, plus desired seam allowance. Don’t cut to close to a button/button hole as we’re going to need to unpick and manipulate those button bands in a bit…


Turn 2 shirts into one at www.portialawrie.co.uk

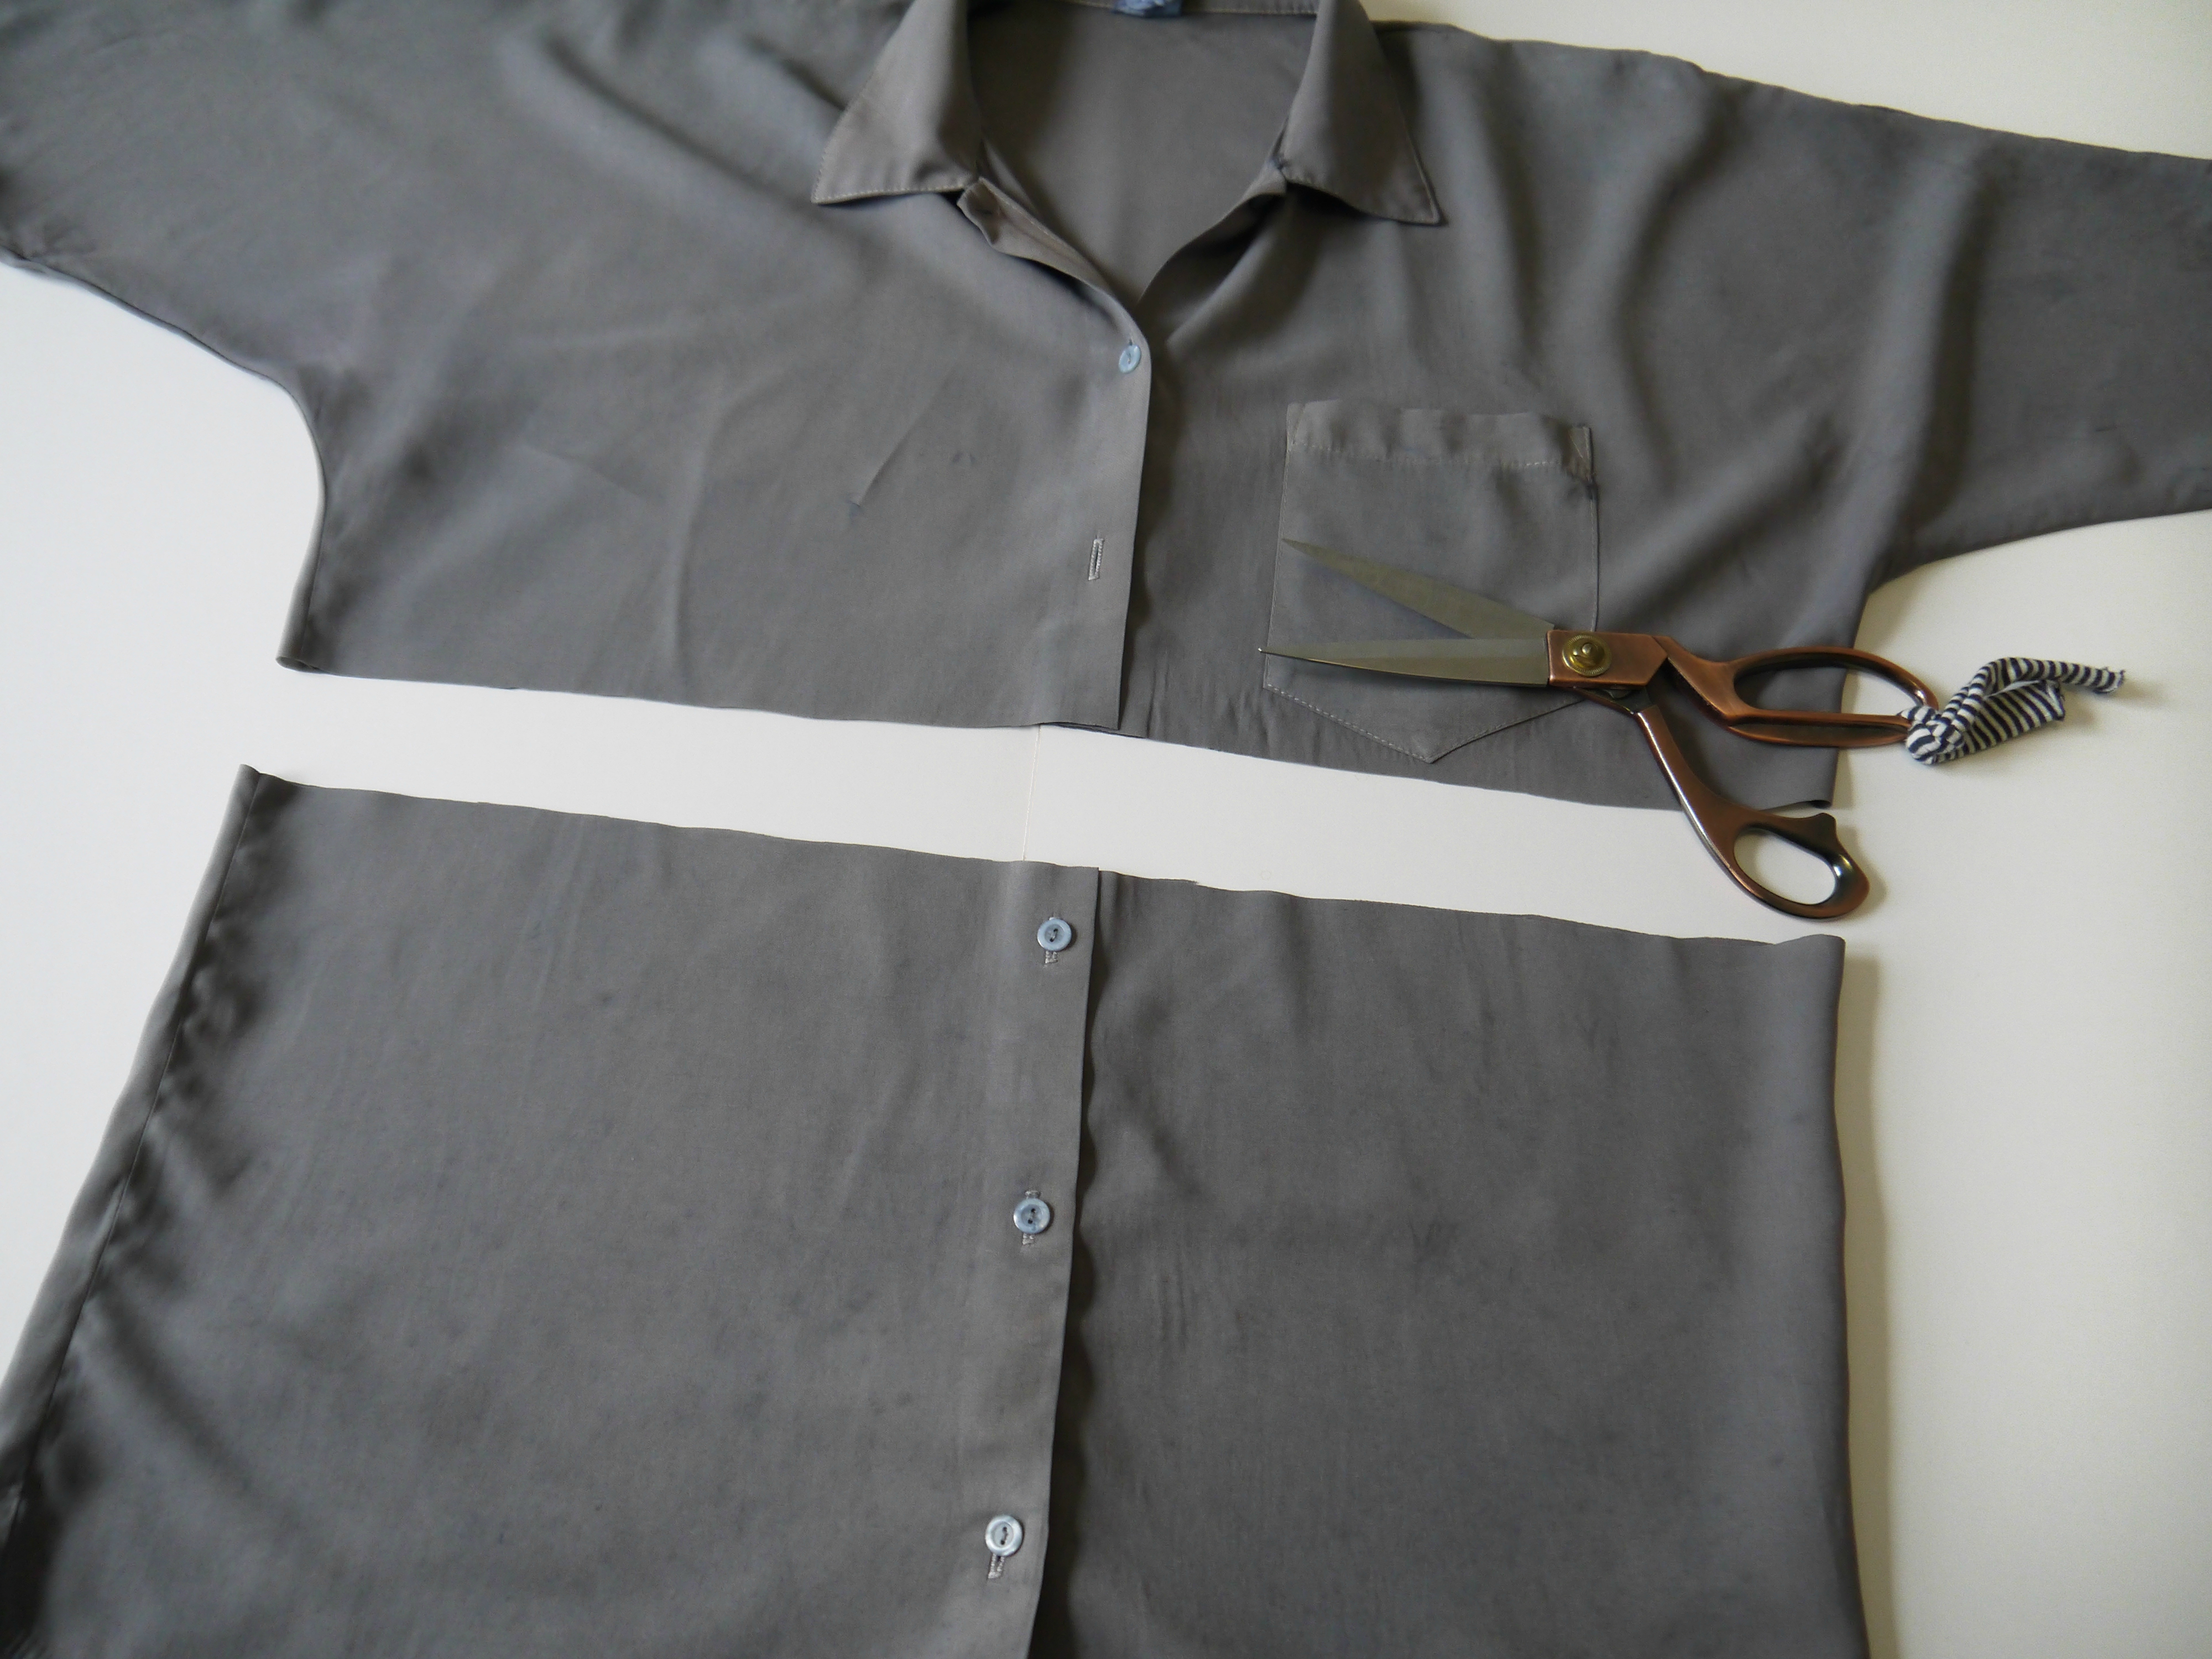
Cut the bottom half of the second shirt. Again, give yourself room to manoeuvre on the button plackets. (I ended up cutting about 1″ below that top button in the end)


Turn 2 shirts into one at www.portialawrie.co.uk

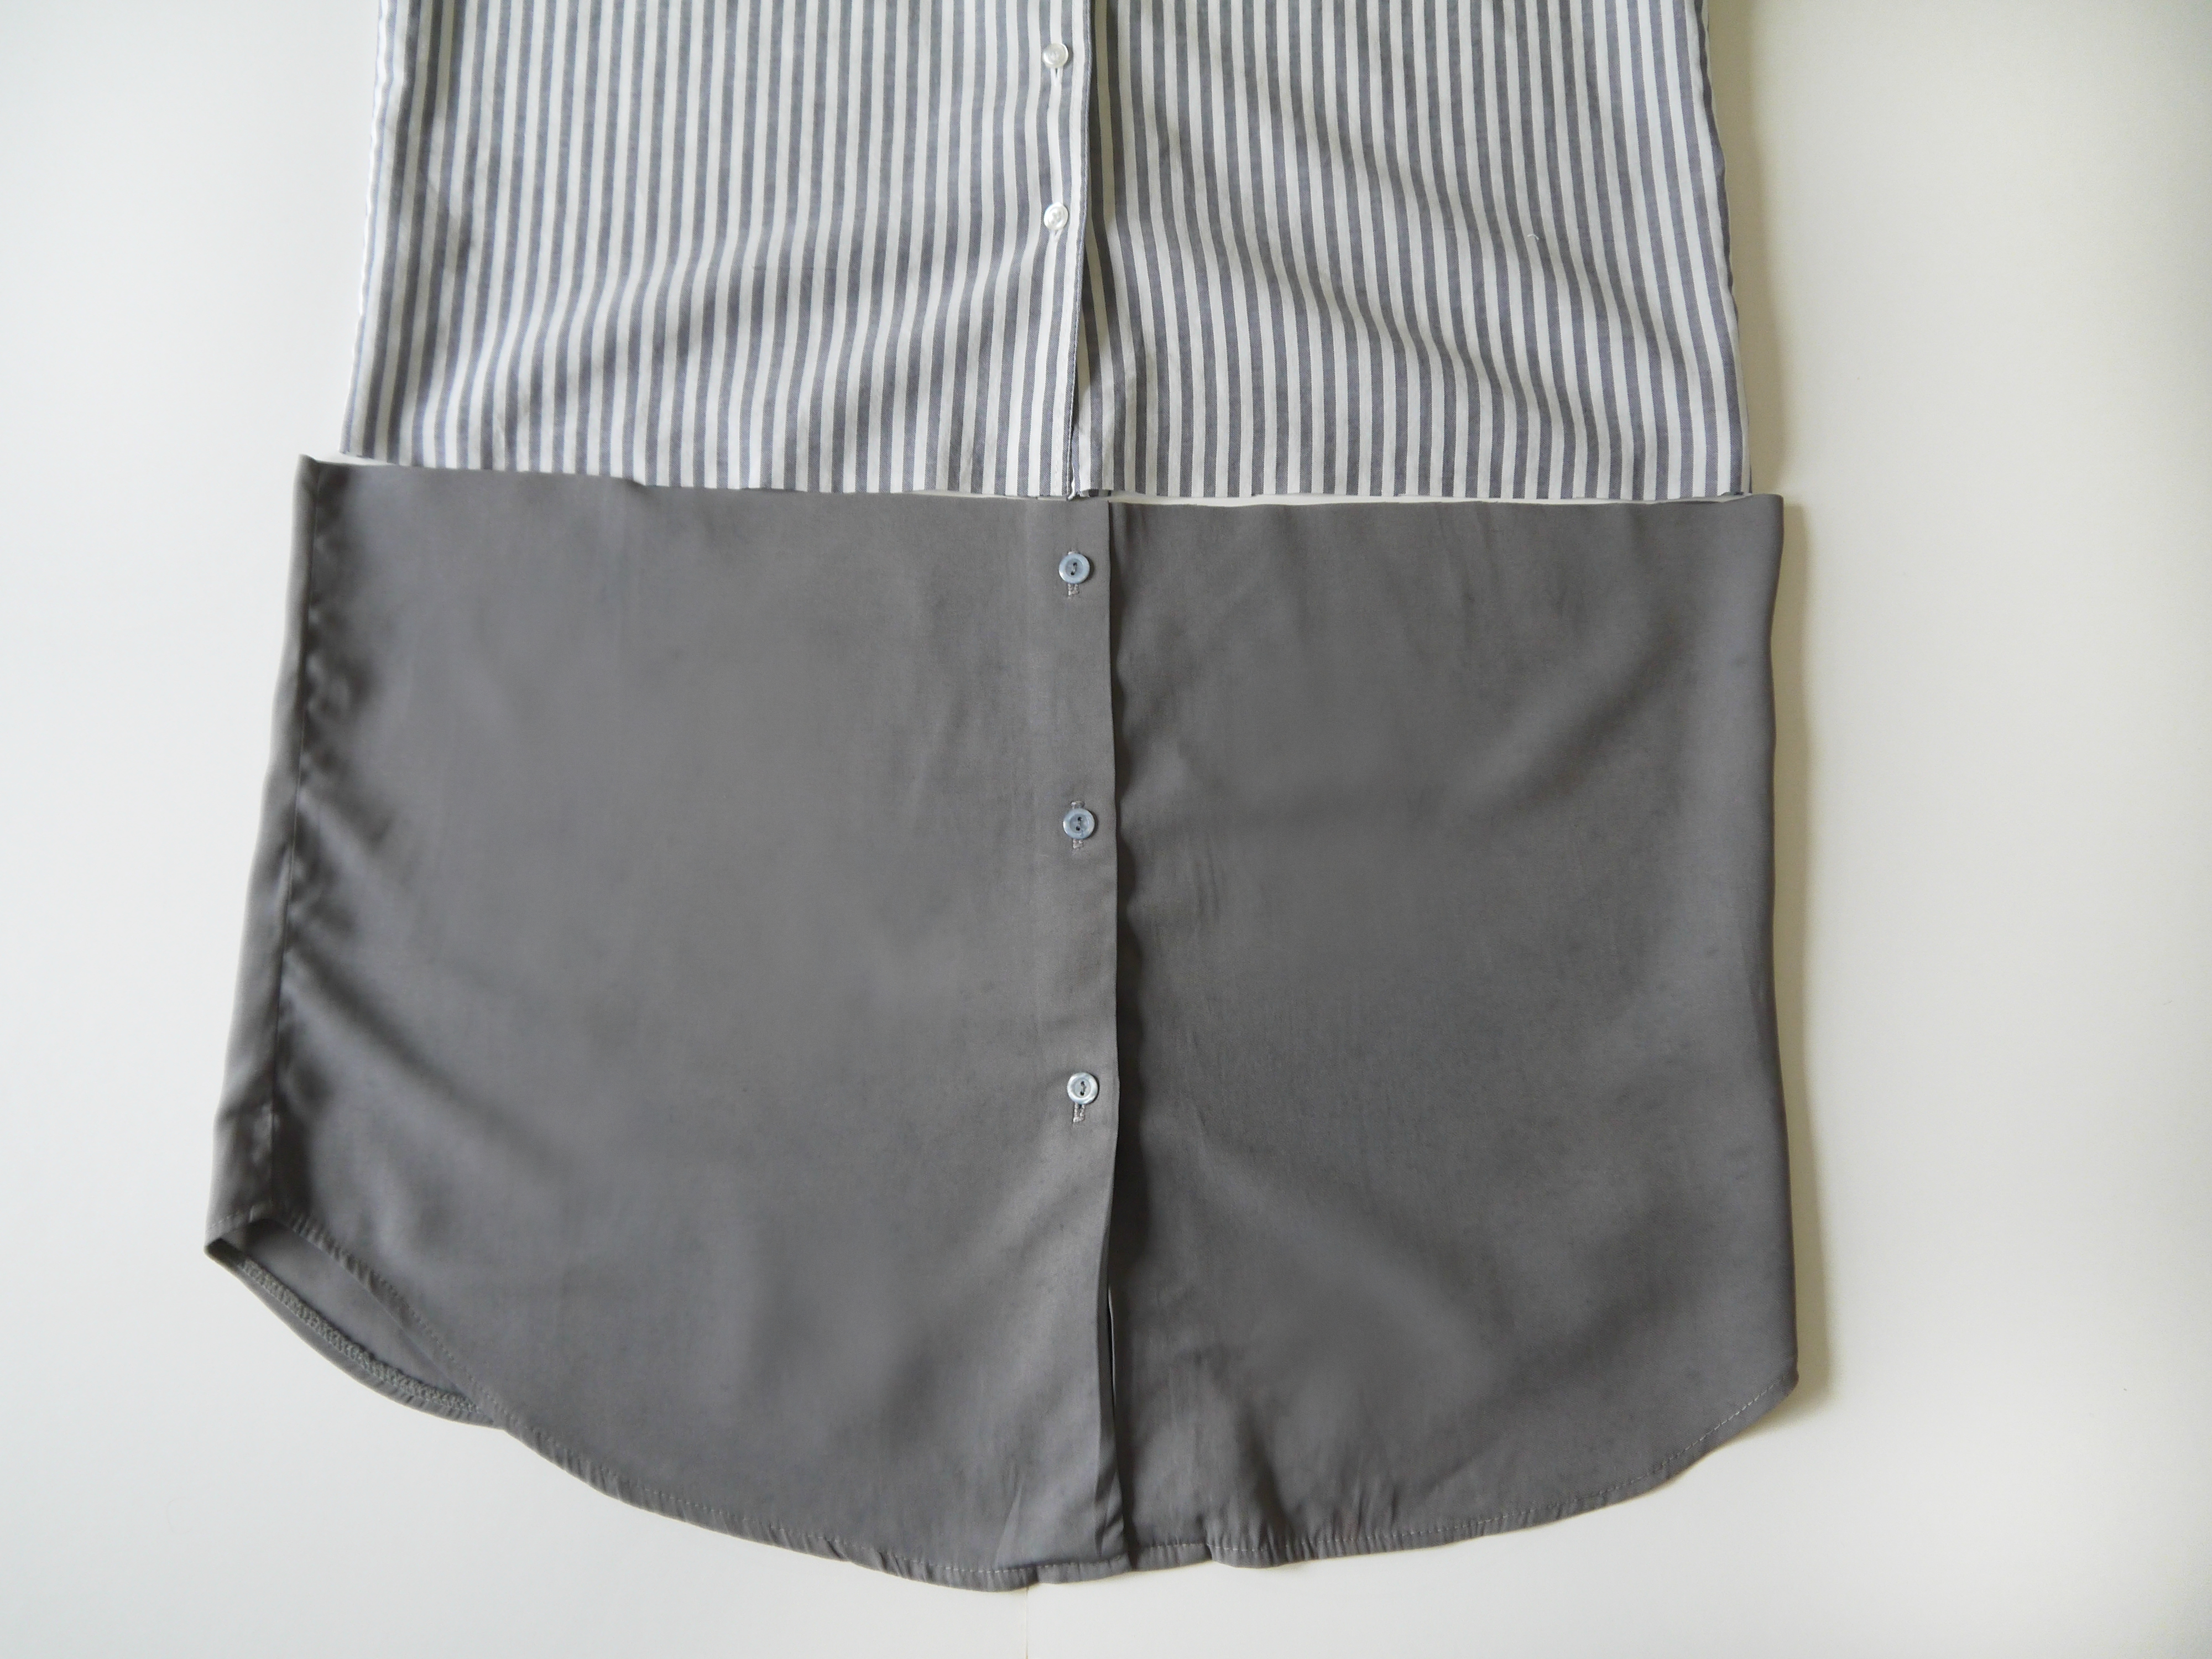
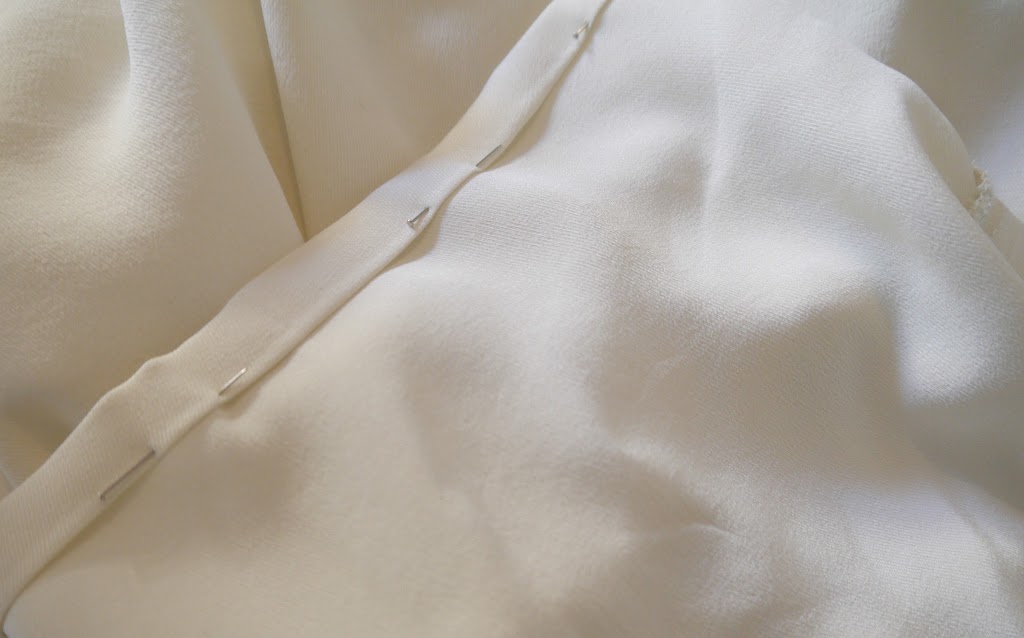
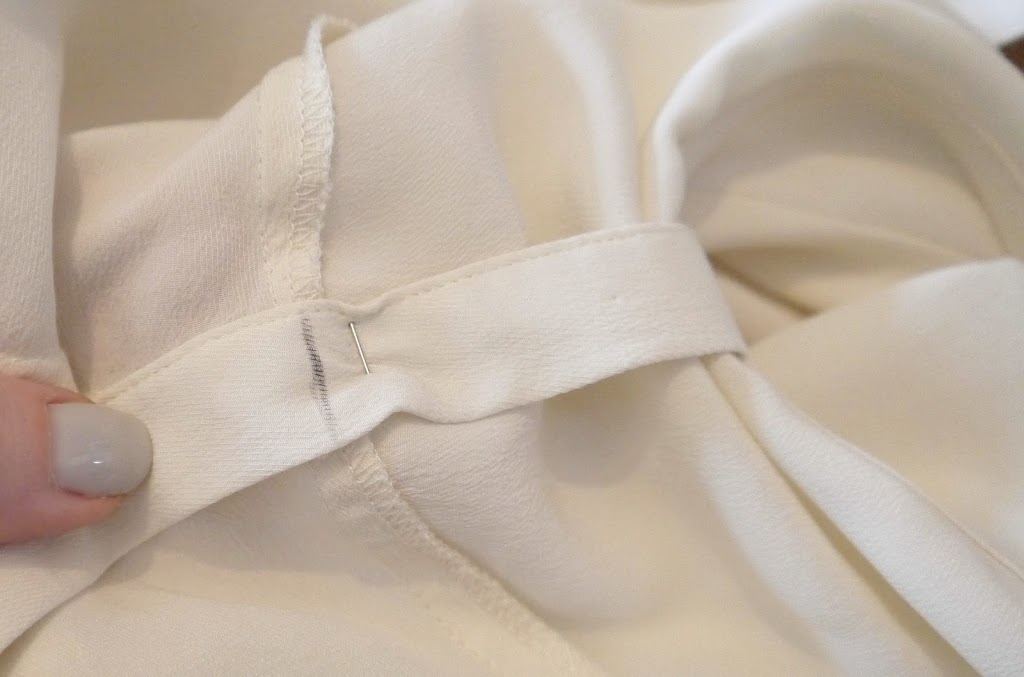
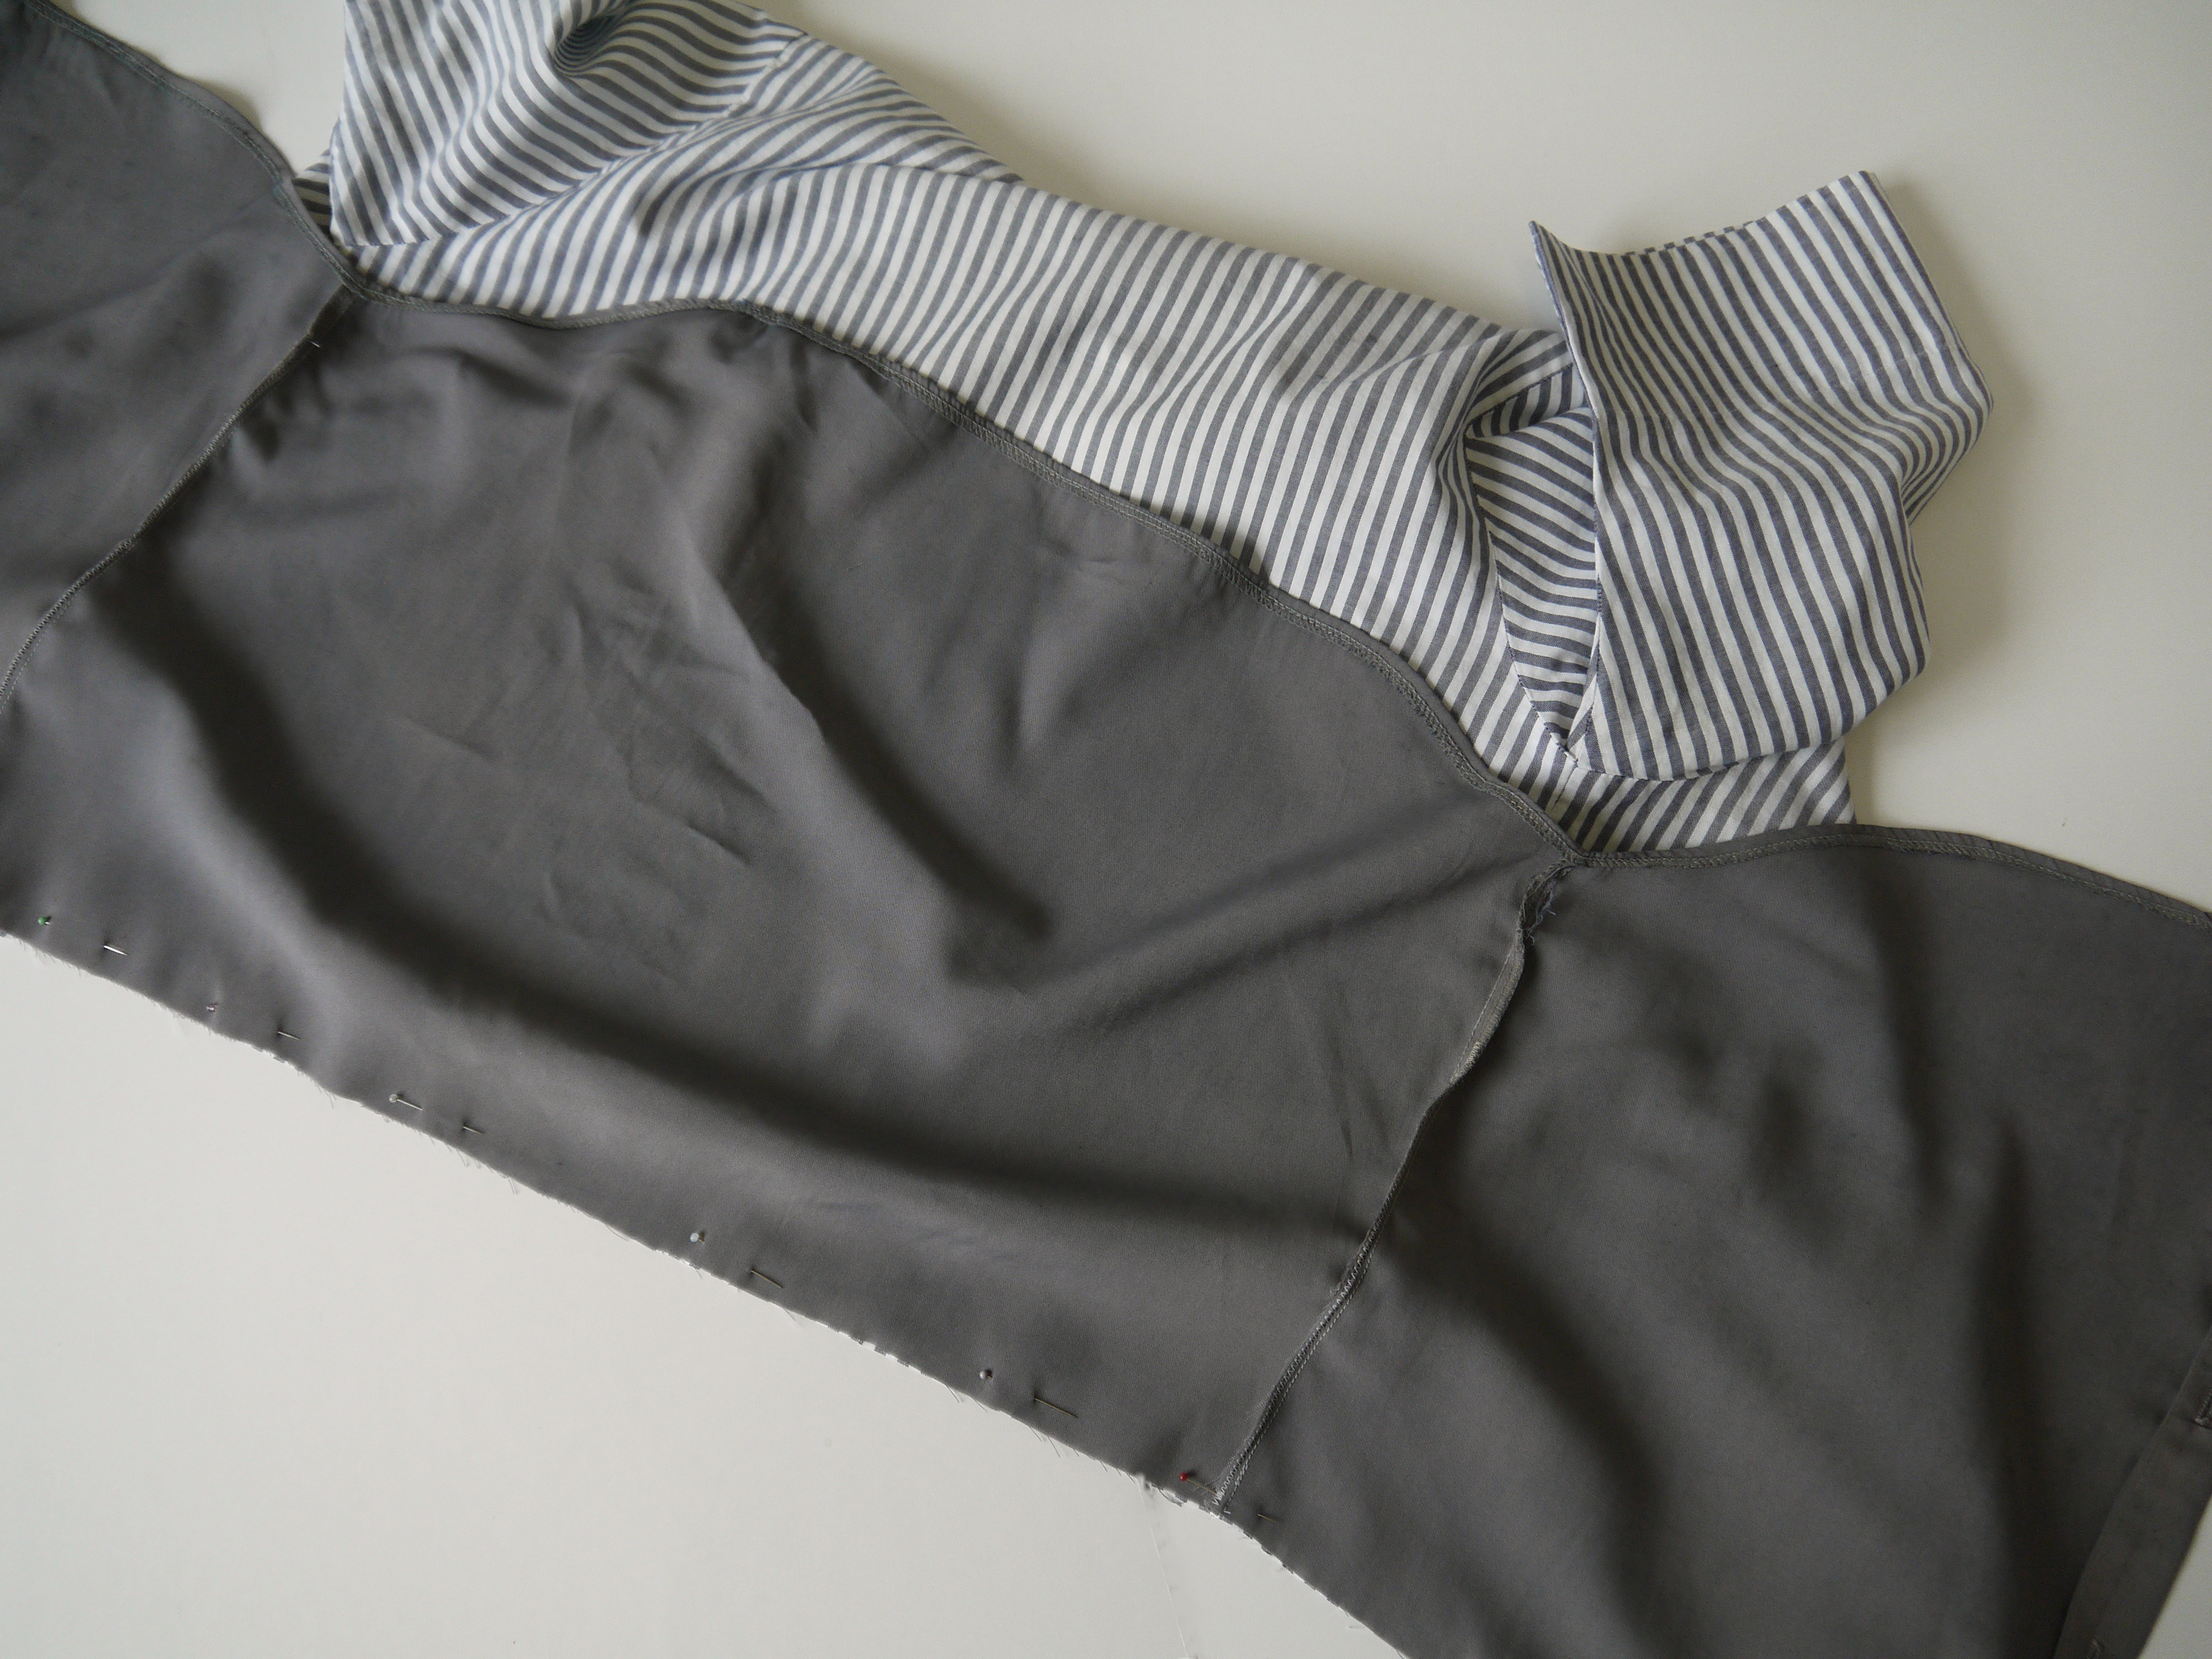
As we’re going to join the two pieces they need to be the same size, so if either the top or the bottom is bigger, like this…


Turn 2 shirts into one at www.portialawrie.co.uk

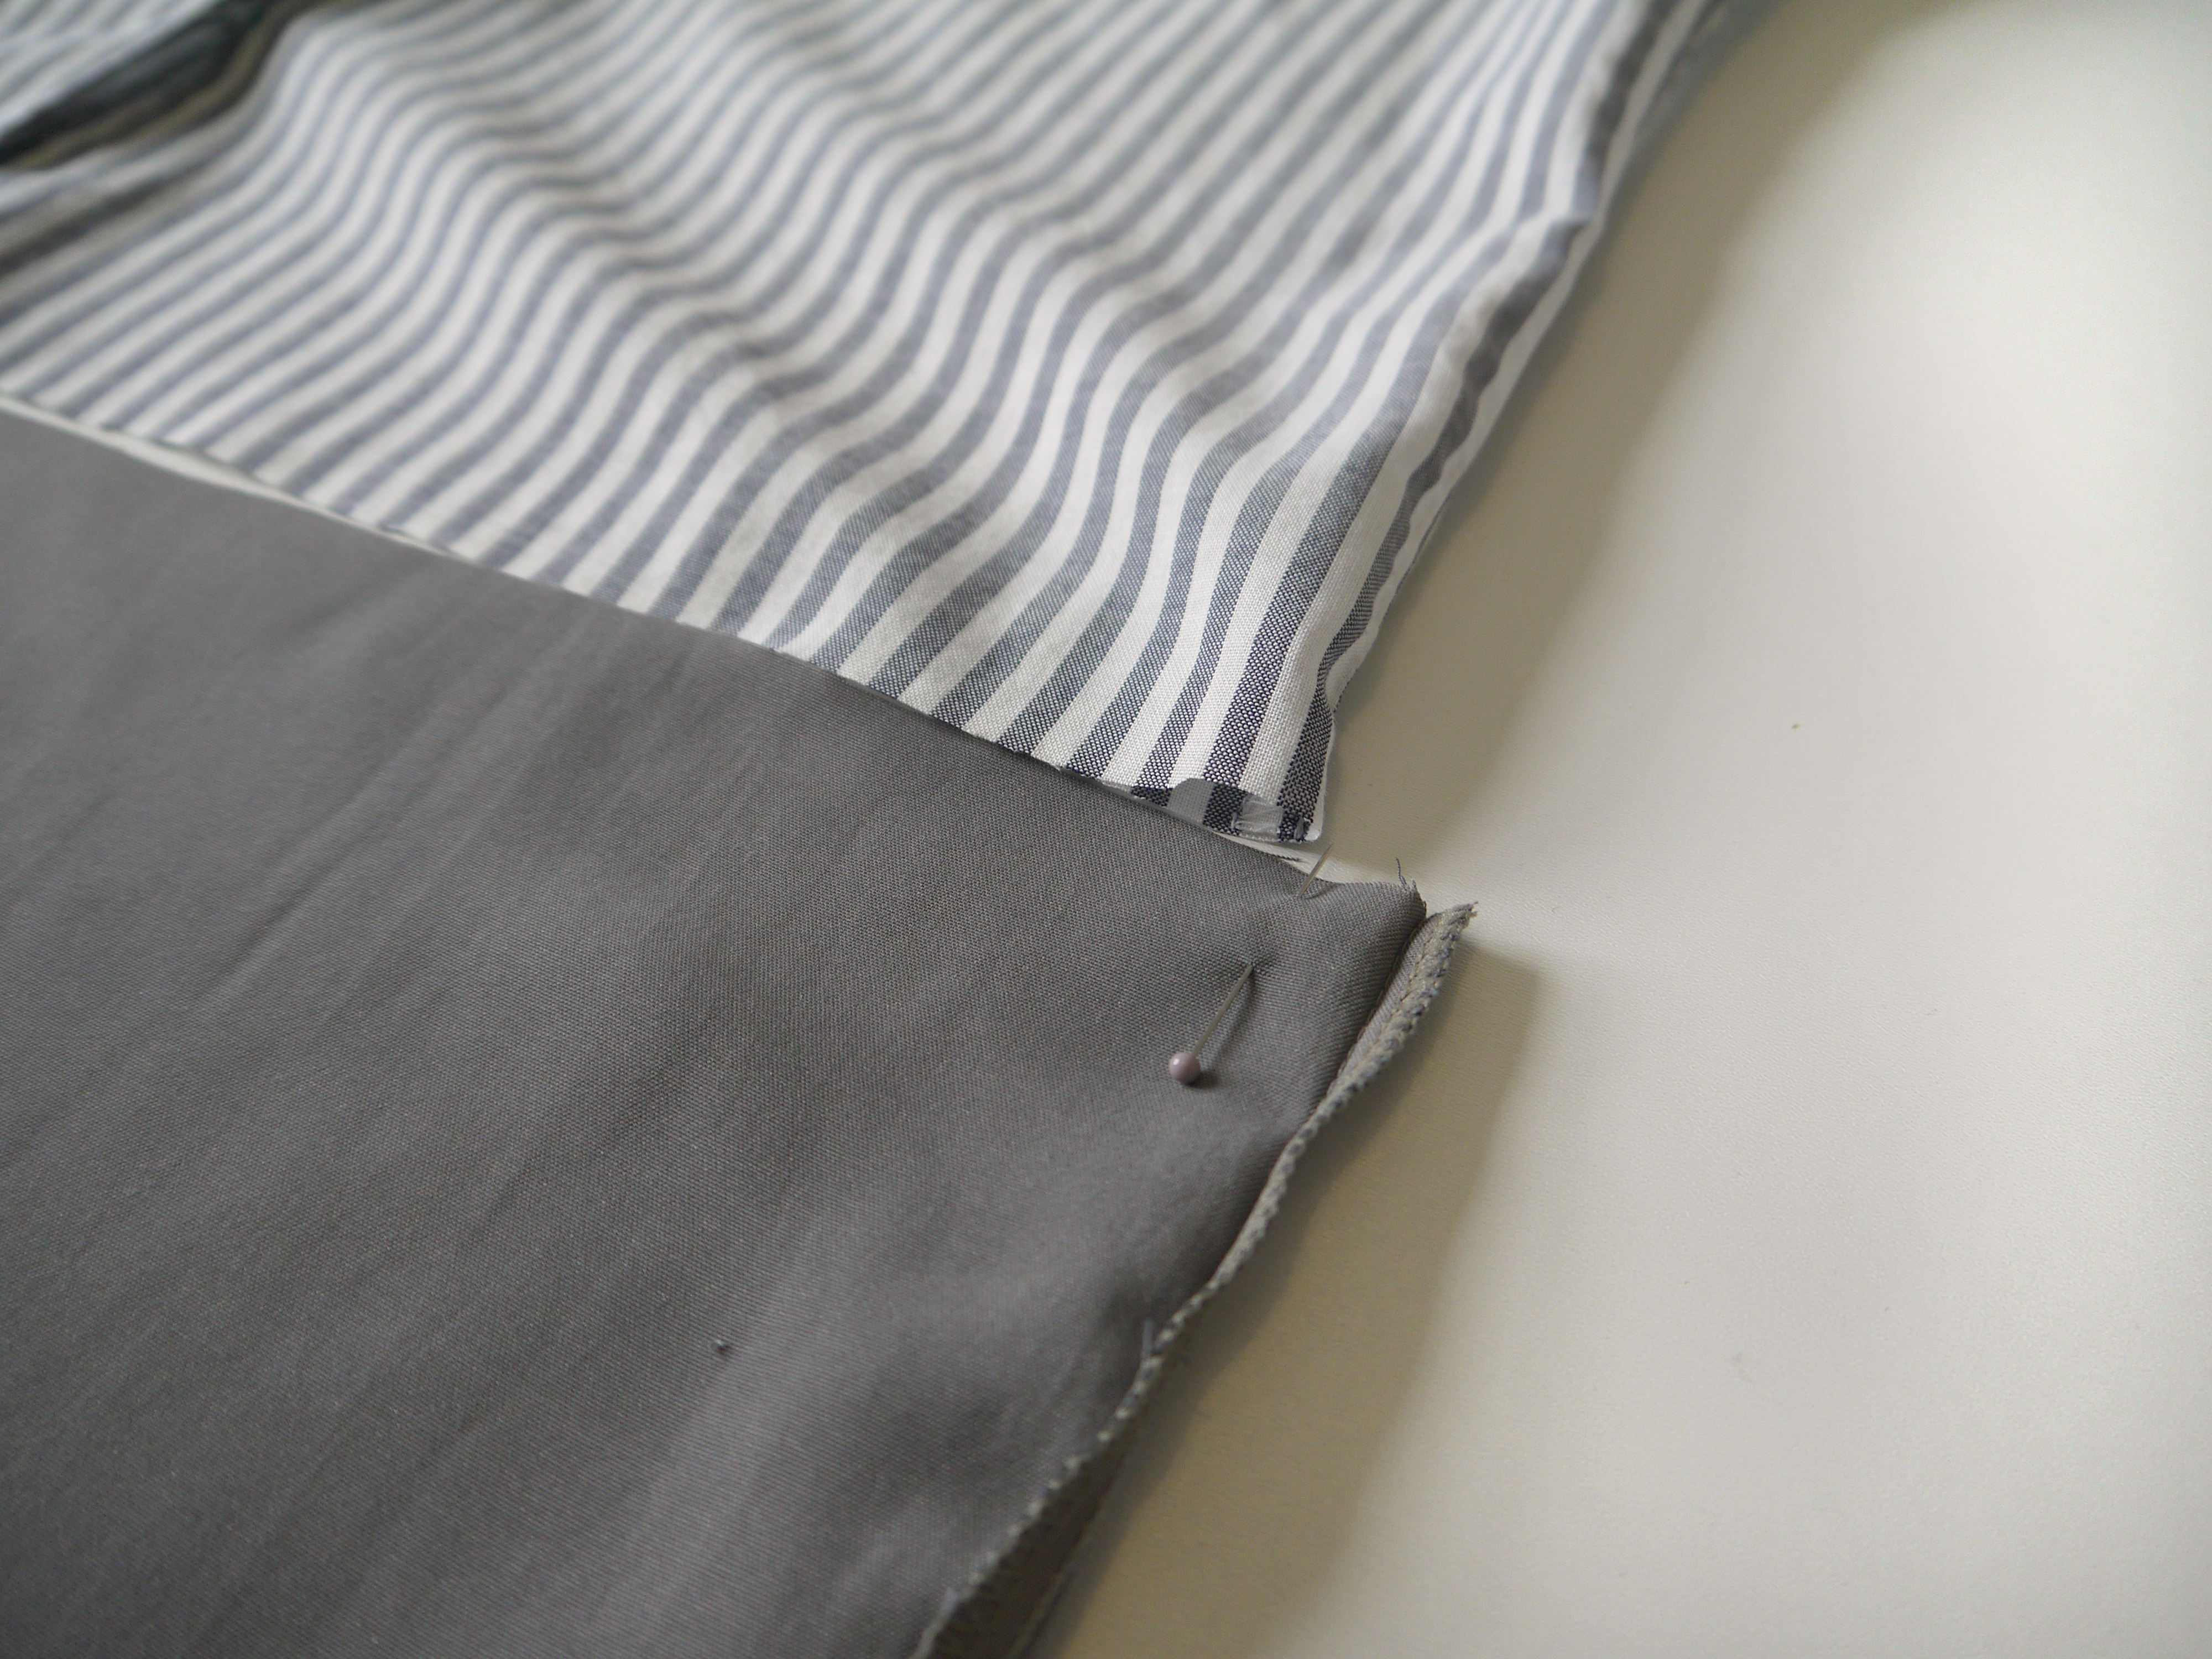
Then mark with a pin either side how much it needs to be taken in….


Turn 2 shirts into one at www.portialawrie.co.uk

Start stitching there, and taper your line of stitching gradually until you meet the original line of stitching as close to the hem as you can. Zig zag and trim, or serge the new edge…


Turn 2 shirts into one at www.portialawrie.co.uk

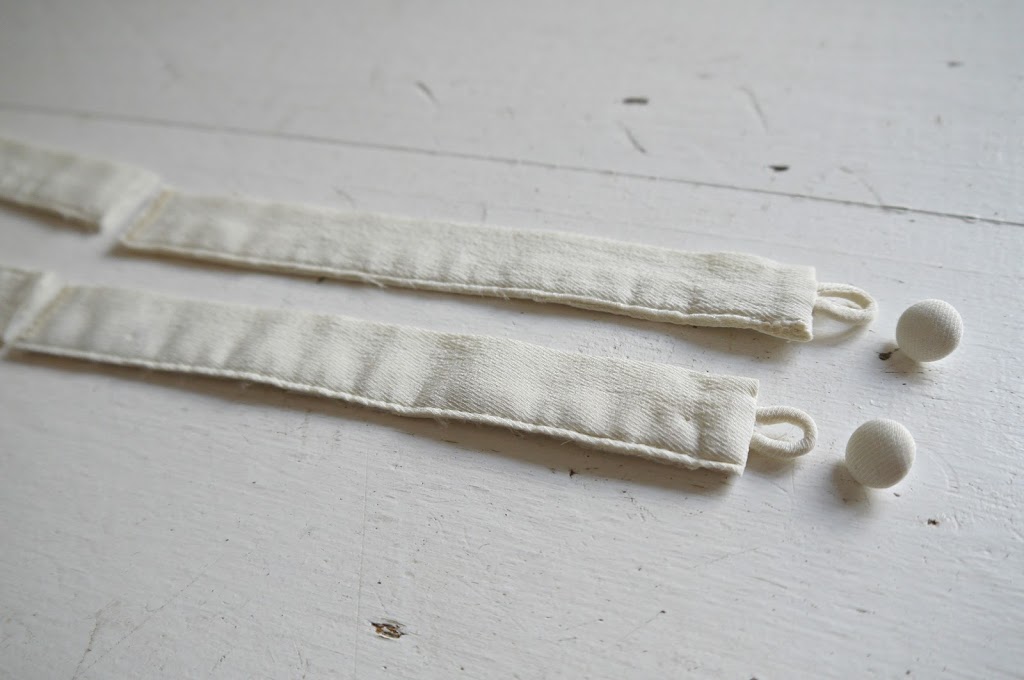
Now this is why we needed some wriggle room on the button plackets away from button holes and buttons. Simply joining the 2 pieces together would create too much bulk around the plackets and the join would be partially visible from side on. It just wouldn’t be a clean finish. Just cos it’s a refashion, doesn’t mean we don’t have standards! So unpick the plackets until you can lay them out flat…


Turn 2 shirts into one at www.portialawrie.co.uk

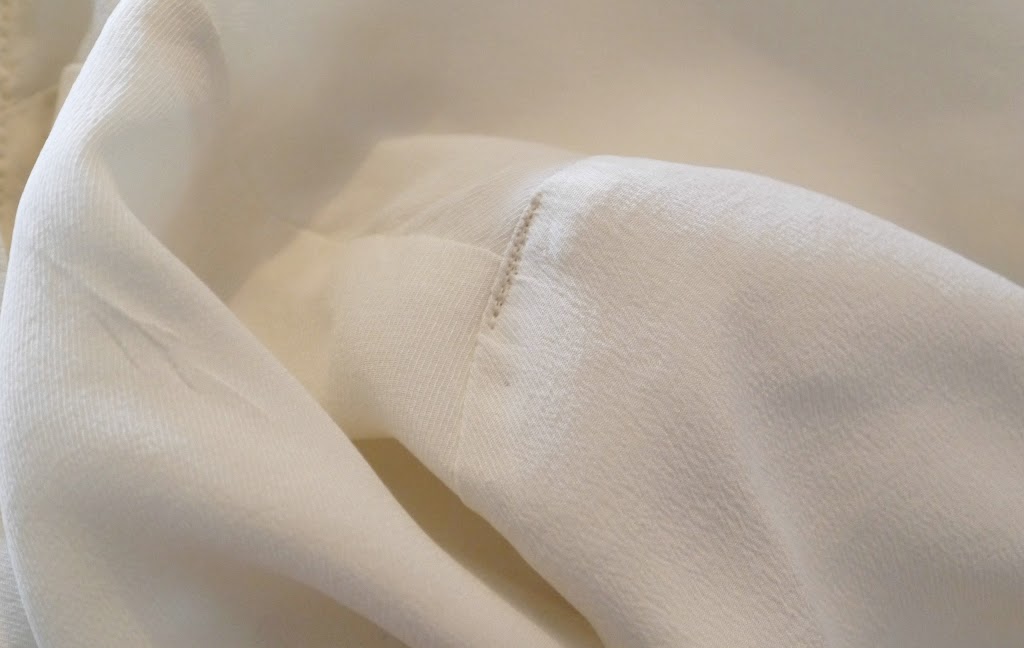
Then join the two pieces and finish the raw edge….


Turn 2 shirts into one at www.portialawrie.co.uk

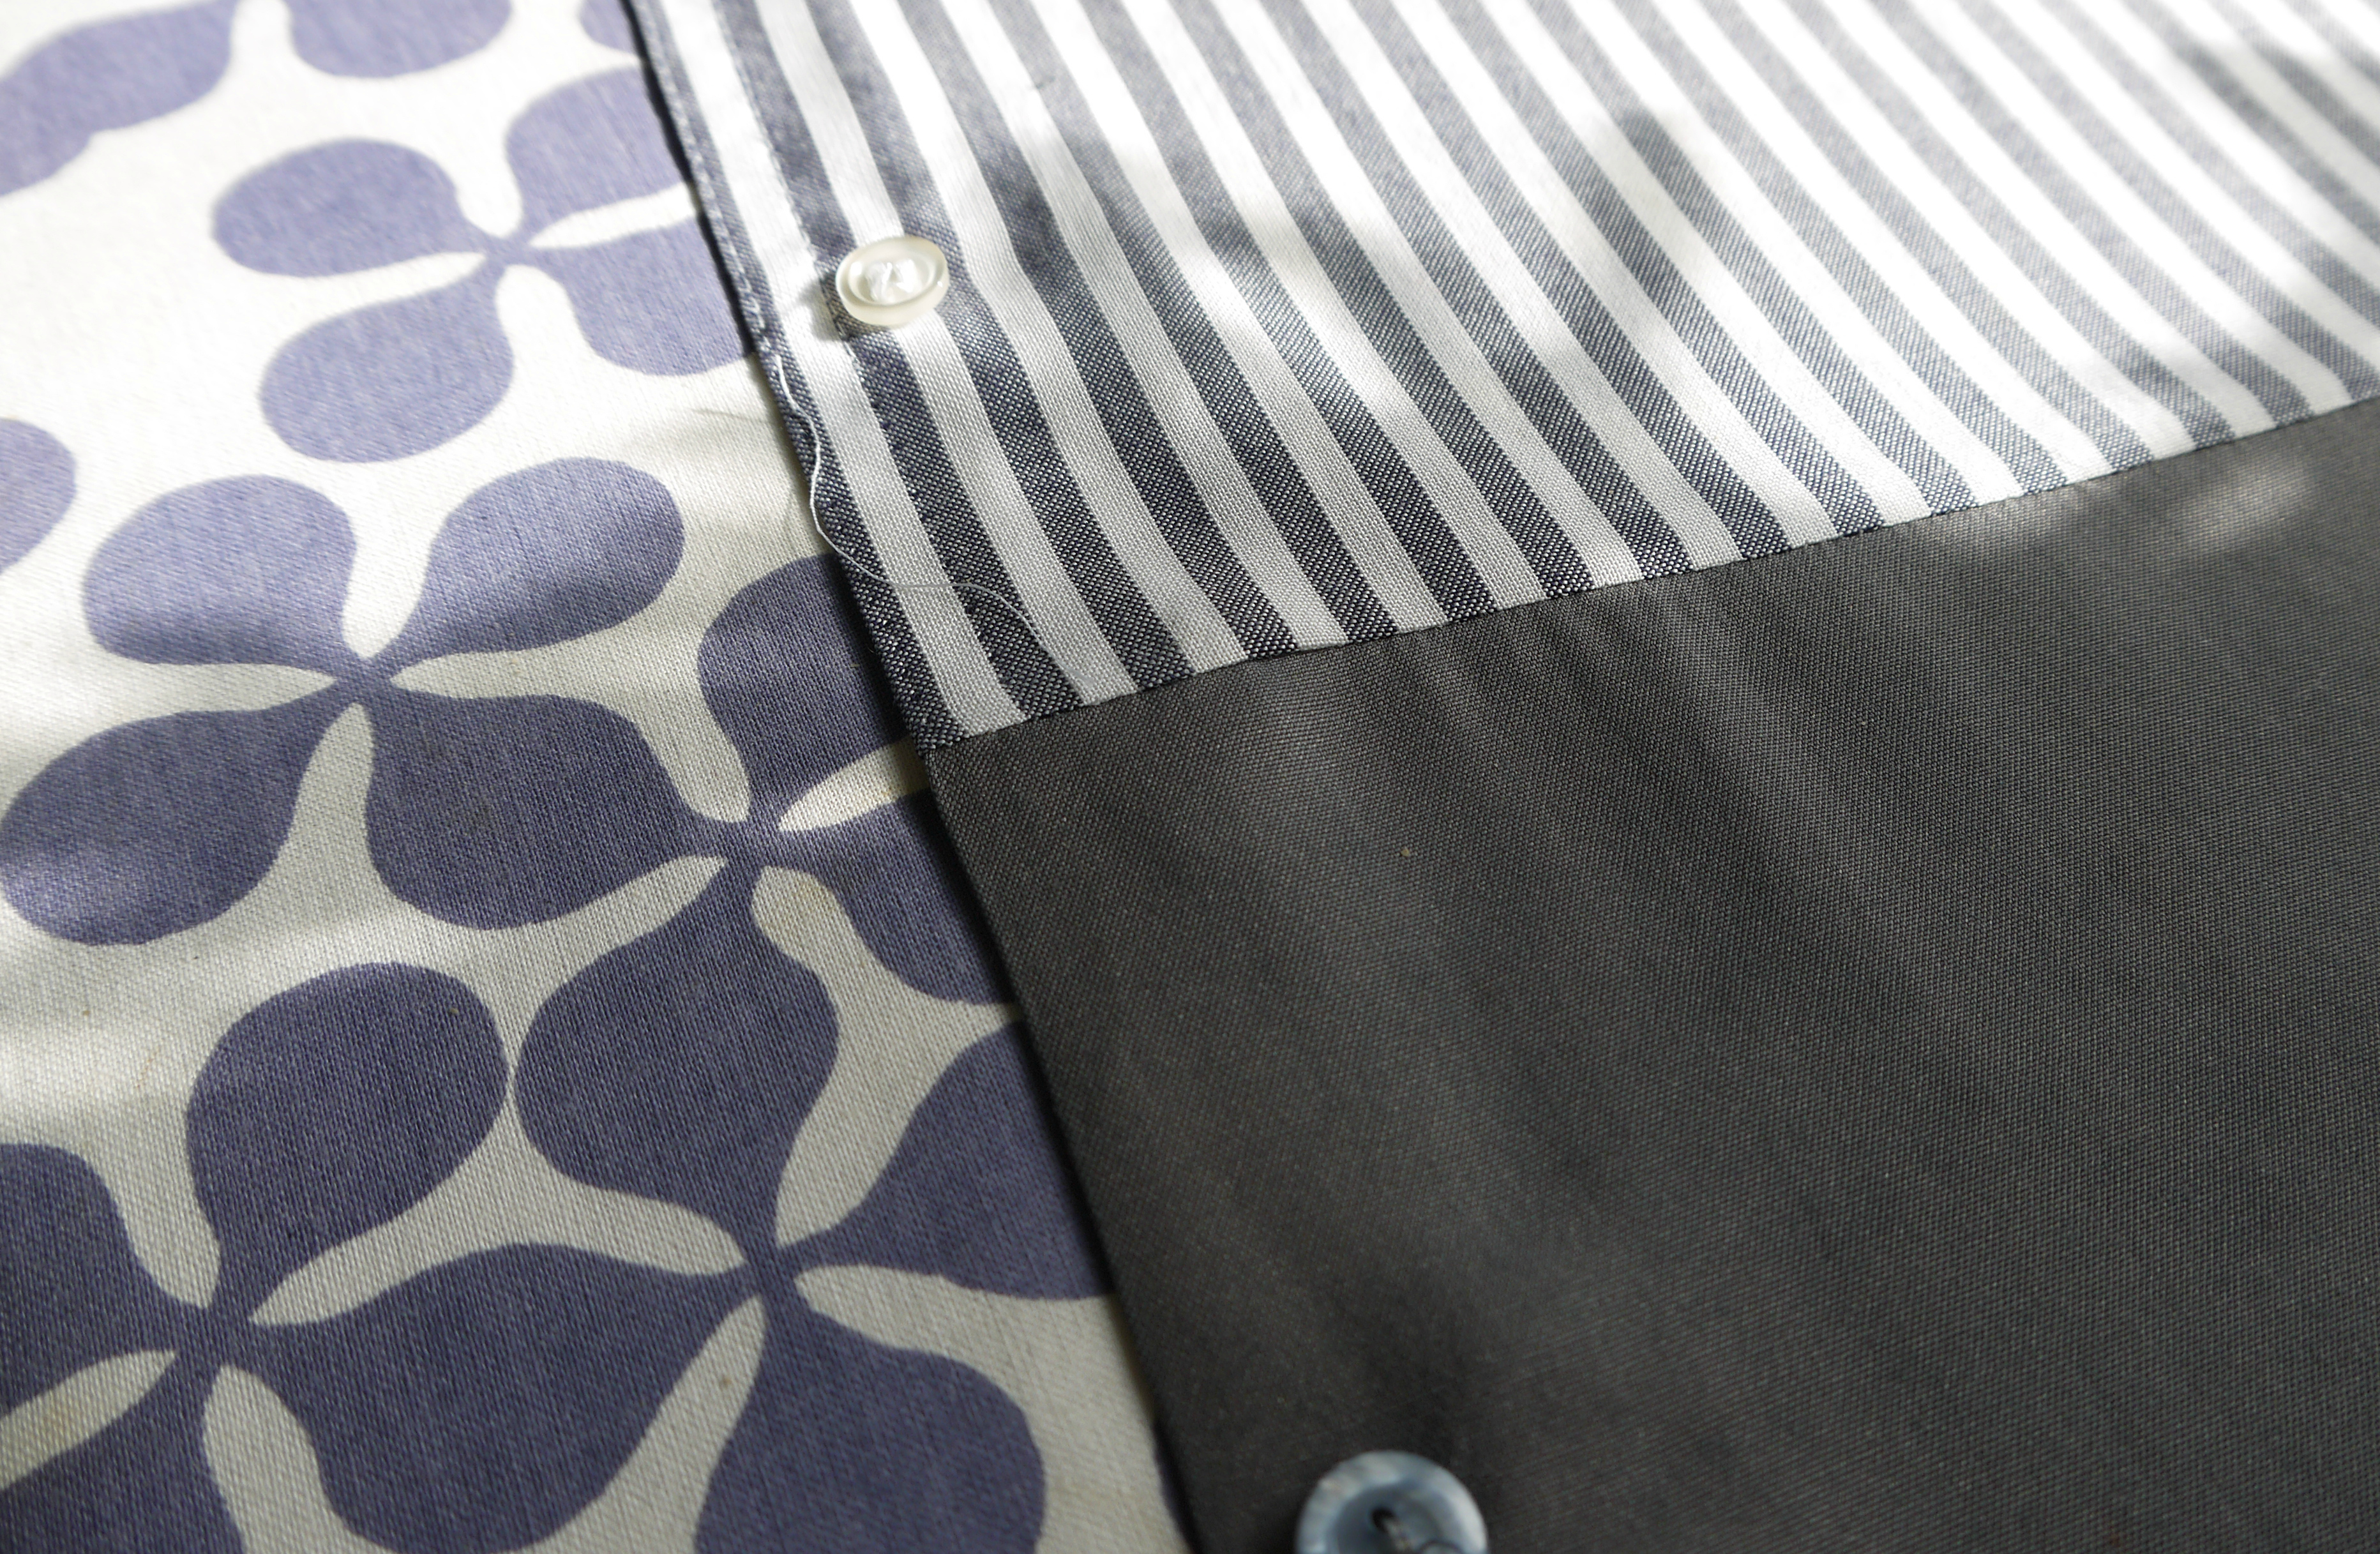
Then press everything, turn the button bands back under, and re stitch the plackets where the original stitching was…


Turn 2 shirts into one at www.portialawrie.co.uk

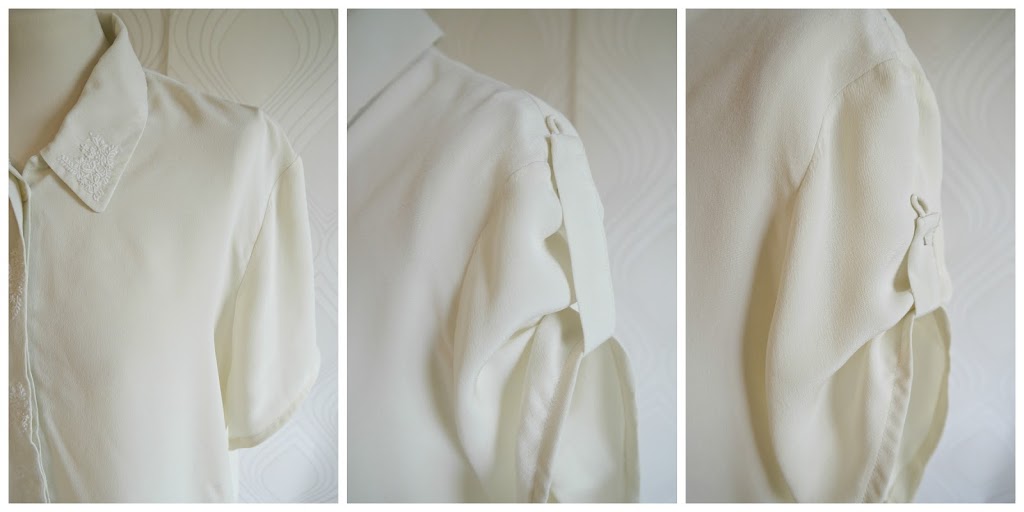
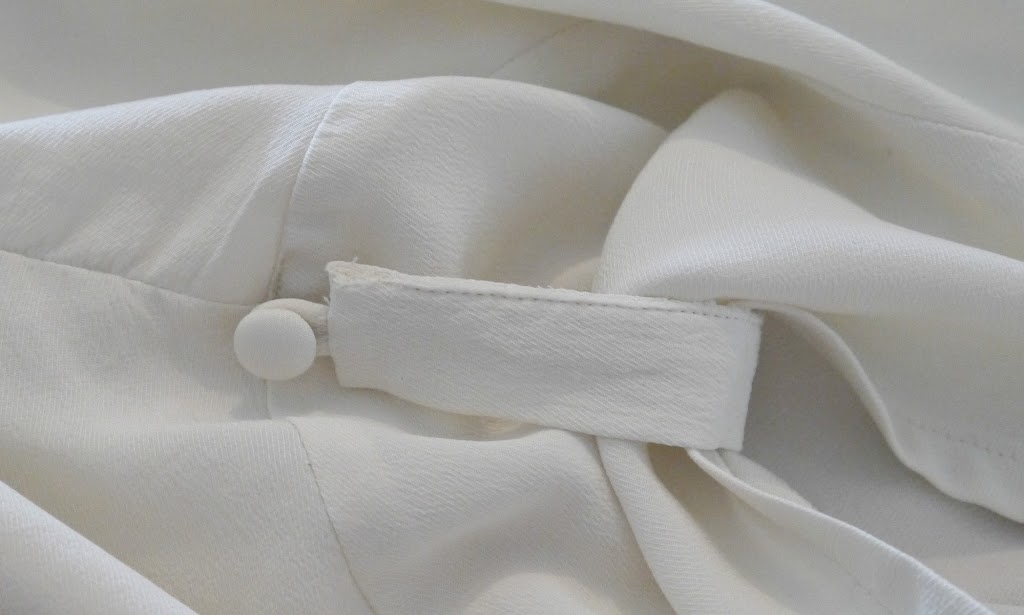
Et voila!. Much better!  I’m kicking myself a bit because the button spacing is a bit whack. It’s only just out, but I know it’s there (and so do you now because I just did a sewist classic and pointed it out, lol!) I either need to put another button hole in…or I might settle for a concealed press stud. But the join does line up perfectly at the placket, so I’m giving myself some kudos there considering I totally eyeballed it. (Are you guys serial measurers or do you eyeball it? I tend to flit between the two. I think I have a dual personality as a sewer. Accurate and neat with some things and truly slapdash with others!) The side seams are like a mm off, so near perfect. Overall though, this one is going in the “win” pile. I like.

What do you reckon? You gonna give this one a go?

Oh, btw, the diy for the necklace in this pic can be found here…

DIY, how to, Laura Ashley, refashioning, Restyles, silk, Thrifting, Tips and Tricks, Tutorials, vintage

DIY: Refashioned Vintage Laura Ashley Silk Shirt….

10/22/13

I come across shirts all the time on my thrifting escapades. I do love me a shirt, but long sleeves are a no no for me; and standard short sleeves I find a little bit “meh”. This particular shirt has been in my stash for….ahem….2 years…ish! It’s a vintage silk Laura Ashley number and whilst I loved the fabric and the gorgeous embroidery on the collar and placket, the sleeves were way too blousy. A real throwback from the 80’s/90’s when blousy silk shirts were kind of a “thing”. I’ve had this idea in my head for about a year and this week I finally got around to testing it out…..

So essentially, this is the shirt as it was. You can see that I have cut the sleeves to a short length. I also harvested the narrow cuff which had a covered button and rouleau loop fastening. That will come into play shortly…

I began by hemming my newly shortened sleeves…

Then I played with the placement of the harvested cuff piece, using it as a sleeve tab to ruche the sleeve…

I decided that the sleeve needed to be shorter and in the end went for a slightly more cap sleeve length. My sleeve tab piece is pinned to the underside of the shoulder seam. I then played a bit with the length of the tab and the position of the button loop on the outside until I came up with an arrangement I liked….

On the underside of the garment, I marked where my sleeve tab lined up with my shoulder seam…

I then removed any excess of the sleeve tab/former cuff beyond this line, finished the raw edges, and harvested the covered buttons. So I had what you see below….

I stitched the end of my sleeve tab to the inside of the shoulder seam…

Secured my harvested button on top of this line of stitching….

Then flipped the tab up from the inside and fastened….

Et voila! Blousey long sleeved shirt to tab sleeved cutie in a few easy steps!

I think it brings this vintage shirt bang up to date. I’ve already got a couple more shirts I want to try this technique out on…

DIY, finished garments, Pattern Drafting, refashioning, vintage

FO x 2 – Pleat Front Tunic and Refashioned Jeans

09/09/12

Yes peops! FINALLY the sewing famine has ended. Elliott started back at school on Monday and I was back in my sewing room like a rat up a drainpipe as soon as I’d dropped him off. So today I have 2 finished projects to share with you. A pair of jeans that I thrifted for £2 and refashioned from full length bootcut to cropped skinnies (see here for how); AND this pleat front tunic that has been rattling around in my head as an idea for weeks…..

I used this vintage pattern as a starting point and then set to work adapting it to fit my design. I fitted the bodice much more closely (seriously the ease on this pattern was ridiculous!), added bust darts and then sliced the pattern up a bit so I could insert the pleated panel……I opted for a more simple, ungathered skirt portion. I’ve dropped from a size 14/16 to a size 12 (Yay! Yes, you may congratulate me 😉 in the past few weeks, and I didn’t want a heavily gathered skirt adding volume to my newly trimmed down frame!! I think the simplicity of the lines works really well………

I’m putting together some diagrams of the drafting process for later in the week. It’s super easy and I will definately be using the technique again to add some detail and interest to plainer fabrics and garment styles..

There’s a bit of a funny story attached to this make. I wore this outfit on Tuesday to a meeting I had in London to do with the…shhhh…..TV thing…..;)
I had been in a rush to make this tunic the day before and in my haste had neglected to finish the armhole seams securely enough. (I don’t have an overlocker so opted for a simple zig zag seam finish). Well….act in haste repent at leisure! Turns out this fabric (a lightweight wool blogged here) is a b****rd for fraying. Half an hour before my meeting I realised that it had frayed right through my flimsy seam finish and there was a messy and rather obvious hole in one of the underarm seams! I spent the whole meeting with my right arm glued to my side and trying to only move it from the elbow down so as not to expose my slapdashery!

So I shall have to put my thinking cap on as to how to try and rescue this make. I rather like it and it would be a shame to see it consigned to the scrapheap after just one outing!!

miscellaneous, vintage

Let some bygones be bygones….

10/01/11

I, like many of us, am an avid fan of most things vintage. But these advertising snippets had me appreciating that whilst today we can pick and choose the best bits from whichever era we choose….SOME aspects are best left firmly in the past..I just had to share…Hilarious….;)

Personally, I exist to cook and clean for my man and find nothing more arousing than a packet of B&H being blown in my face…..

I hope Santa brings me a scrubbing brush and a years supply of Flash too….and yes ladies, marigolds and the smell of disinfectant are surefire ways to boost your cuteness…who knew?

Hmmm…….

Under the guidance of advice like this, you too can impress your health visitor….

and nurture your child’s self esteem….

with advice from menfolk such as these….

Px

Portia
Follow
Sewbox

© Copyright 2026. Portia Lawrie. All Rights Reserved. Managed by WordPress Web Dev Cornwall .