I once wrote a little poem about my seam ripper. That’s how much I rely on it. Odds are you use yours alot to. If you make mistakes, are a perfectionist, or you toile a lot, then you most likely have a close personal relationship with a seam ripper.  But did yours come with instructions for use? Nope mine either. And while you might think it’s pretty obvious how to use a seam ripper,  did you know there are several camps when it comes to how to “properly” use one? I say “properly” because I  don’t personally believe there is a right way and wrong way to everything and if something works for you, then it works. Period. What follows is simply the method that works for me! (I do alot of seam ripping!)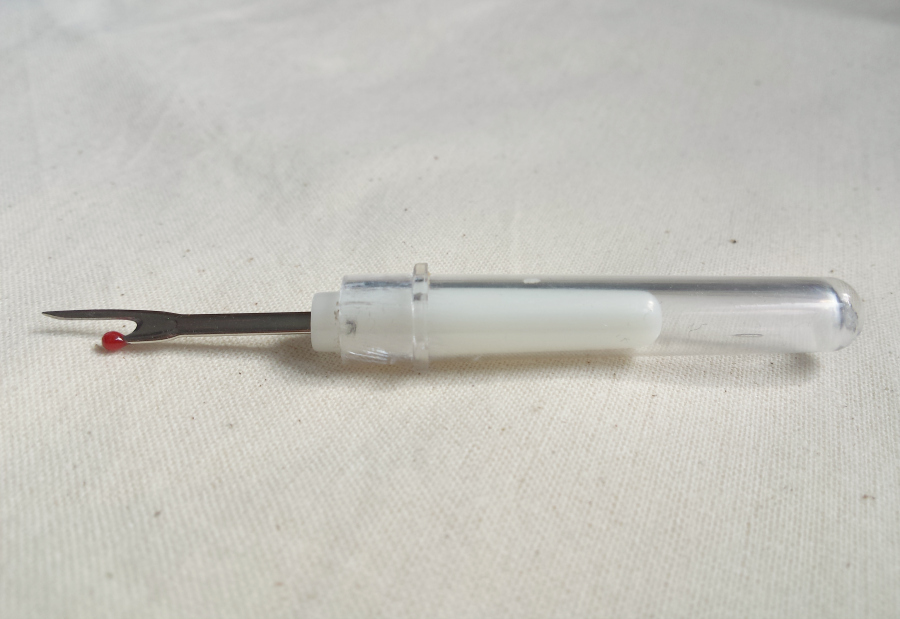
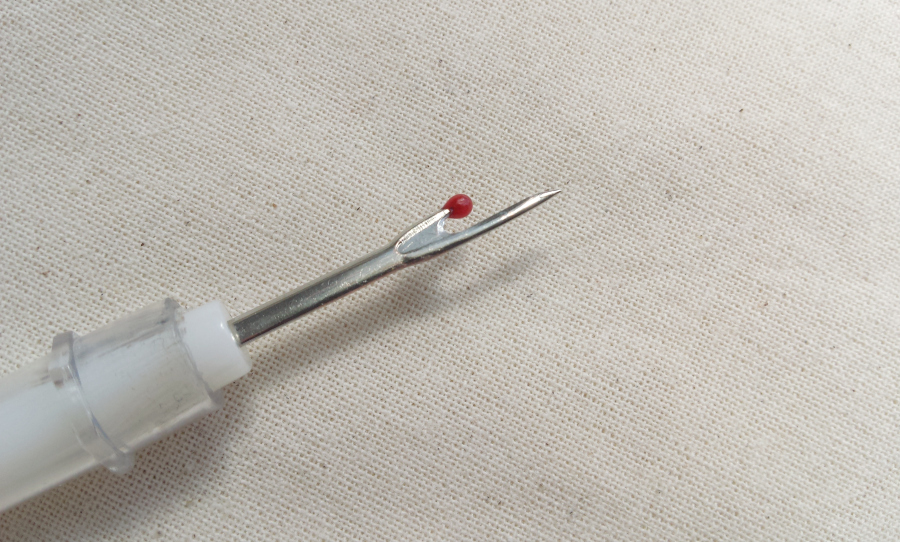
Firstly, for the sake of humility I should point out that the “Pro” I refer to in the title of this post is not me. It’s my sewing tutor who has been the cause of many a face palm moment for me. This method of seam ripping was one of them. Left to my own devices when I first started sewing,  I just automatically  ripped the stitches straight up the centre of the seam and pulled the seam apart as I went. This is one method of seam ripping. But I wasn’t even doing that properly, lol! Did you know that little red ball is supposed to face downwards when you seam rip? I didn’t! This is a great video of that method of using a seam ripper and she has the POSHEST seam ripper I have ever seen….Let’s call that Method 1…
A perfectly good method of seam ripping. Except for me..I worry that it can pull/distort the stitch holes on more delicate fabrics (if your stitch ripper isn’t particularly sharp, even more so) and all the little threads that result are really annoying. You can use a strip of masking tape to remove them, but I guess I kinda got used to this method which has the added bonus of being able to pull the thread out in large sections or even one continuous length. Less mess and faff.
Method 2:
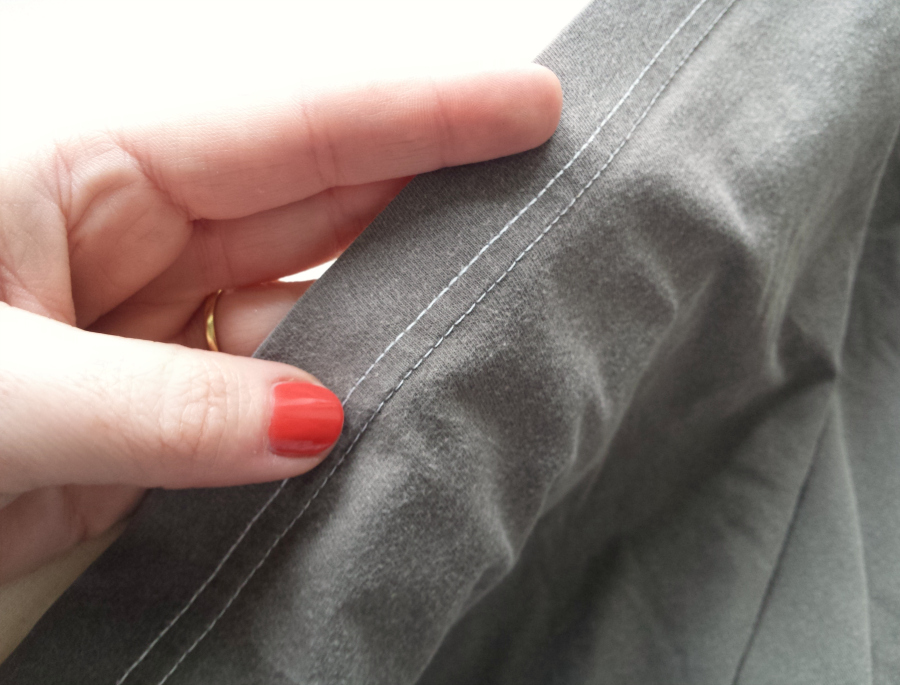
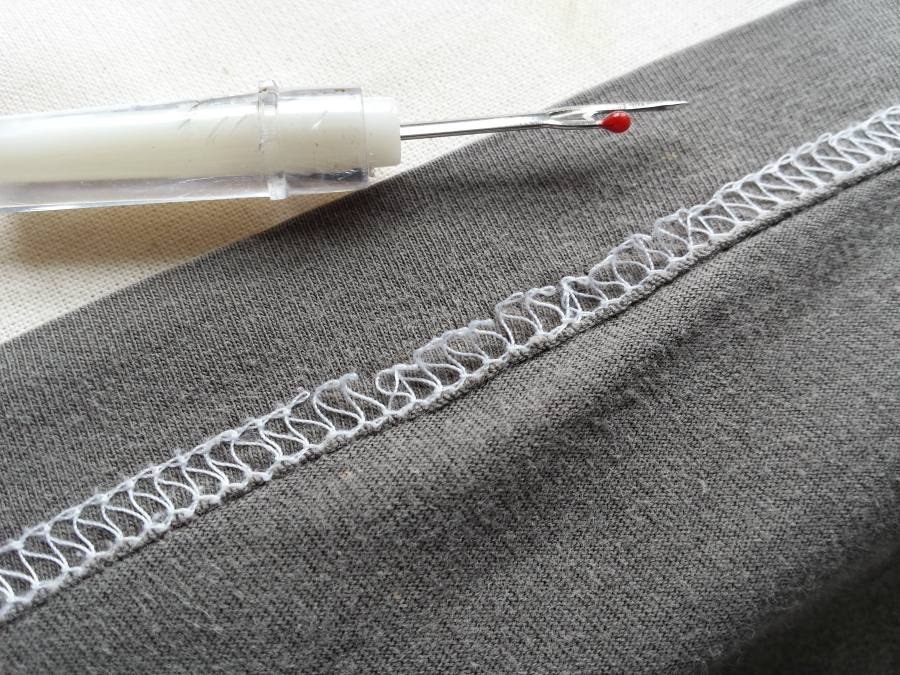
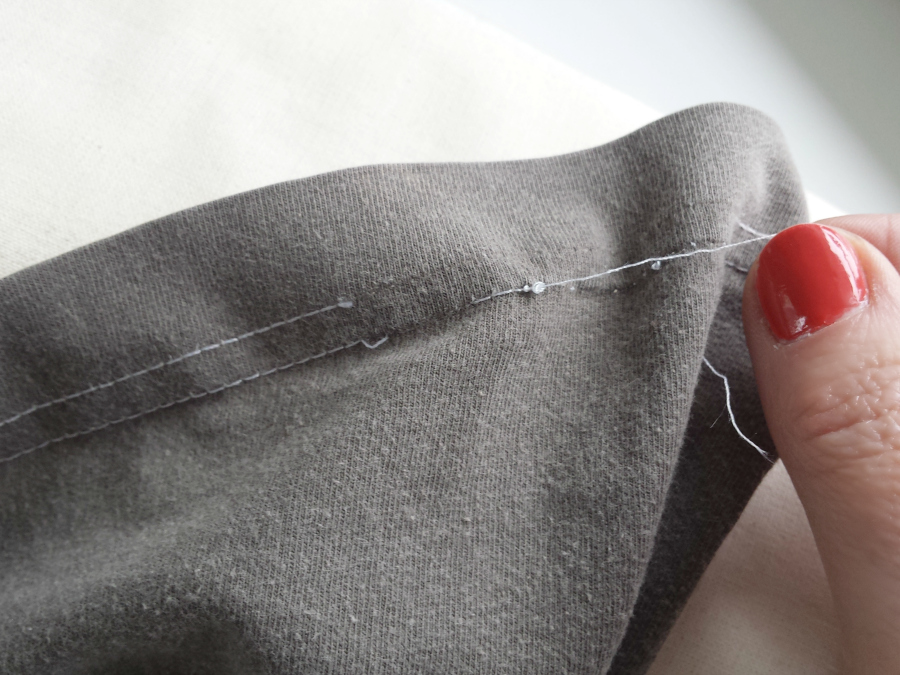
So I’m unpicking a serged hem here but the principles apply to a standard seam/hem too. There are your top stitches right there…
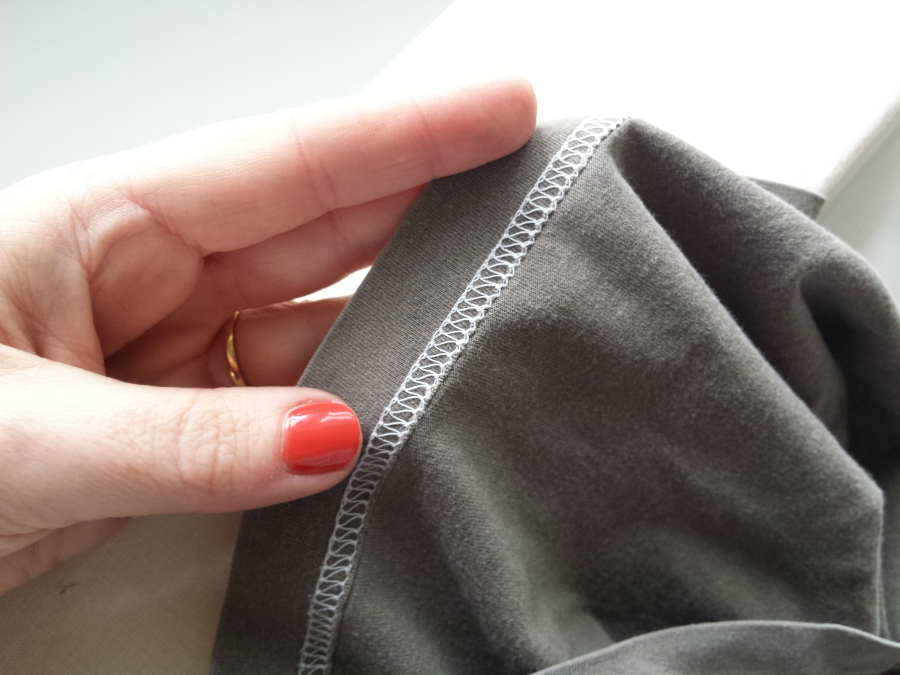
And there are your bottom stitches…
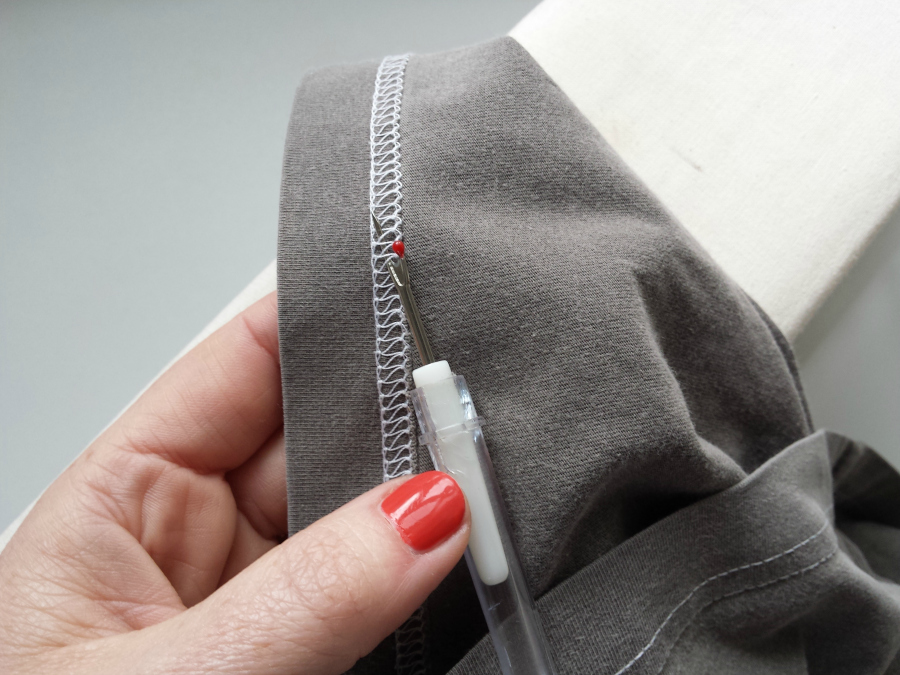
This is how I would have ripped out that stitching before my tutor showed me the light all those years ago! This is how I stitch rip everything these days..
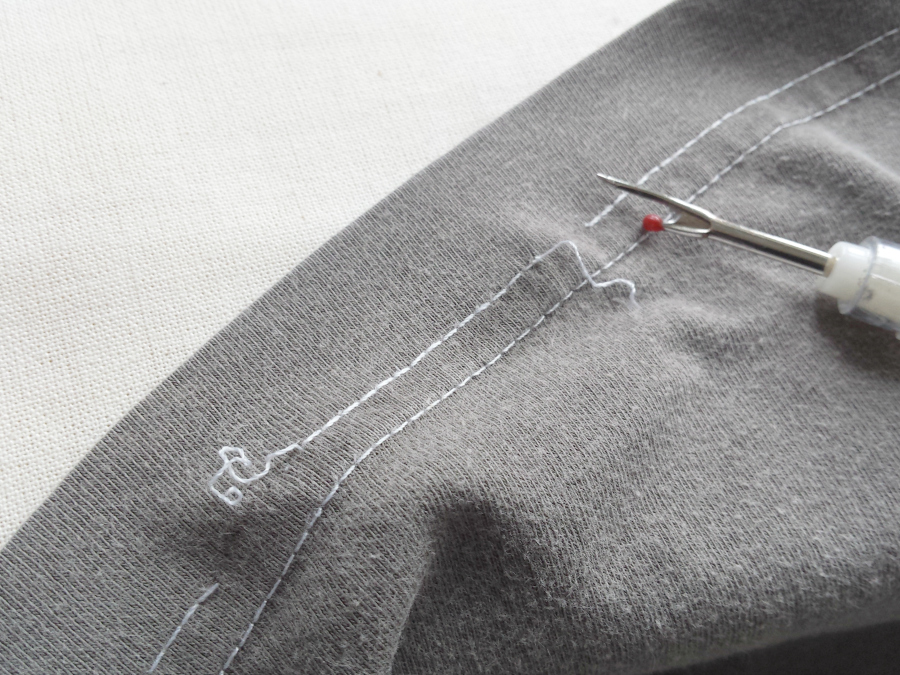
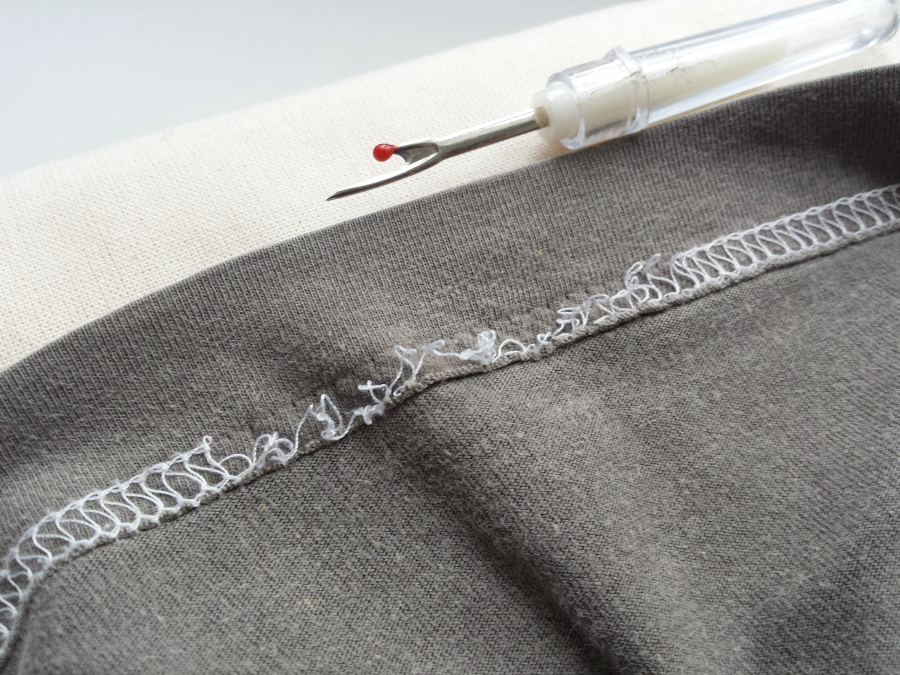
Depending on the fabric I work in 2-3″ sections at a time. I unpick from the top side, (ie the side that was uppermost when you stitched. Not the bobbin thread side) leaving a small tail at either end. No need to unpick all those stitches in the middle…
Just pull it right out!
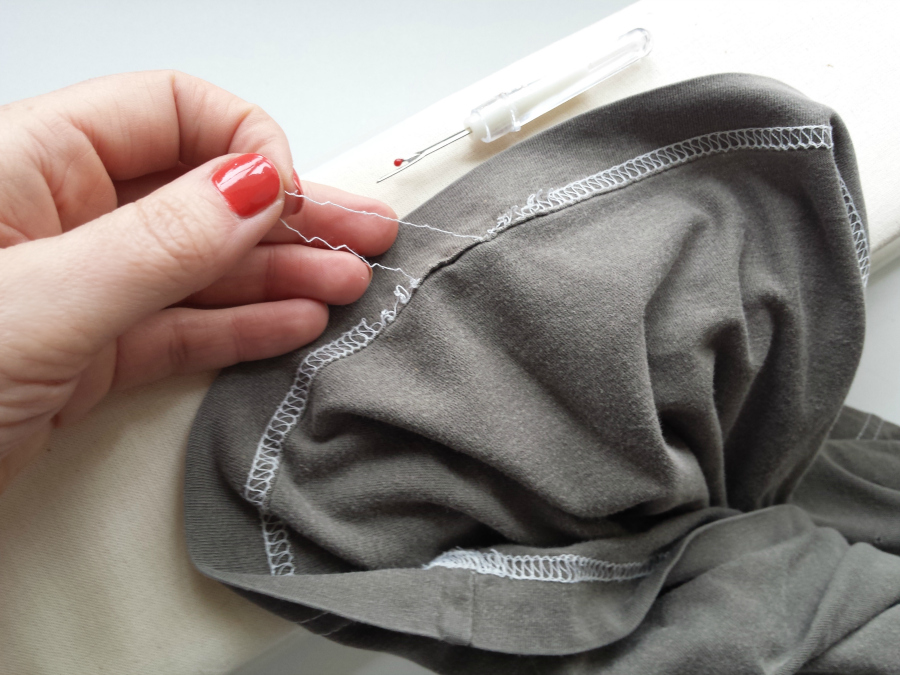
From the reverse? Pulling that section of topstitch out, releases the threads underneath. They’ve lost their anchor thread. Â If you were ripping a standard seam you can skip the next 2 steps…
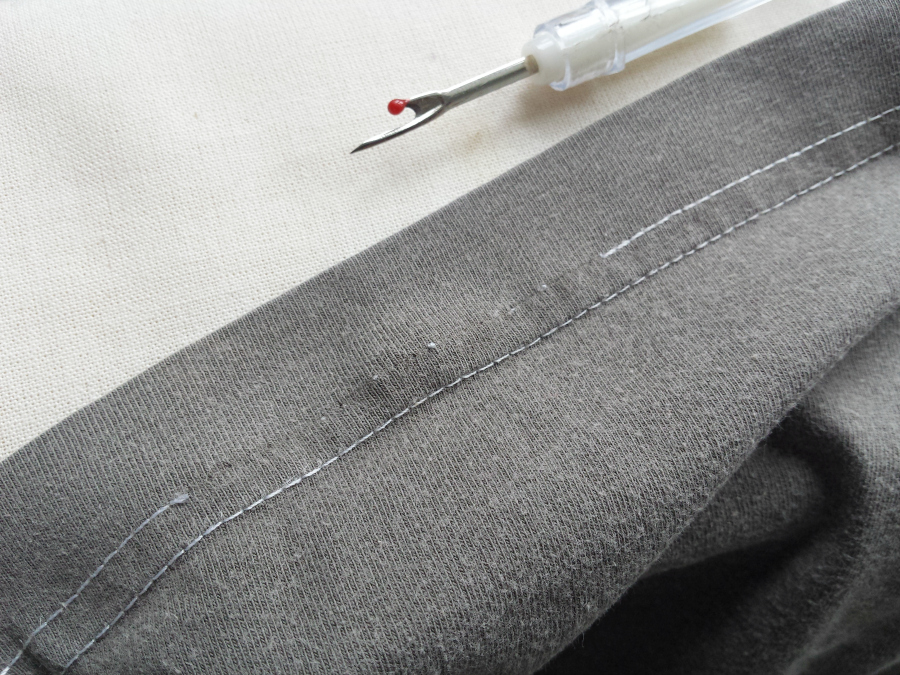
Pull out the adjacent line of stitching as you did the first…
and the rest of the thread on the underside is released…
From that point you can then pull the underside thread loose in one…long….
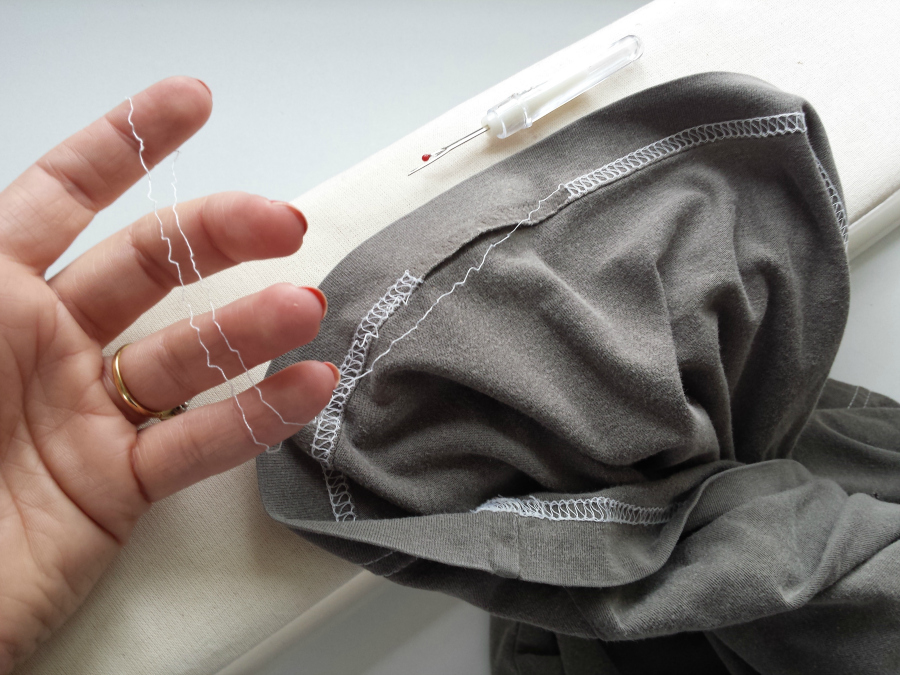
…continuous strip! No tiny thread pieces to hoover up.
This method works on serger and standard stitching. Â But personally I think both methods have their place. Method 1 is quicker but has more thread bits to clear up and you potentially risk damaging finer fabric. But if you’re making a toile in calico then it’s perfect because you’re not going to worry too much about pulling every tiny bit of thread out, calico is sturdy, and speed is the factor on a test garment as opposed to what marks or threads are left behind. Conversely, Method 2 is undoubtedly a little slower. But it’s marginal. And there’s less tidying up to do afterwards and less strain on the fabric itself.
Like anything in life…it’s horses for courses!
What’s your preferred method for removing stitches or do you use both methods?