I don’t know about you but there are some seams that I find tricky to press on a flat surface. (Some darts, curved seams etc) This is where a tailor’s ham comes in. They’re not essential but they are pretty handy. You can find out more about them here. We made some at college today so thought I’d share a quick tutorial for anyone interested in making one…
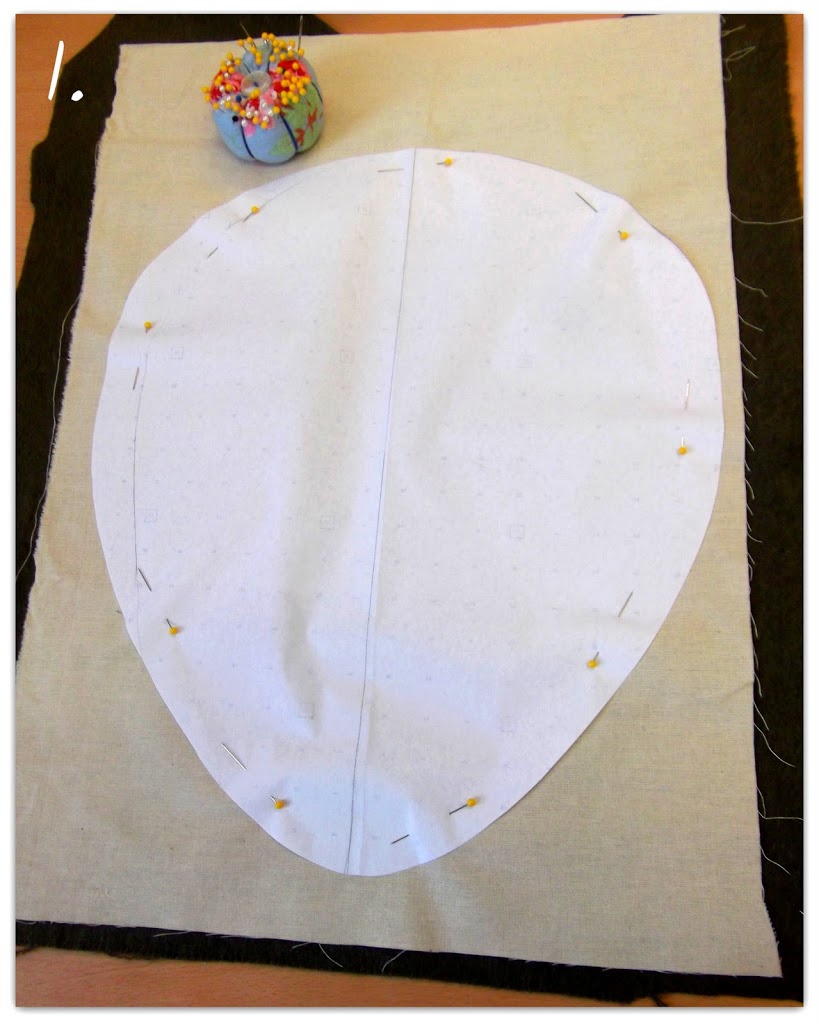 1) Sketch an elongated egg shape onto some pattern paper. (Mine was approximately 30cm in length). You’ll need a scrap of calico or other pure medium weight cotton fabric, and a scrap of suiting wool or similar. Again this needs to be pure wool. Layer one on top of the other and pin your ham pattern to it.

2) Once you’ve cut out, you’ll end up with something like this (you can now discard your paper pattern):

3) Sew all around the edges leaving a 2″ opening. It’s a good idea to do a double row of stitching one ontop of the other as the seams need to be pretty strong:

4) Trim the excess seam allowances….

5) Turn the right way out and stuff with clean sawdust/wood shavings (available from any pet store) using a wide necked funnel or a cone made out of strong card. Keep stuffing (a bit laborious but hang in there!) and compacting it down (really pack it good and tight) using a knitting needle or similar until it is a very solid smooth “ham” shape :

6) Hand stitch the opening closed:
