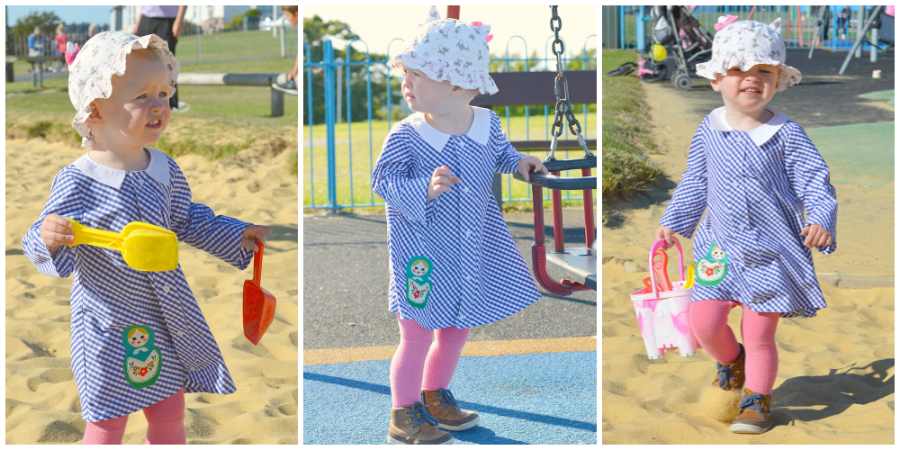
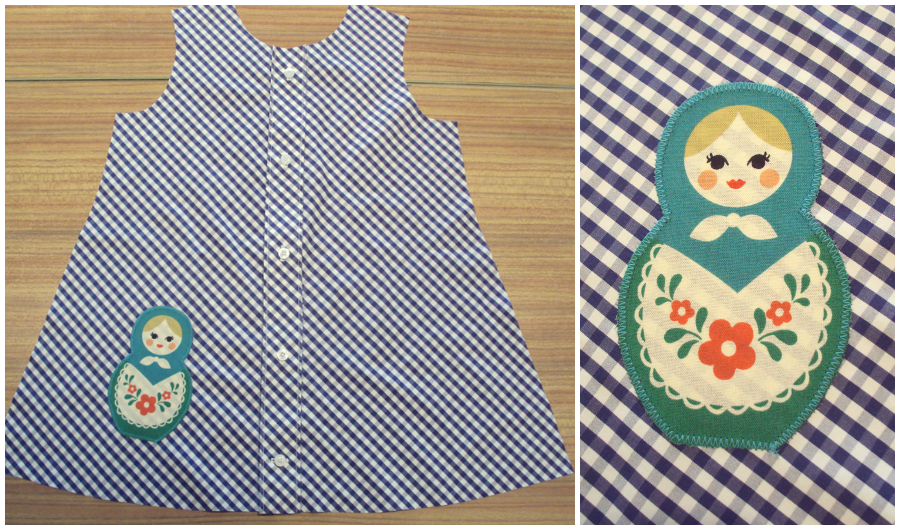
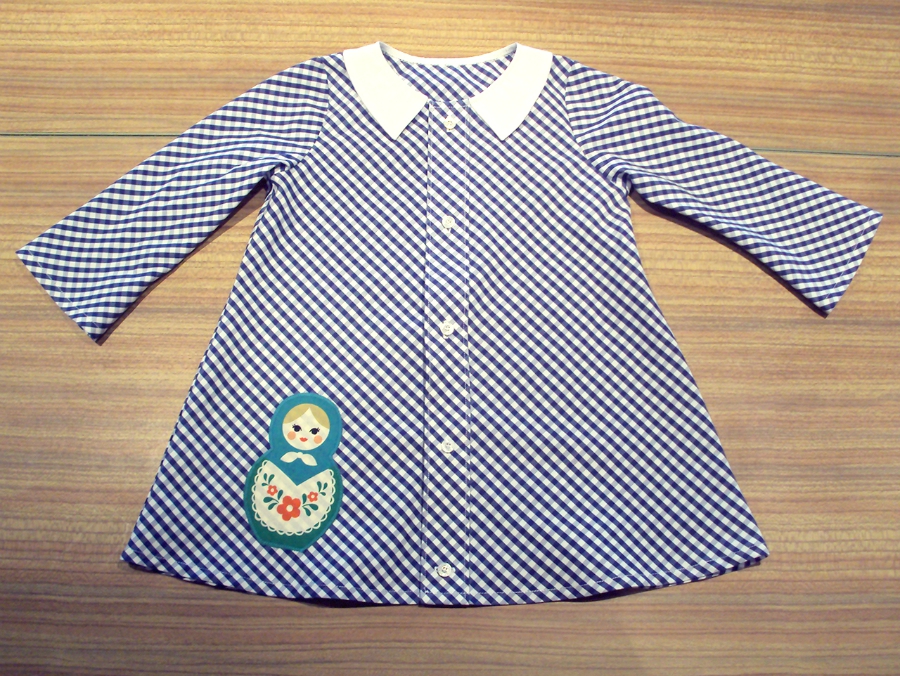
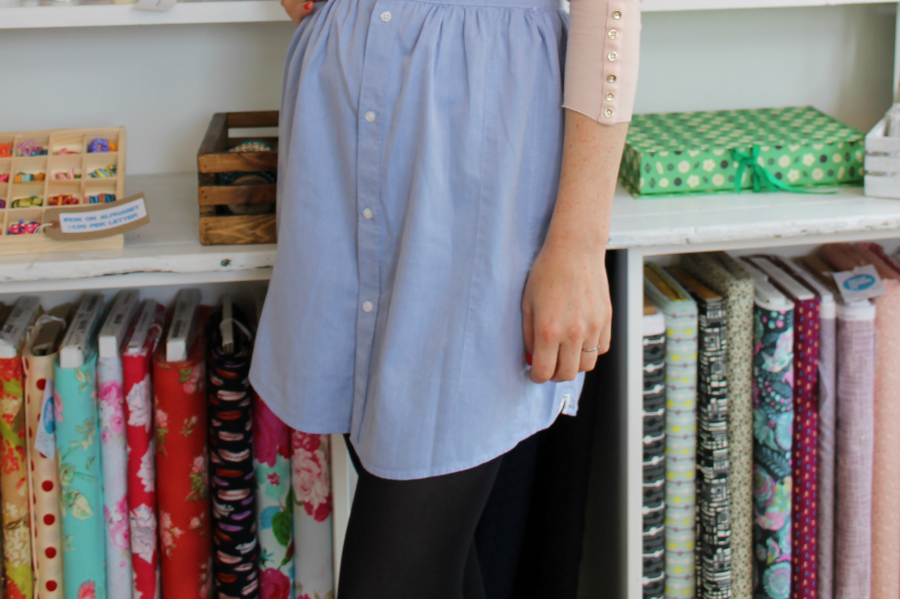
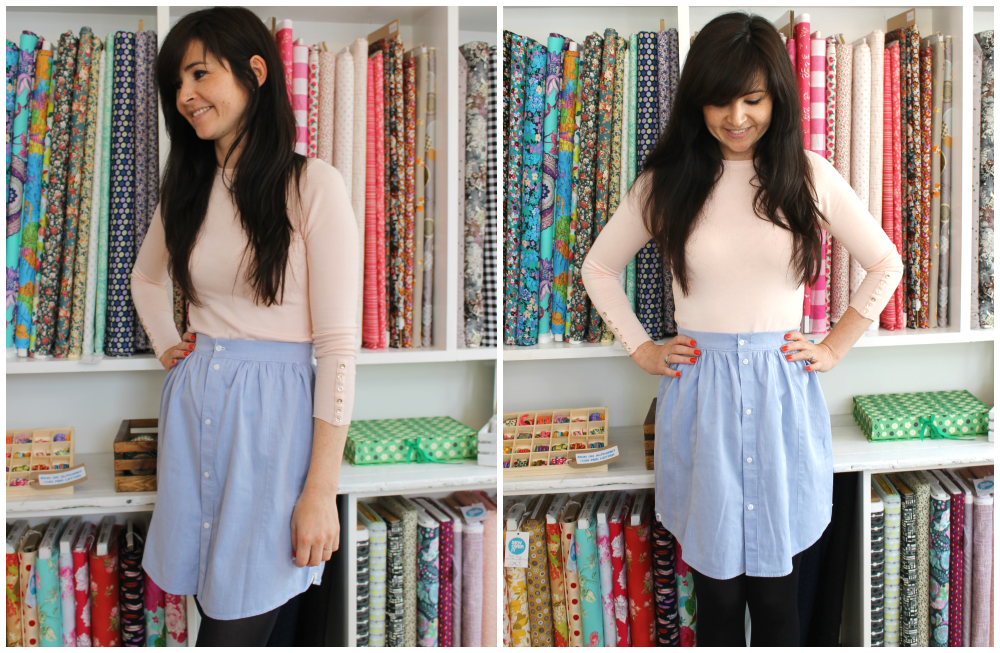
I love men’s traditional formal dress shirts with the bib fronts, I think that bib section provides the perfect blank canvas for a bit of textilian magic and have had ideas buzzing around for a long time. What more perfect excuse than the Refashioners?!
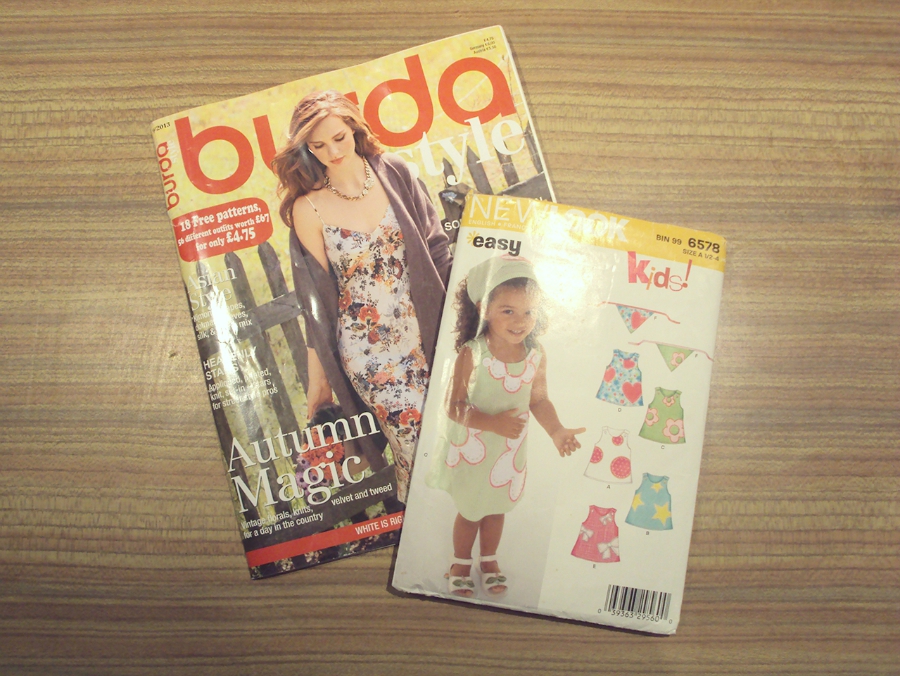
I wanted to use one of the patterns from my book “The Beginner’s Guide to Dressmaking†as a starting point, here’s how I combined the two.
What do you need?
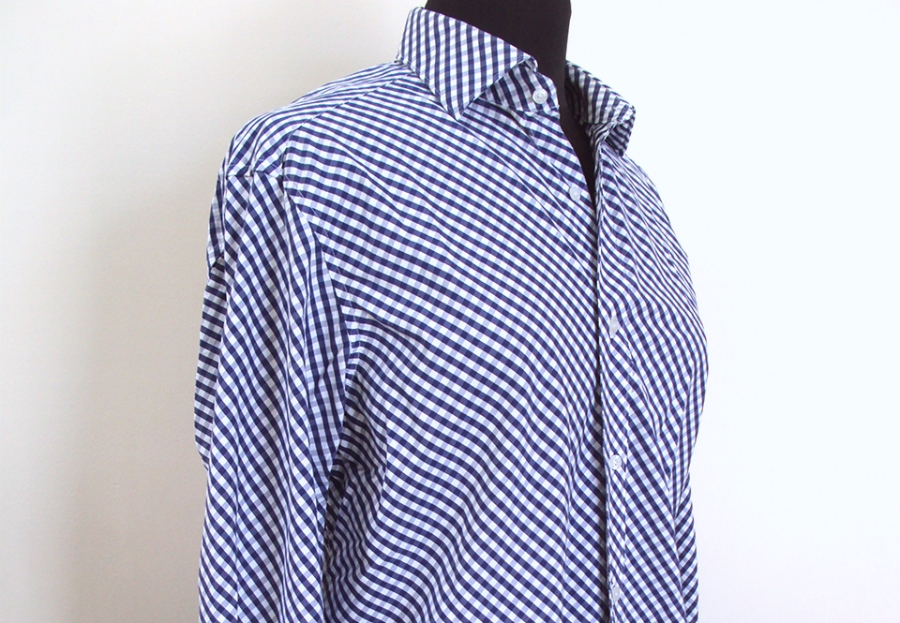
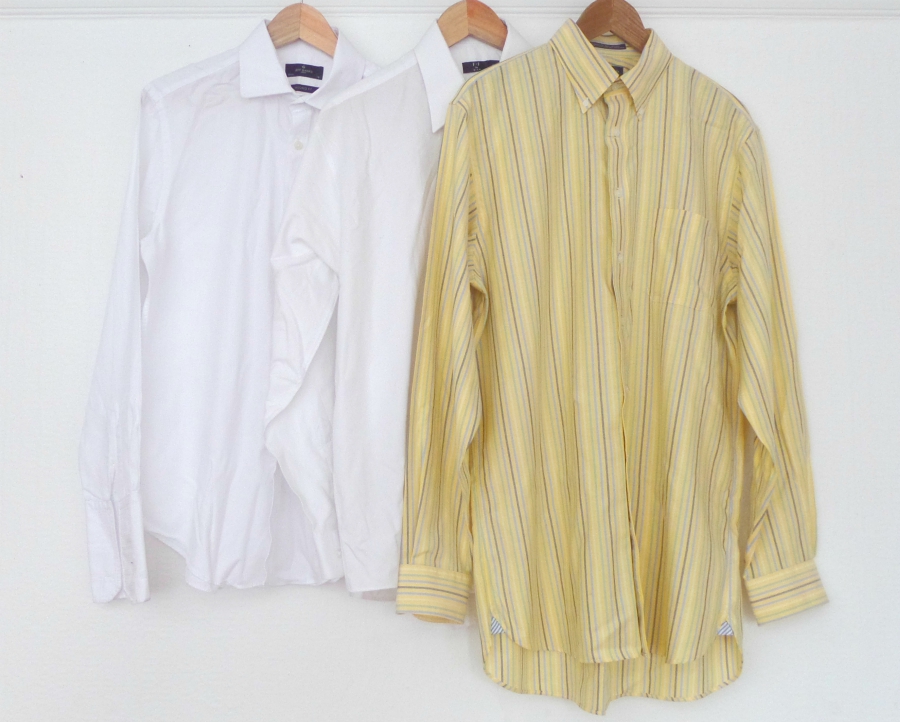
- 2 large men’s white long sleeved shirts
- 1 large men’s striped long or short sleeved shirt
- lightweight iron-on interfacing.
 Â Preparing the pattern:
 Preparing the pattern:
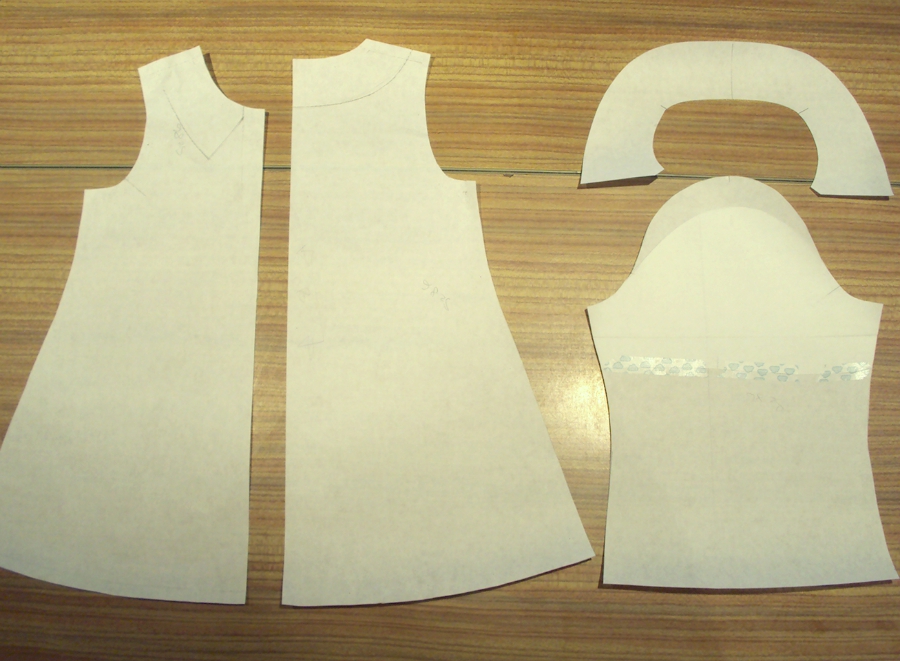
I’ve used the sleeveless shift dress pattern from “The Beginner’s Guide to Dressmaking†as a starting point, but I wanted it to be a looser more flared shape.
Flaring the dress front and back:
Move the bust dart to the neck end of the shoulder. To do this, draw a straight line through the middle of the bust dart and the middle of the waist dart, where they intersect is the bust point. Extend the bust dart to this point and draw a straight line in the new position (neck end of shoulder) to the bust point. 
Trace off the section formed by the top edge of the existing (lengthened) dart and the line of the new dart onto a new piece of paper and cut out. PIC3
Place this section back onto the pattern but “close†the old dart. 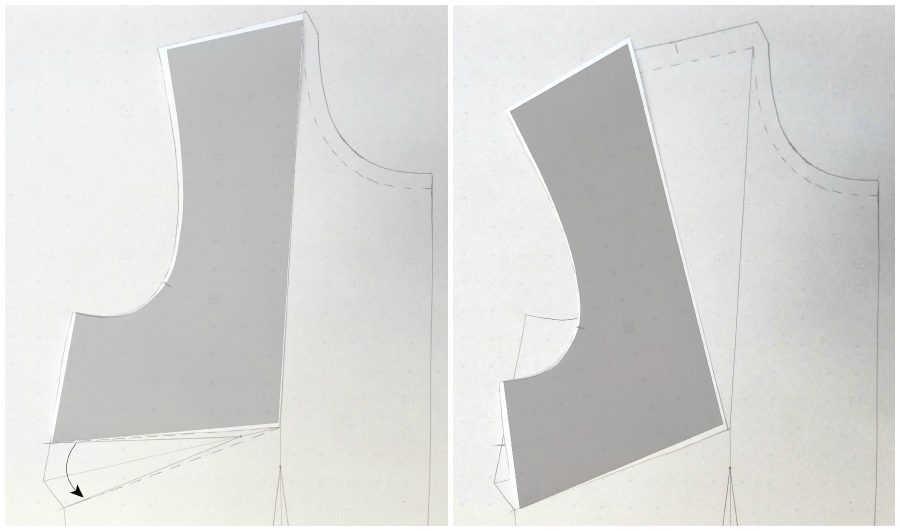
Drop a vertical line (parallel to the centre back) from the point of the shoulder dart on the dress back. Do the same from the point of the new bust dart that you’ve just created on the dress front. Cut up the lines and fold out the darts and the cuts will open. 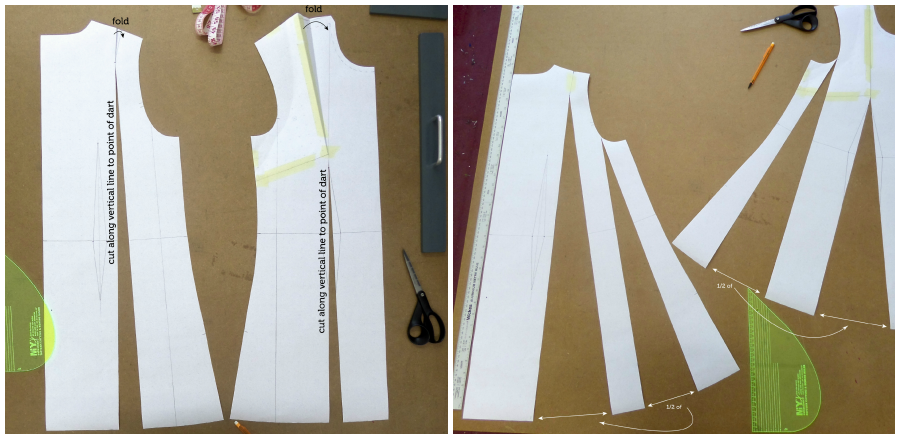
Drop a vertical line (parallel to centre front and centre back) in the same position on the armhole on the dress front and back, cut up the line leaving it just attached at the armhole and open each cut half the amount of the first cuts.
Re-Shape the neck:
Slightly lower the front and back neck so that the dress can be pull-on. Do this by placing the dress front and back together along the shoulder seam lines (overlap the seam allowances) to ensure a smooth join at the shoulder. 
Trace off your new dress front and back pattern pieces.
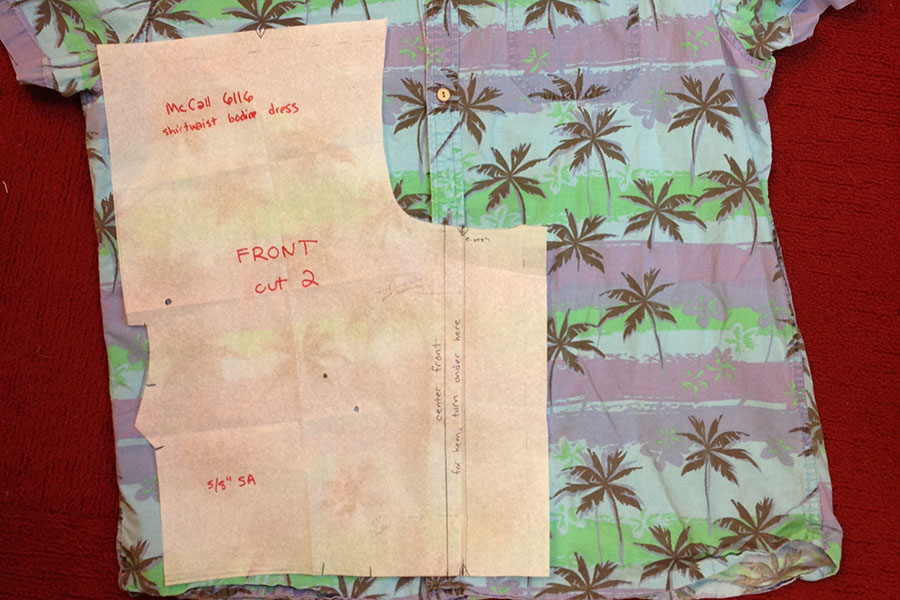
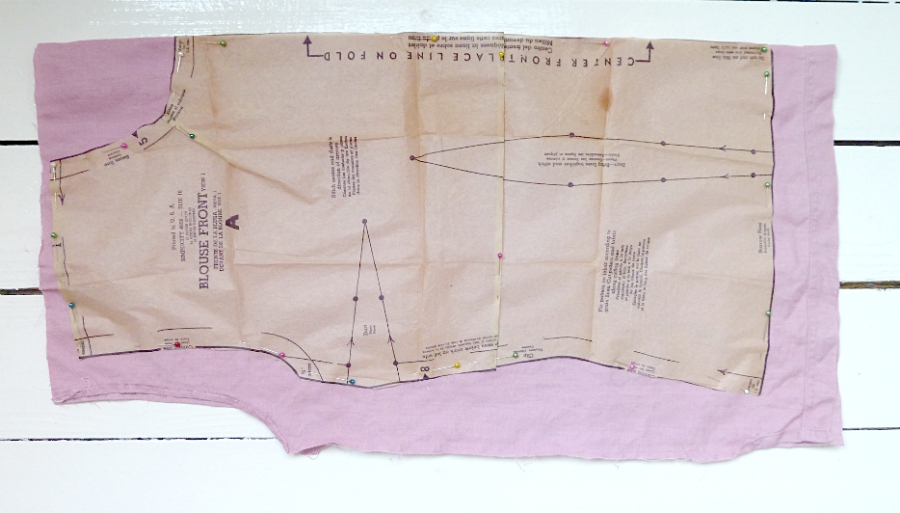
Trace off the bib front:
Draw the shape of the patchworked bib onto the dress front. This is the bib seamline. 
Add notches to the bib seamline and trace off the bib piece. Add seam allowance of 1cm maximum to the curved and notched bib seamline. Do the same to the dress front.
Work out patchwork design on bib:
Draw out your patchwork design onto the bib pattern piece and sketch in which direction you want the stripes to run – it’s useful to start on the half pattern and then mirror what you’ve done to see how it will turn out.   Add notches to the seamlines and trace off the individual pattern pieces, add seam allowance and number the pieces so that you know where they go when you’re piecing the bib section together!Â
Add notches to the seamlines and trace off the individual pattern pieces, add seam allowance and number the pieces so that you know where they go when you’re piecing the bib section together! 
It will make joining these pieces easier if you also mark dots where the seamlines intersect. 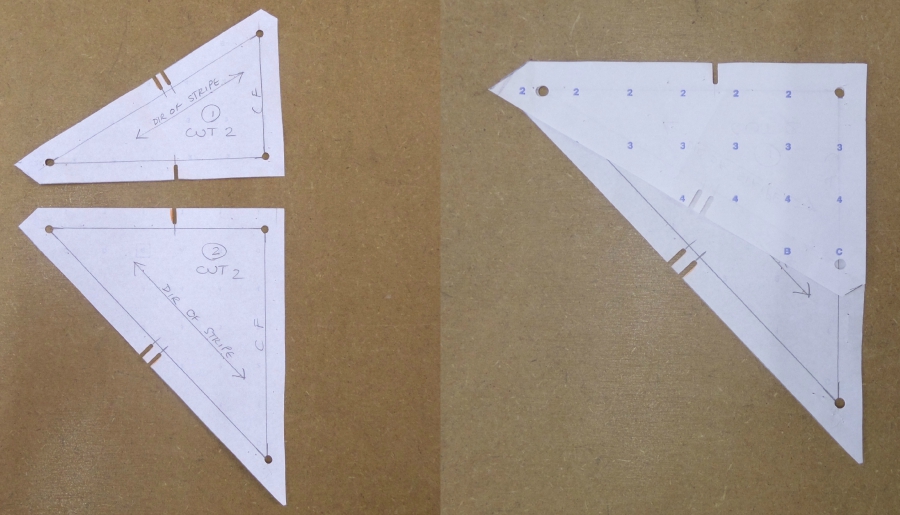
Cutting:
- From the white shirts you will need 1 dress front / 1 dress back / 1 bib lining.
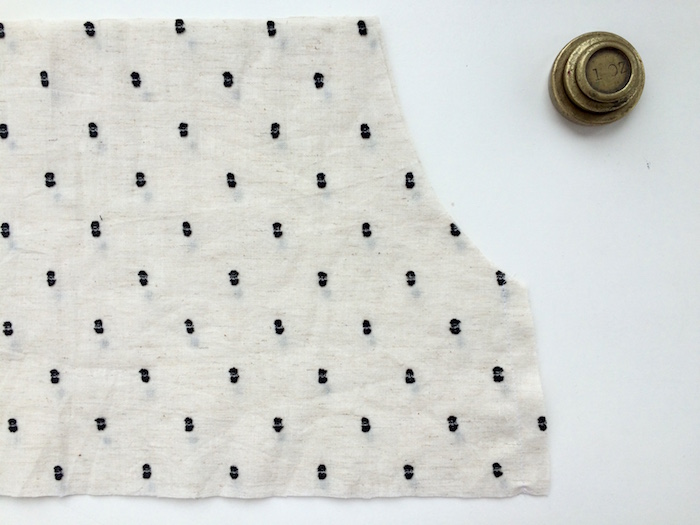
- From the striped shirt you will need the patchwork bib pieces / bias strips to finish the armholes and neck.
Prepare the shirts – I removed the sleeves and cuffs and cut the side seams to give me the biggest area of fabric to work with. 
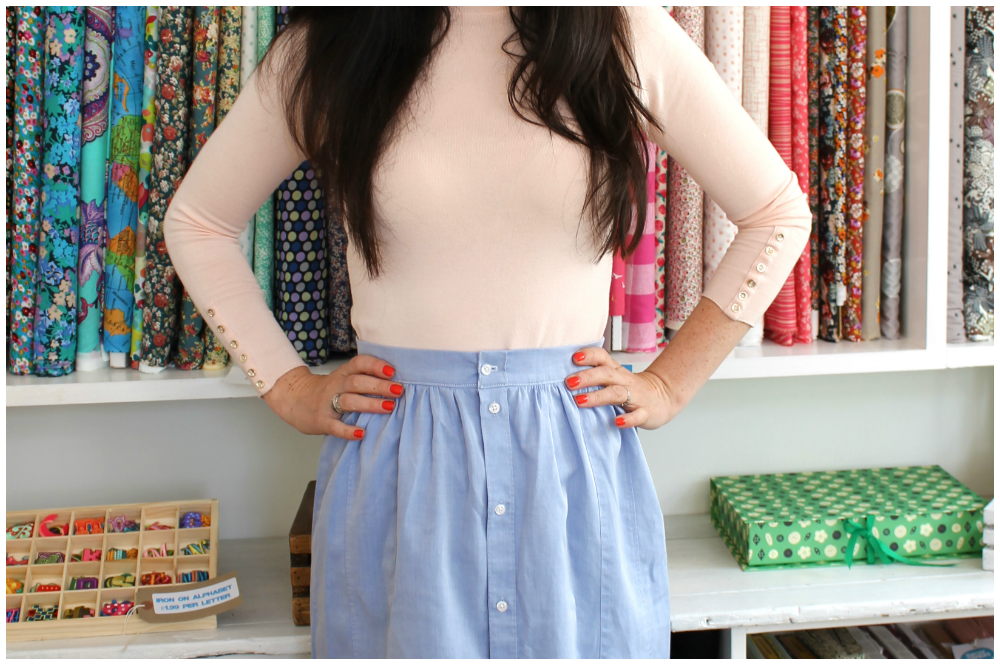
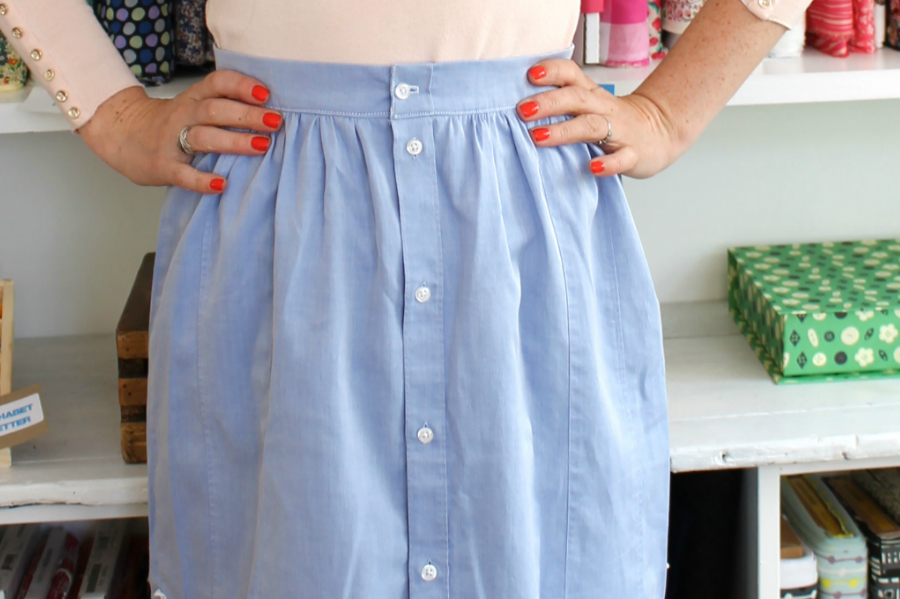
Patchwork together pieces from the white shirts until you have enough new “fabric†to cut the dress front and back. 
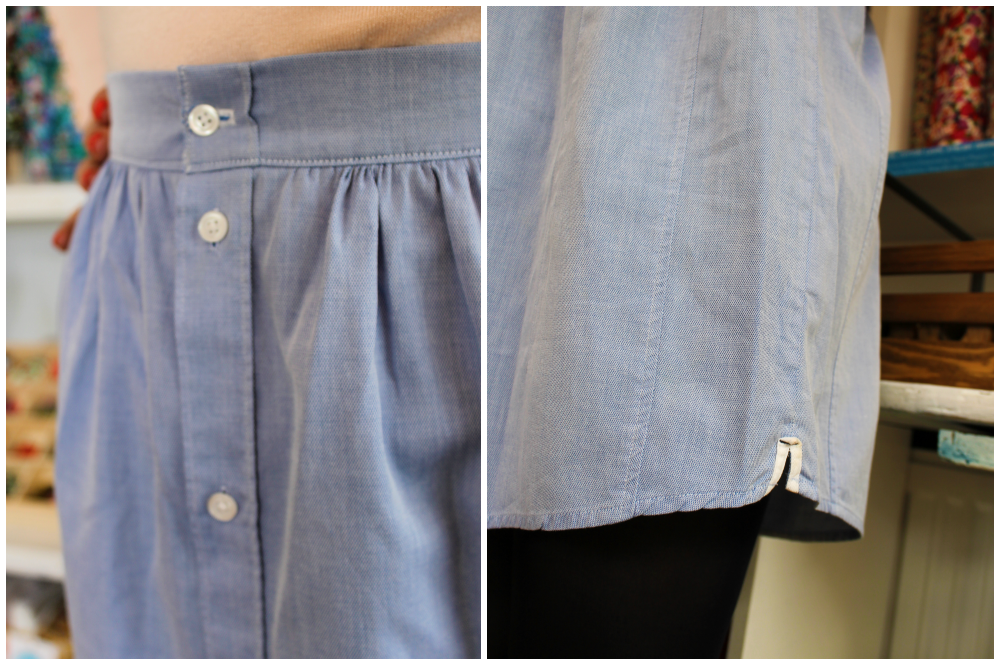
A certain amount of “interpreting†of the pattern is ok here! As you can see I decided to make mine longer than my pattern so I could keep the original shirt hem. I’ve also placed the centre front of the pattern along the button stand.
Cut the patchwork bib sections very carefully noting stripe directions and mark the notches and dots accurately. 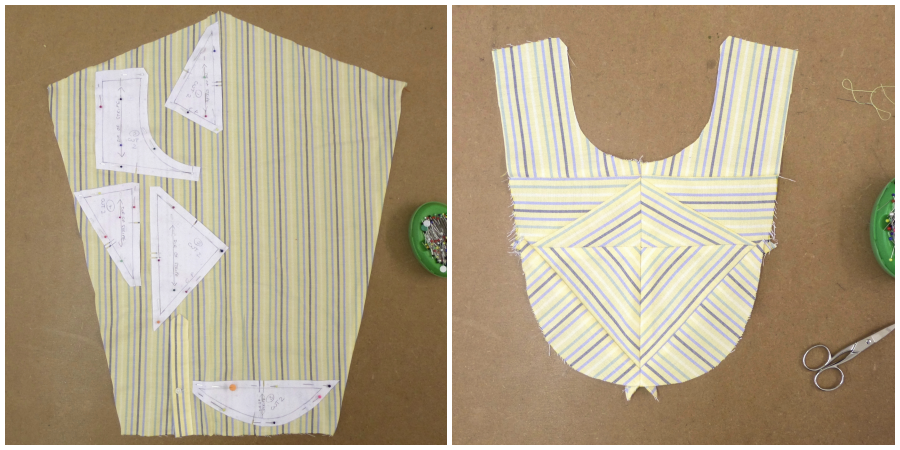
Putting it together:
Prepare the bib:
Join all the patchwork sections carefully, making sure the notches and dots match exactly. (above)
Interface the lining bib that you cut from the white shirt.Tack the 2 bib sections together with the wrong sides touching. 
Neaten the edges of the bib.
Attach the bib:
Time to attach the bib to the dress front!  As this seam involves joining two opposite shaped curves a lot of pins will be required. Match the ends of the seam, the centres and the notches. Then work your way around in between, pinning at right angles on the seam line so that the pieces will fit. 
 I then tacked this seam, again on the seamline.  Trust me it makes the machining easier! Machine carefully with the dress layer on top.
Clip the curves of the dress layer only and press the seam away from the bib, towards the dress.
Topstitch the seam in place on the dress side of the seam. Use an edgestitch foot if you have one, it will make it much easier to keep your stitching an even distance from the seamline. 
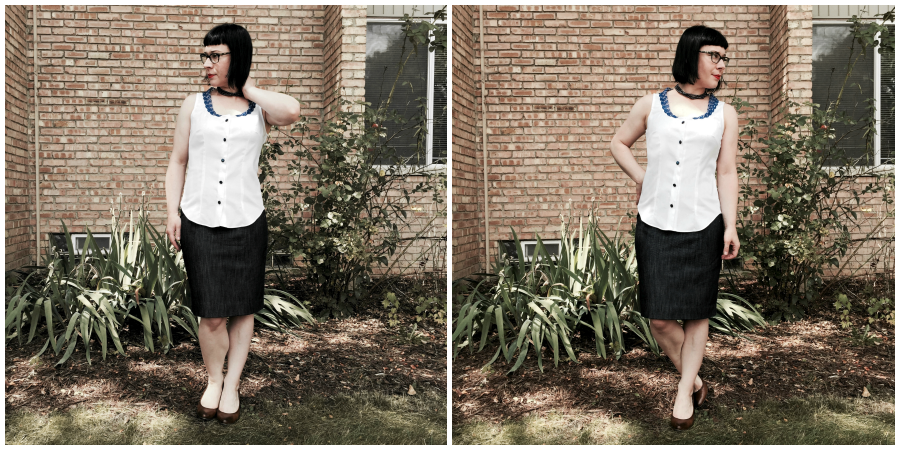
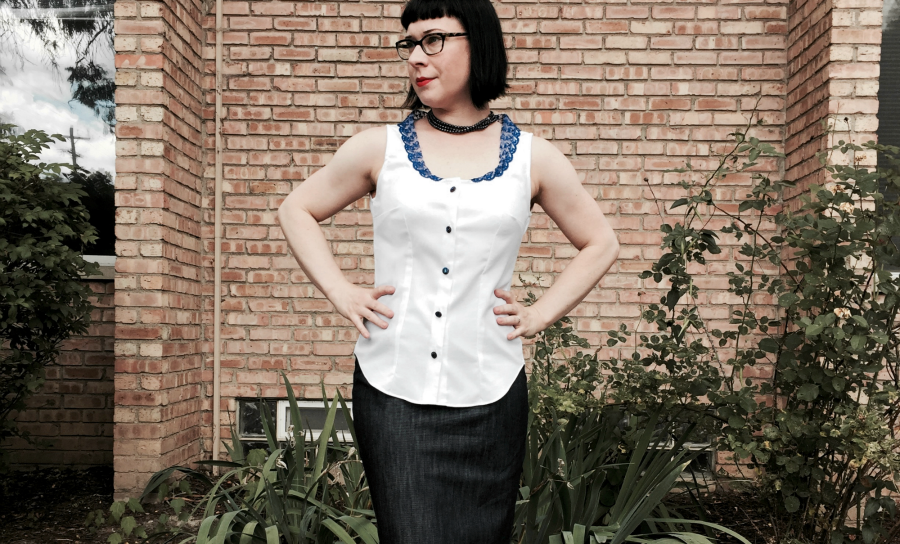
Great work, the bib is in! 
Assemble the dress:
Join the shoulders and side seams and neaten the seams.
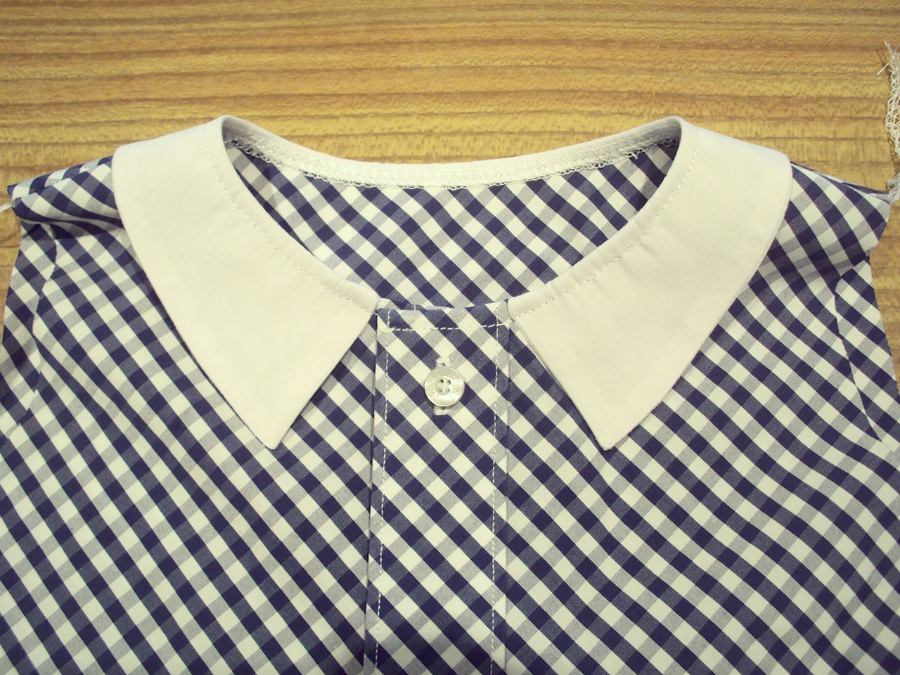
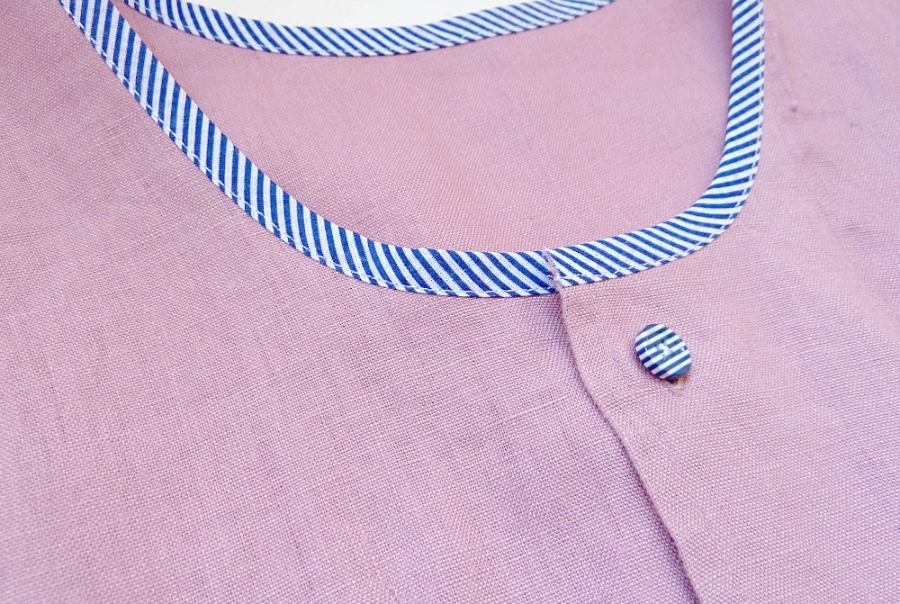
Finish neck and armholes:
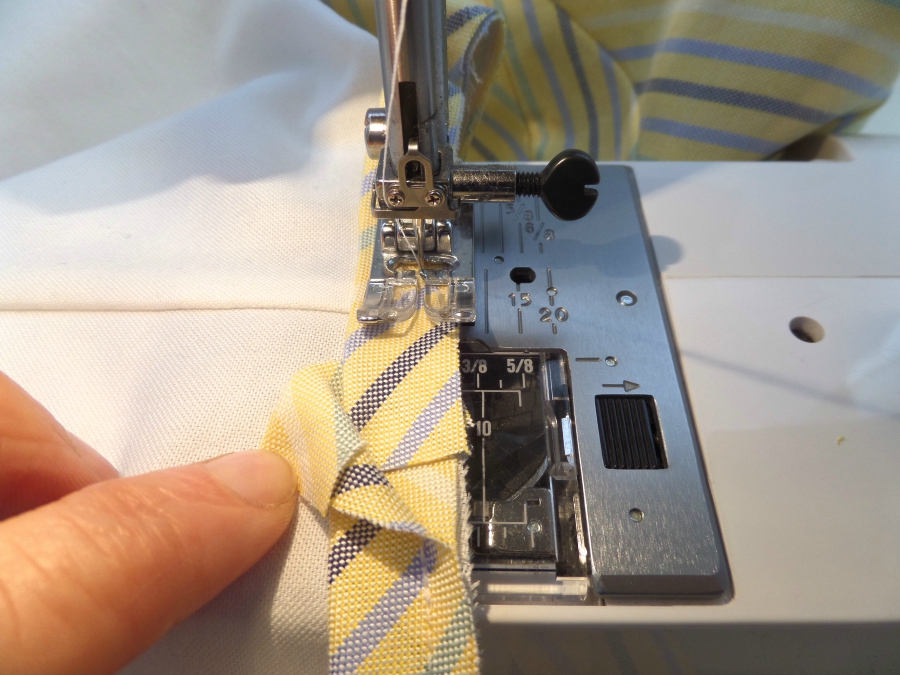
Cut some 3cm wide bias strips from the shirt fabric that you have left over. Fold the strips in half along the length with the wrong sides touching and press. Tuck in one short end towards the wrong side. 
Starting with the tucked in end, place the binding to the right side of the neck with the 3 cut edges level. Pin the binding in place around the neck. 
Machine with a 0.5cm seam allowance, start your machining just after the tucked-in end.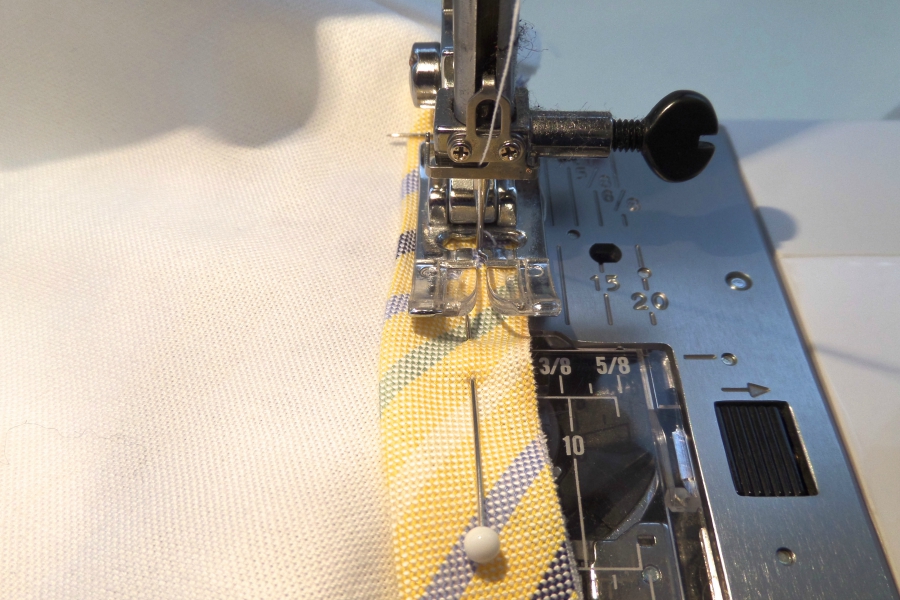

When you get back around to the start of the binding, tuck the binding inside the tucked-in end. 
Clip the seam allowances around the curves, press them towards the binding and turn the binding around to the inside of the garment, just beyond the seam you’ve just machined. 
Tack close to the loose folded edge of the binding and then machine in place.
Finish the armholes in the same way.
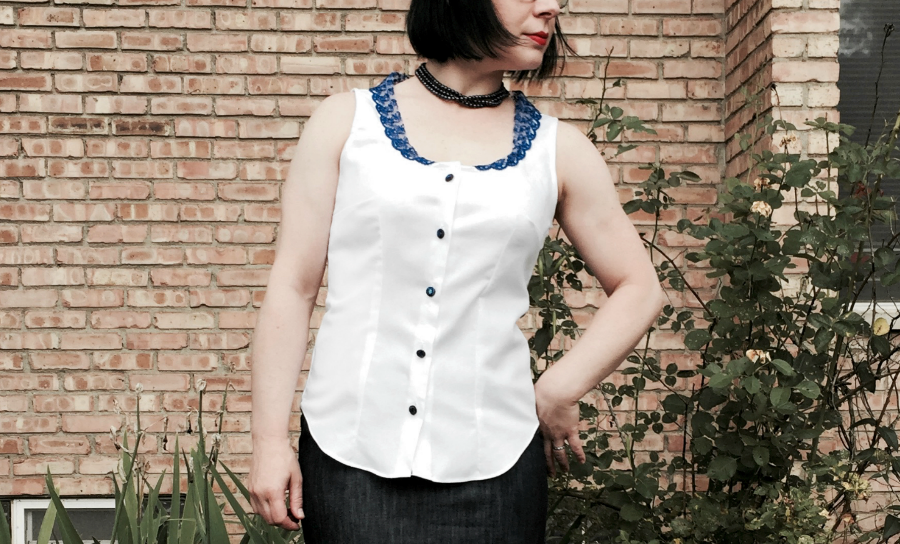
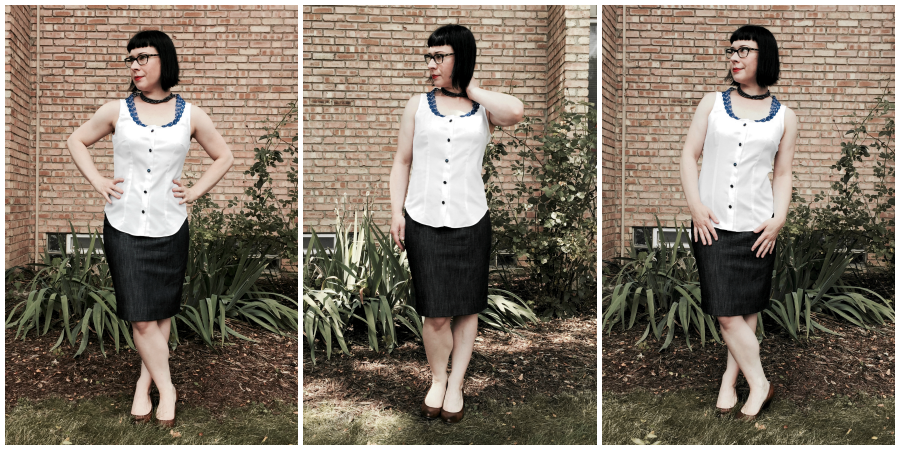
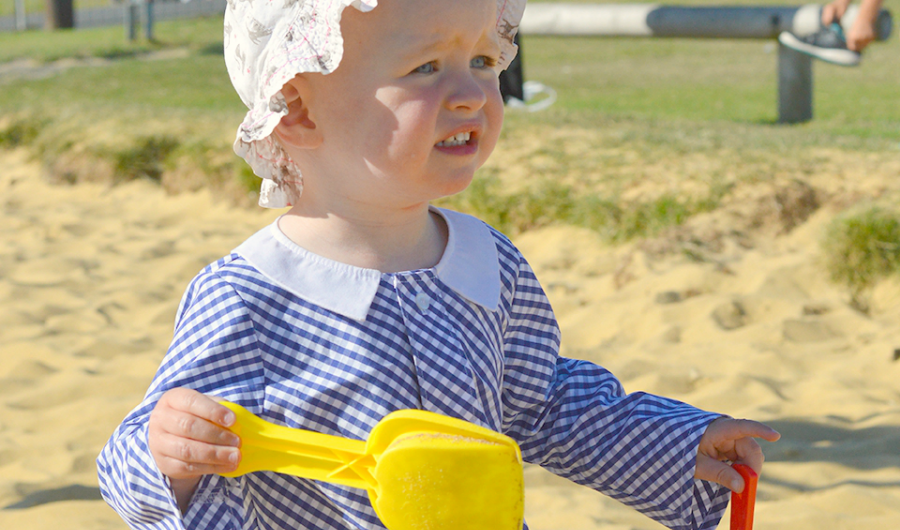
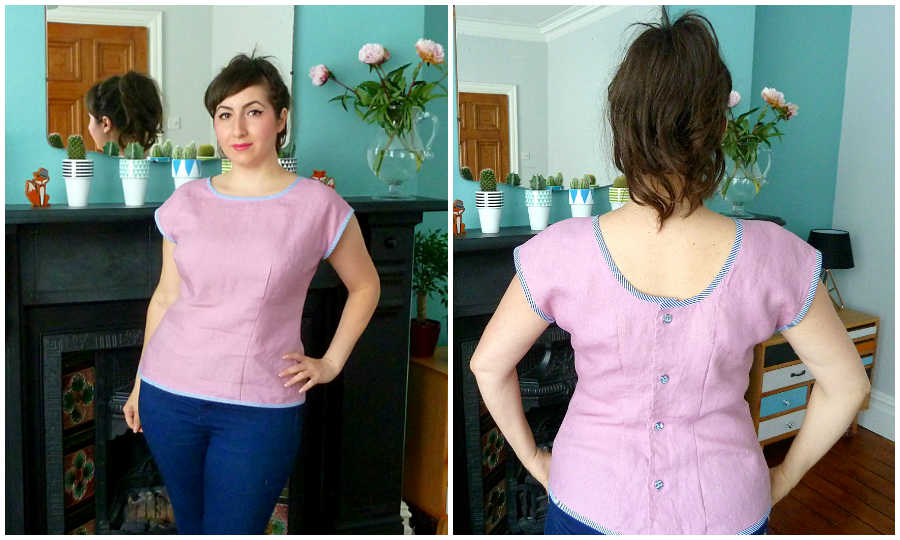
Press, wear, enjoy and be proud!


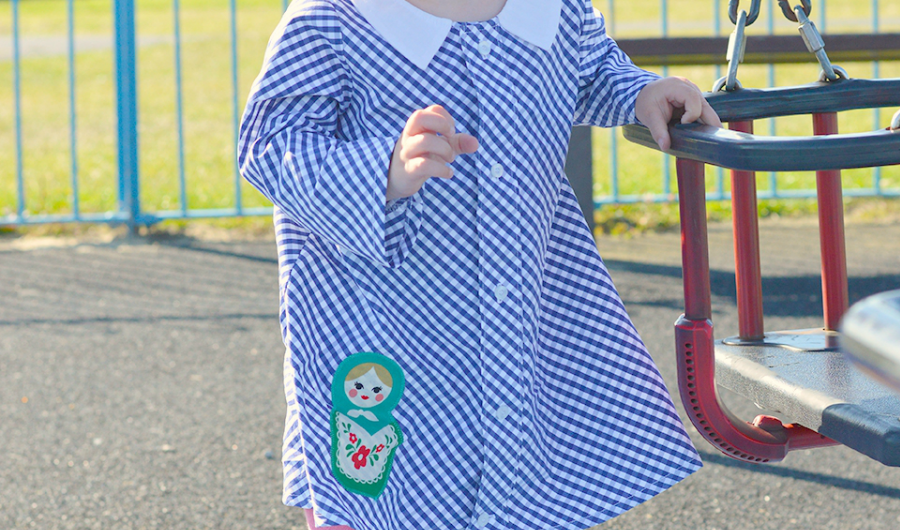
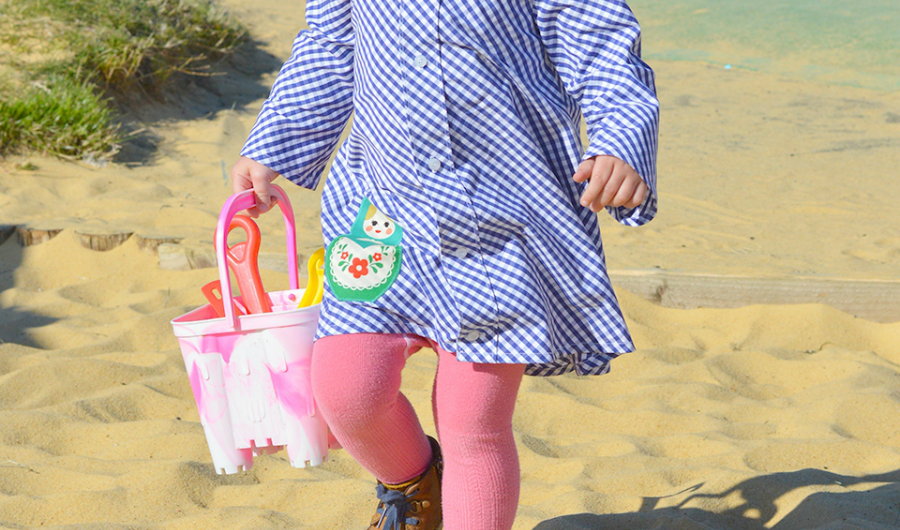
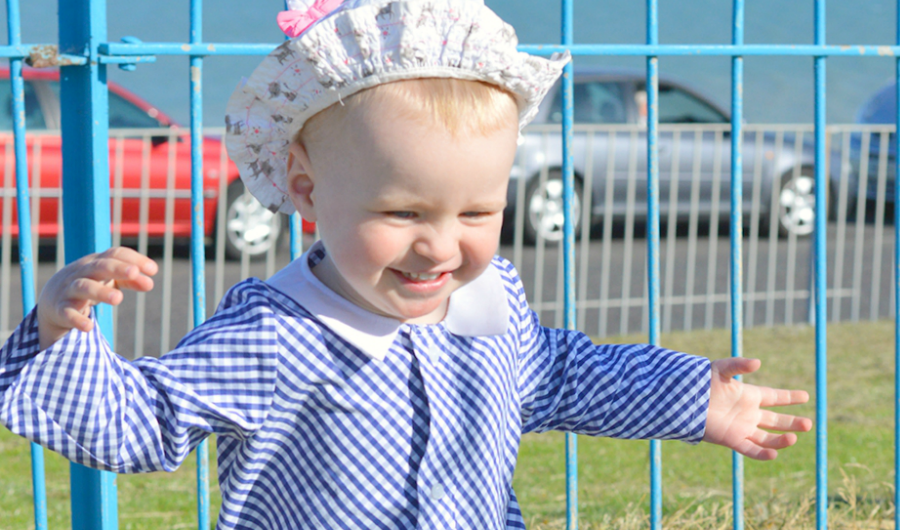
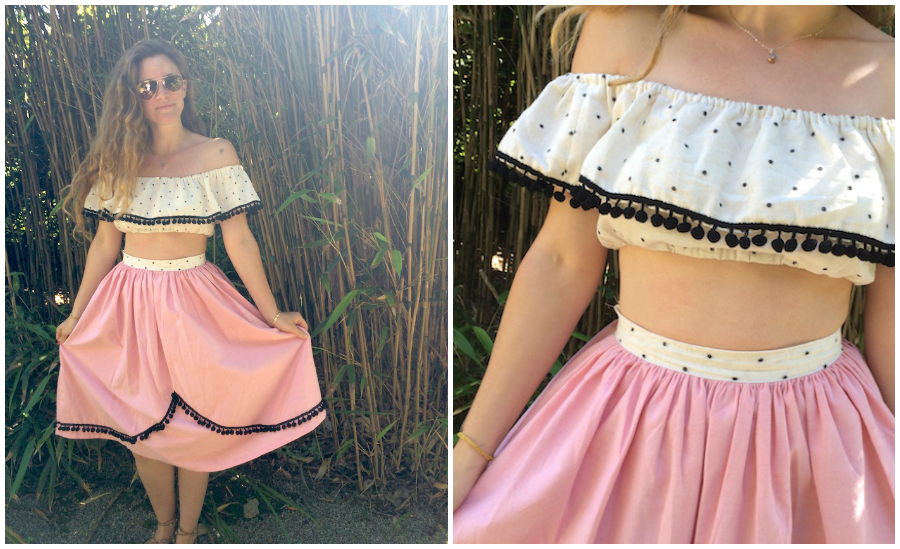
Wow! Well THAT was pretty epic right?! Soooo much work has gone into this Wendy! Thank you so much. I adore the bib effect detail and let’s face it….who doesn’t adore a bit of directional stripe play?!  Incorporating quilting techniques and “piecing” fabric from a shirt is a great way of getting the maximum amount of yardage from your shirt. (look not only at the decorative bib on Wendy’s refashion…but also at the dress front and back…yep….also pieced! Combining smaller pieces to create a more usable/sizeable piece of fabric and the seaming involved creates added interest and texture too. I played around with this method in a much more simplistic way for my recent article for Simply Sewing Magazine (You can see the results in the cover image in my side bar). There are 2 methods of achieving this effect. Wendy takes the pattern cutters route by drawing her design onto an existing pattern piece then splicing it up along her design lines, adding seam allowances, then reassembling. It’s precise, accurate, and let’s face it…pretty impressive! I, on the other hand, am untrained. And my brain approaches this piecing idea in a different order. In my project for the last series of The Refashioners (and the shirt refashion for the mag) I piece my fabric together to FIRST form a larger flat piece of fabric. THEN cut the pattern piece from it. It’s my arse about face way of doing things! But both methods work and each will work for different people. If you like precision and detail…or…if you lean more towards a simplistic approach. Piecing your shirt pieces using quilt block techniques is a useful and fun approach to shirt refashions. Both in terms of practicality and decorative effect!
You can find Wendy  here and shop her pattern range here. She is a designer, teacher, pattern maker based in Brighton, and author of the awesome Beginners Guide to Dressmaking. And guess what….she’s adding a signed copy of her book to the prize package!!  Take a look at ALL the amazing prizes to be won as part of The Refashioners 2015 Community Challenge. And get involved for a chance to win!!! Grab a shirt and get refashioning! You have until Sunday 27th Sept to enter! Stay tuned for more inspiration throughout the WHOLE of August!