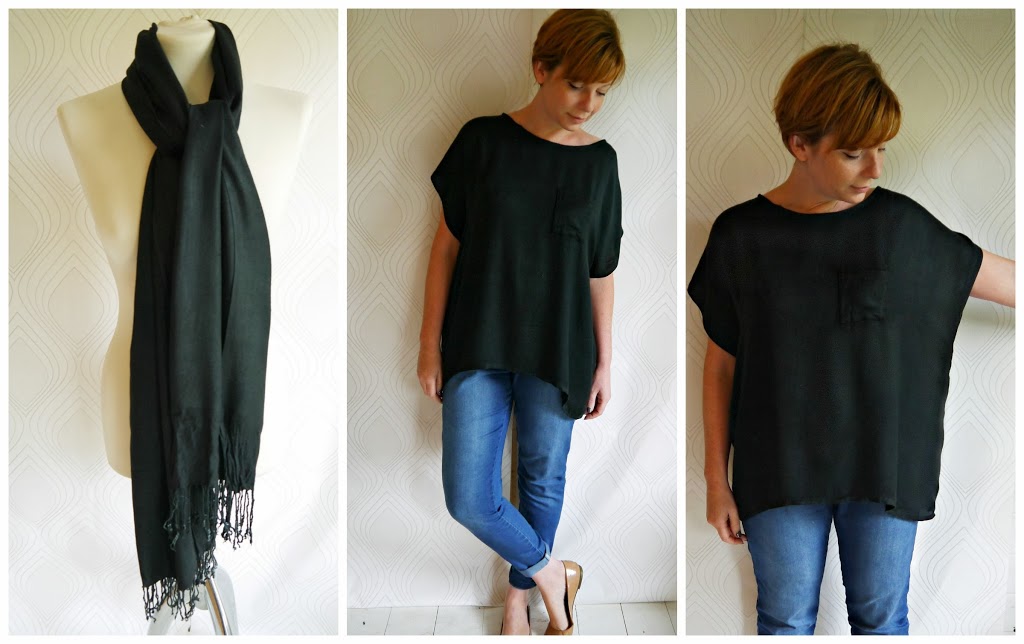
I think of the 3 pashmina refashions I posted about last week, THIS is my favourite! In a less drapey fabric, making a top that is essentially a huge square, could run the risk of swamping me and making me look huge. But because pashmina fabrics are generally so soft and drapey they fall really nicely and, unless you walk around with your arms held out to the side, you wouldn’t know it was just a simple square shape….
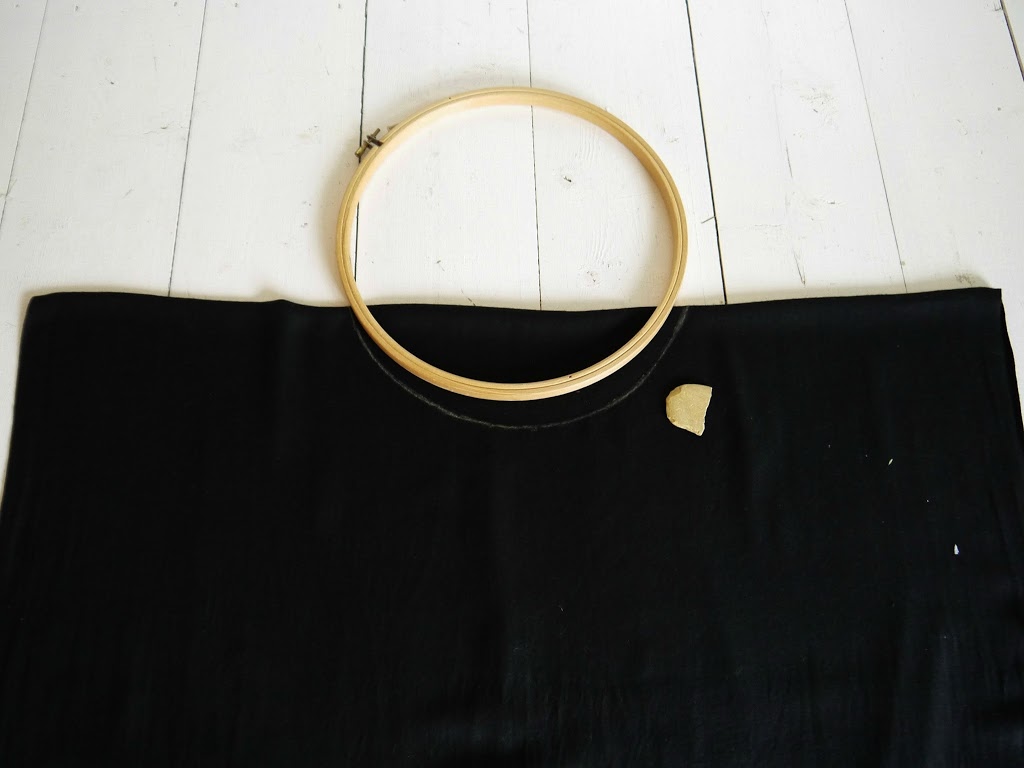
Essentially, I started by folding the pashmina in half, tassled ends together and folded edge at the top. (This photo is actually sideways on. So the folded edge is to your left) I’m using the full width of the pashmina to give me that really slouchy/drapey feel. So the selvedges of the pashmina will become my side seams. Because they are selvedges, I won’t need to hem the sleeves or finish the edges of the side seams. (Less work! Yay for that!) From the folded edge, I marked out the length I wanted + 3″ and cut the excess off from the tassled bottom end. (on the right in this photo). So I had basically, a rectangle of pashmina fabric, folded in half to make a square….

Ok, so now we’re looking at this the right way up. The folded edge along the top. I used an embroidery hoop centred on the folded edge, to trace my neck hole. (You could use an existing garment also, or anything round of the right size. Plate, bowl etc). The shape and size of your neck hole is basically down to personal preference and/or the size of your head! I’d suggest measuring a top you already have to get a rough idea of the dimensions….
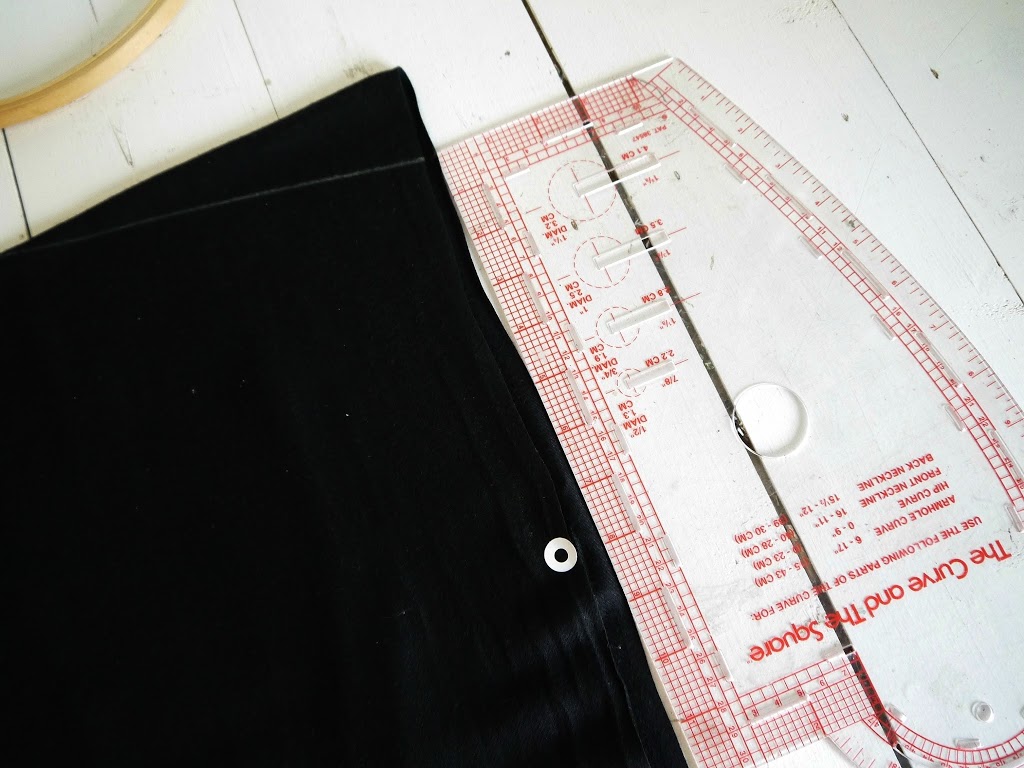
Mark a point 1.5″ – Â 2″ down (depending on how much of a slope you want in your shoulder) from the folded edge on each side/selvedge. Then join each side point to the edge of the neck hole you just marked to create your shoulder lines….

Mark down from your new shoulder line, where you want your armhole opening to finish. (I used my trusty hole reinforcers to avoid marking this part with chalk). Again, measure an existing garment to get an idea of the size armhole you need. My finished armhole is about 8″. Don’t forget to take account of seam allowances. I moved this dot down another inch after this photo was taken because I forgot to add SA initially…You can always err on the side of caution and mark them quite large, then sew up the side seams a bit more if you want the openings a bit smaller after you’ve tried it on…
Cut along the shoulder and neck lines you marked. You now have 2 pattern pieces,with selvedges running down the side….

Construction is as follows:
1. Sew shoulder seams, press open, finish raw edges.
2. Finish neckline using bias tape as a facing. Good tute here or here.
3. Sew side seams from the armhole dots, down to the hem. (no need to finish any raw edges as they’re selvedges!)
4. Hem, and you’re done!
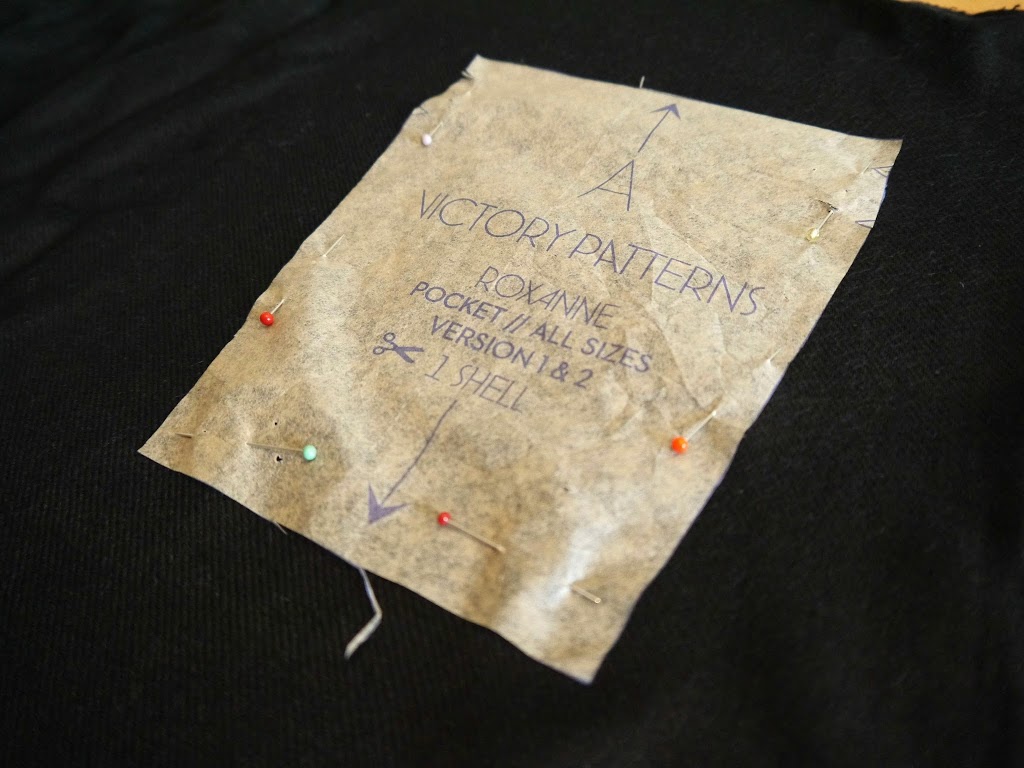
Oh, and I added a patch pocket from my Roxanne pattern just as a finishing touch….
Because of the way this particular make hangs when it’s worn, (mostly due to my “ladies”!) it naturally forms a high/low hem…..
TIP: Pashmina  fabric frays like hell. So work quickly and finish any raw edges quickly and securely. Possibly even before you begin constructing.
TIP: Check  fabric content/label.  Pashminas often contain wool/cashmere etc and may shrink in a tumble dryer. This black one did shrink a little in length after the first wash.
TIP: Use the correct needle for the weight of fabric. Pashmina fabric is suprisingly fine when laid out flat. I used a “sharps 60”
TIP: Use a walking foot. Pashmina fabric is not only surprisingly fine, it also has a relatively loose weave. The walking foot ensures the layers are pulled through at an even rate and not distorted.
So, what do you think? Are you gonna give this a try? I’d love to see them if you do! I shall certainly be on the lookout for some more pashminas to make some more of these! Soooooooo comfy….