Hot Hot Shorty Shorts
You know, I’ve refashioned hundreds of garments, but this is the first time I’ve ever given full reign to someone else and let them choose the starting point. This is mildly terrifying, because you have no idea what might pop up in your mailbox, not to mention you can’t shove it in the garbage can and pretend it never happened should something go terribly wrong (oh yes, I do this. Often. No shame.).
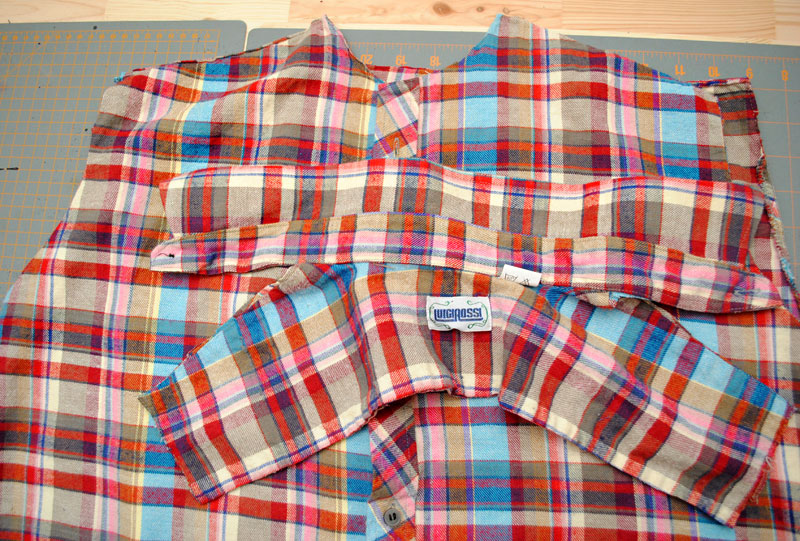
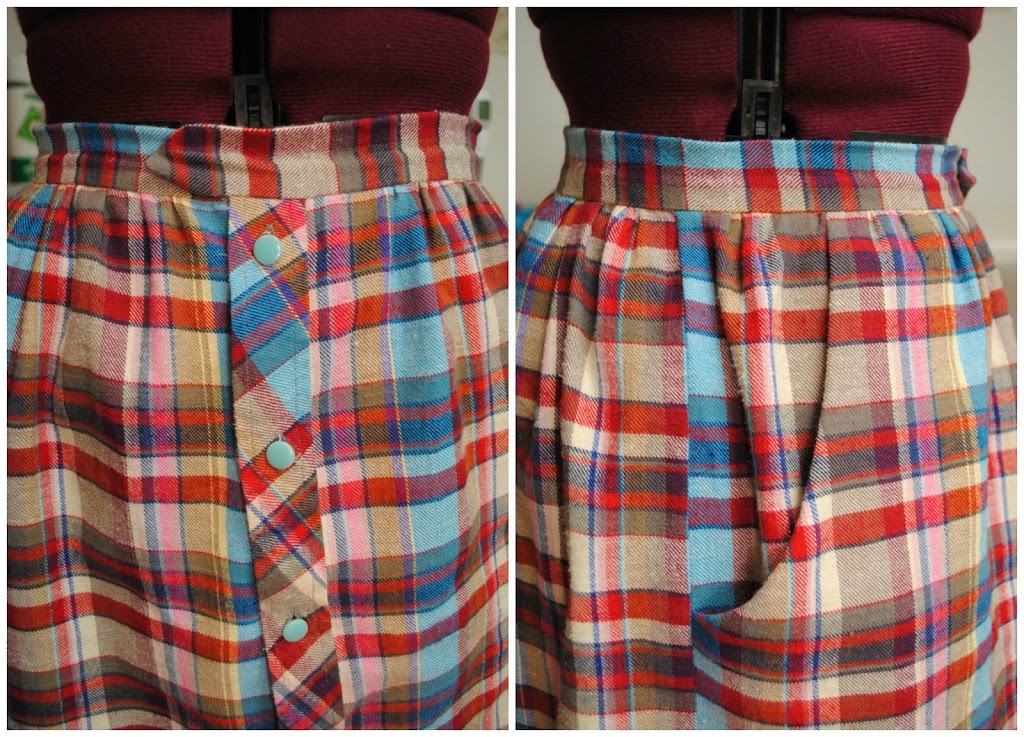
This is what ended up in my mailbox – a large pencil skirt in my favorite shade of Nard-Dog orange. After hearing everyone else talk about how evil and sneaky Portia was with what she sent (I was one of the last people to receive my package, figures!), I was actually pretty relieved!
I would have loved to put this thing on and model it for y’all, but srsly that shit was so big I could literally pull it over my shoulders without unzipping the zipper. I had to pin it to my form to keep it from falling off.
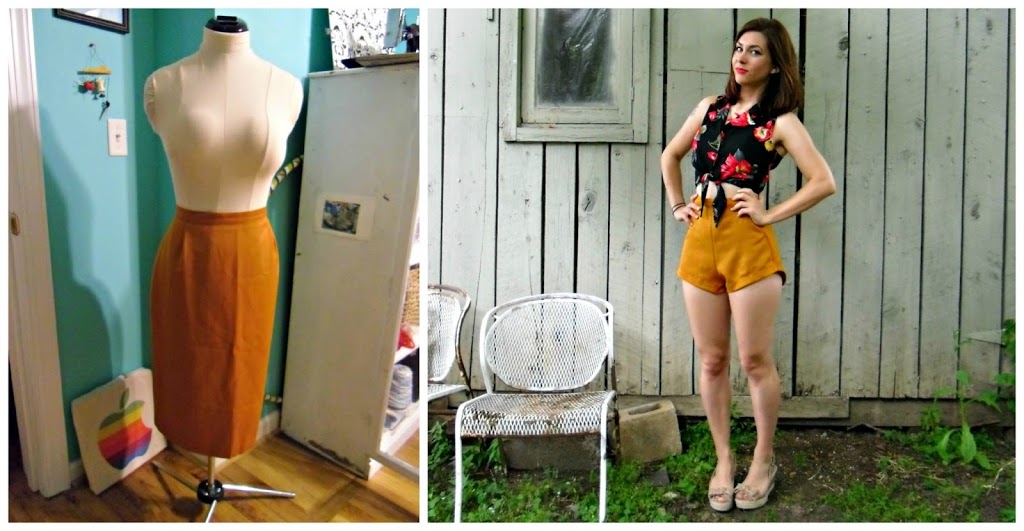
I knew exactly what I wanted to make the minute I pulled it out of the package – pin-up style shorty shorts, using the Rite of Spring shorts pattern from Papercut Patterns. Saucy!
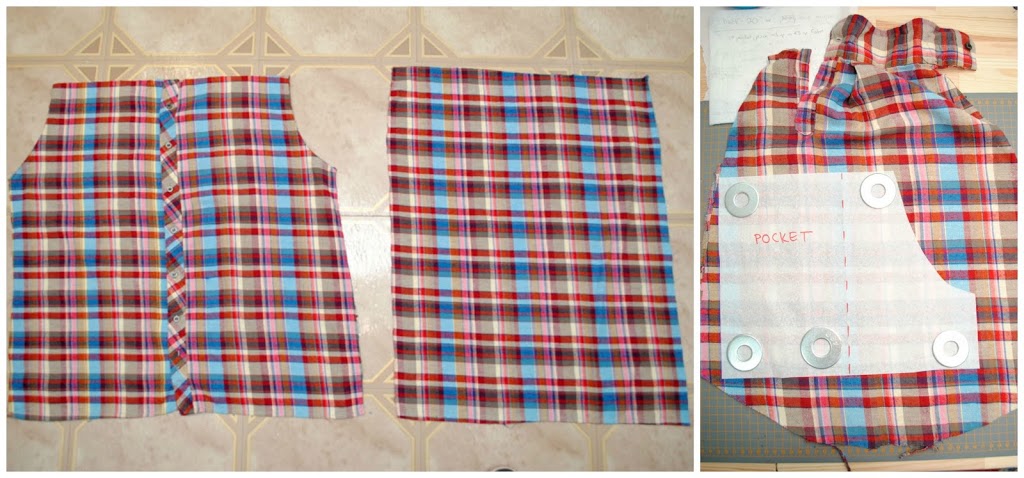
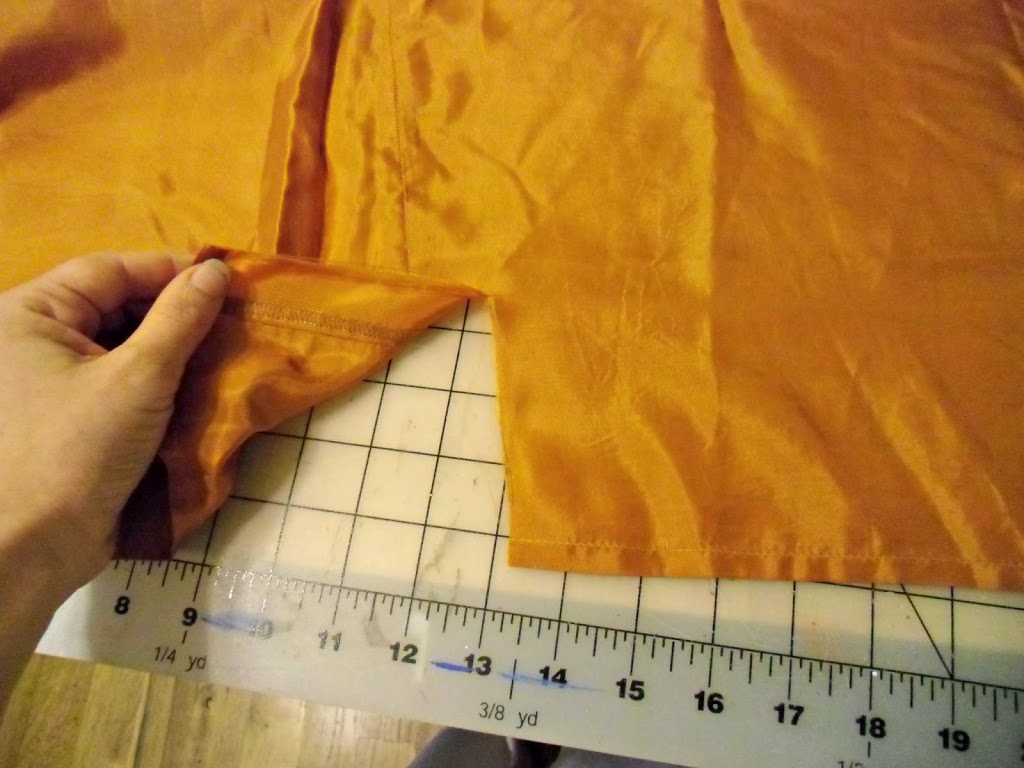
The very first thing I did was rip the entire skirt apart. The fabric is actually a really lovely cotton sateen, lined with some polyester lining in a slightly darker shade of orange. I pulled the seams apart, ripped out the hem, and ironed everything flat.
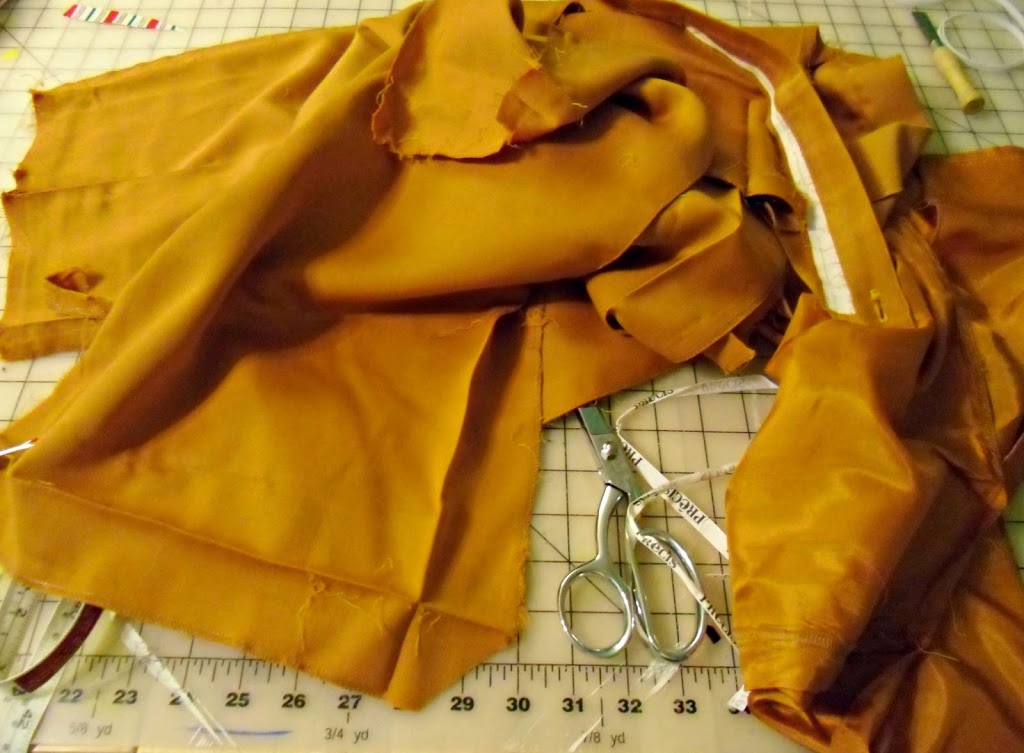
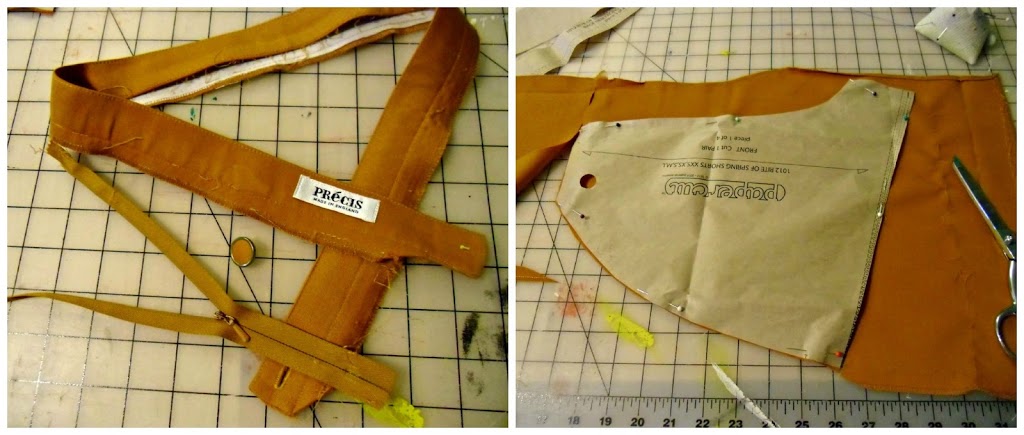
I saved the zipper and the button, as well as kept the waistband intact. The pieces were juuuust big enough where I could fit my pattern pieces on, cutting one layer at a time…
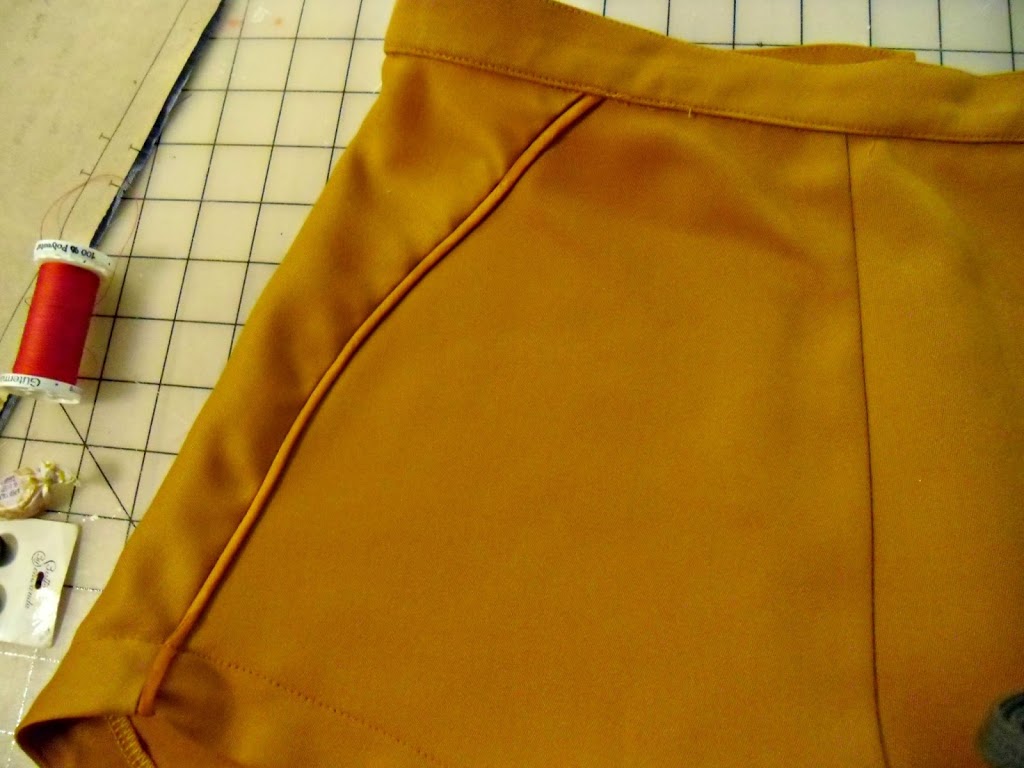
In true refashioner’s form, I decided to utilize the lining as well – and turned it into bias piping!
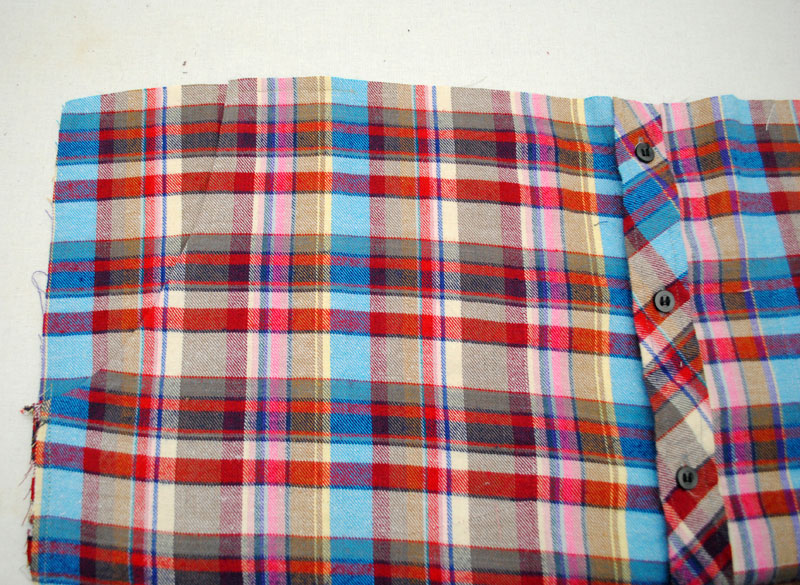
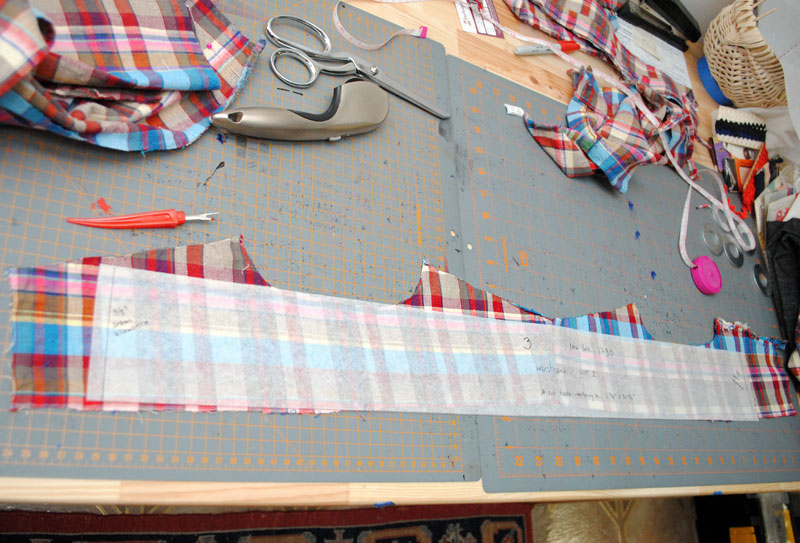
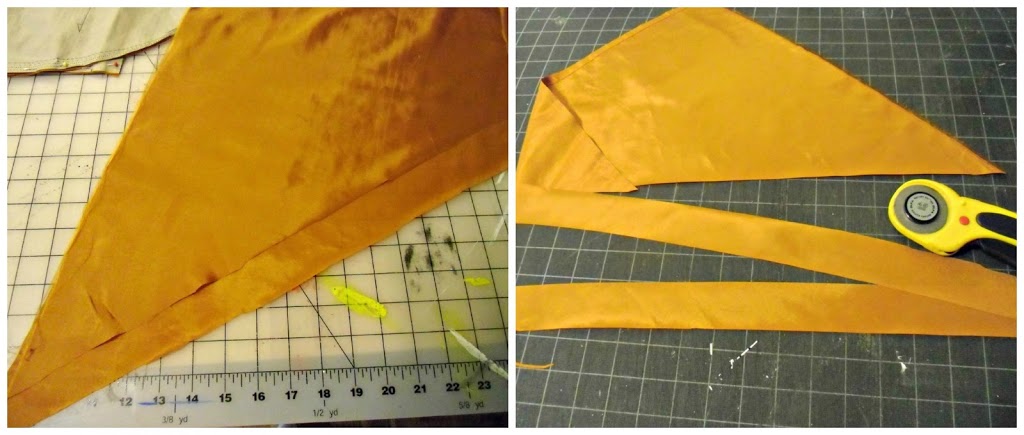
First, I established a straight edge by giving one side of the fabric a good rip. Determining the straight edge makes it easy to find the bias – just fold the edge over to form a triangle, then cut.
The resulting angle is right along the bias, making it easy to cut your bias strips.
(No, my cutting mat didn’t magically turn black – that’s just my self-healing mat. Apparently, rotary cutters are 100000x easier to use when you have a self-healing mat WHO WOULDA THOUGHT)
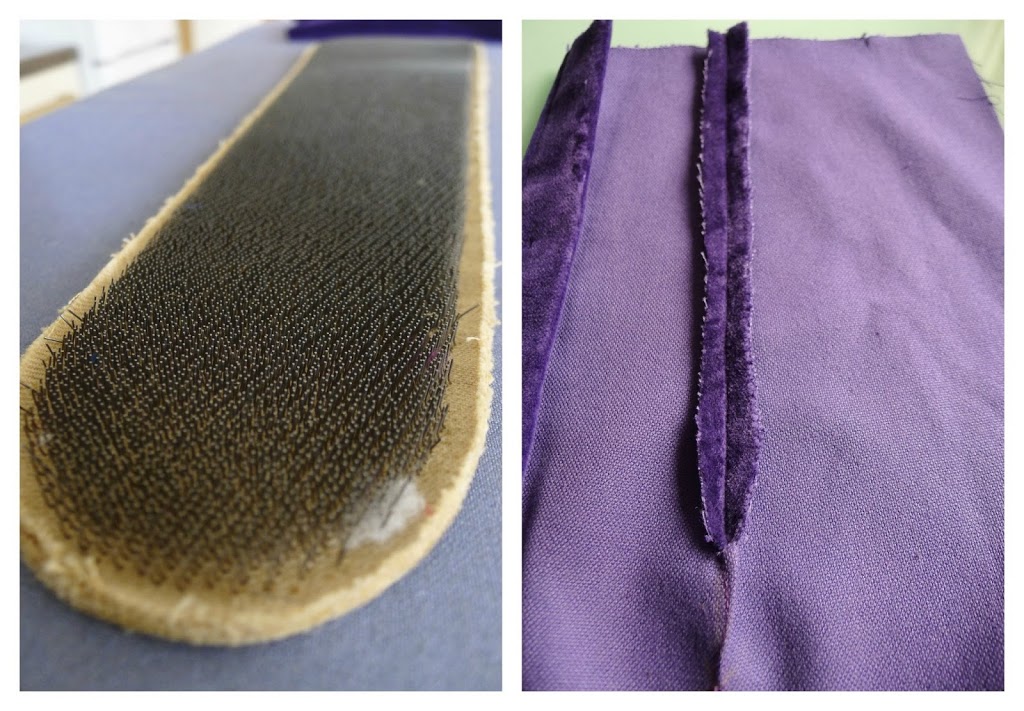
To make the piping, I folded one bias strip around a piece of cording. Then sewed it shut, using a long basting stitch.
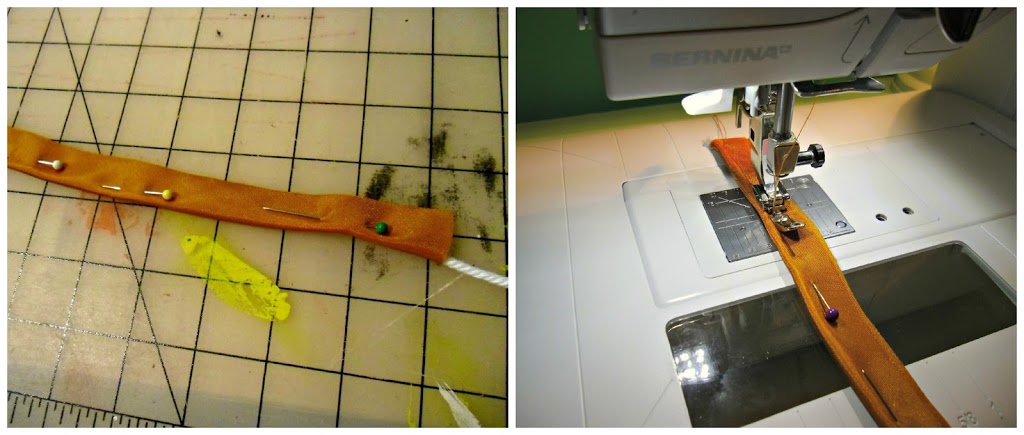
I used my zipper foot to baste the piping along the edge of the fabric. When sewing the front and back pieces together, I made sure to sew just barely outside the existing stitching to be sure that everything was nice and enclosed.Â
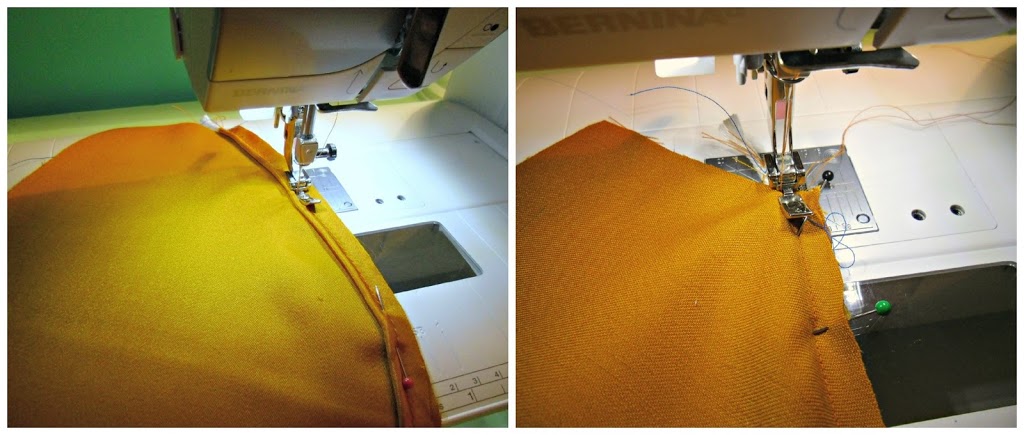
Et voilà ! Piping!
There’s not much else to say about the construction of these shorts… I basically just followed the pattern and treated my pieces like plain ol’ fabric. I did reuse the skirt waistband, instead of cutting/interfacing/sewing a new one… partially out of laziness, partially because I wanted to keep some of the ~flavor of the original garment.  I also reused the button and the zipper! Can you believe the zipper was EXACTLY the right length? Fate, y’all. Fate.The shitty non-fate part was when I cut off the end of the waistband with the button hole (since it needed to be shortened by several inches), thinking, “I can make a prettier button hole with my machine.†Spoiler: It’s not prettier, I done goofed that one. But it works!
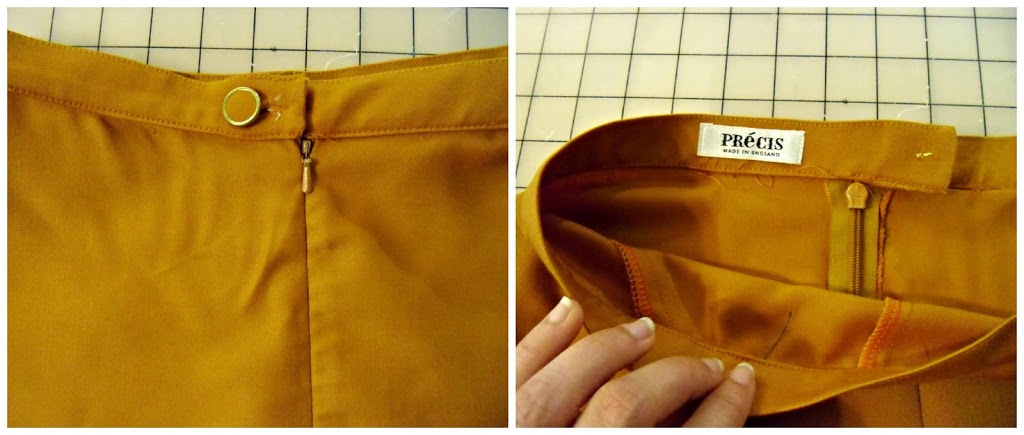
One thing I like to do with my refashions is keep the original label on the garment. It cracks me up to think that someone might see these shorts and be familiar with this brand, and wonder why the hell they produced a single pair of booty shorts. HAHA.
Speaking of booty shorts…

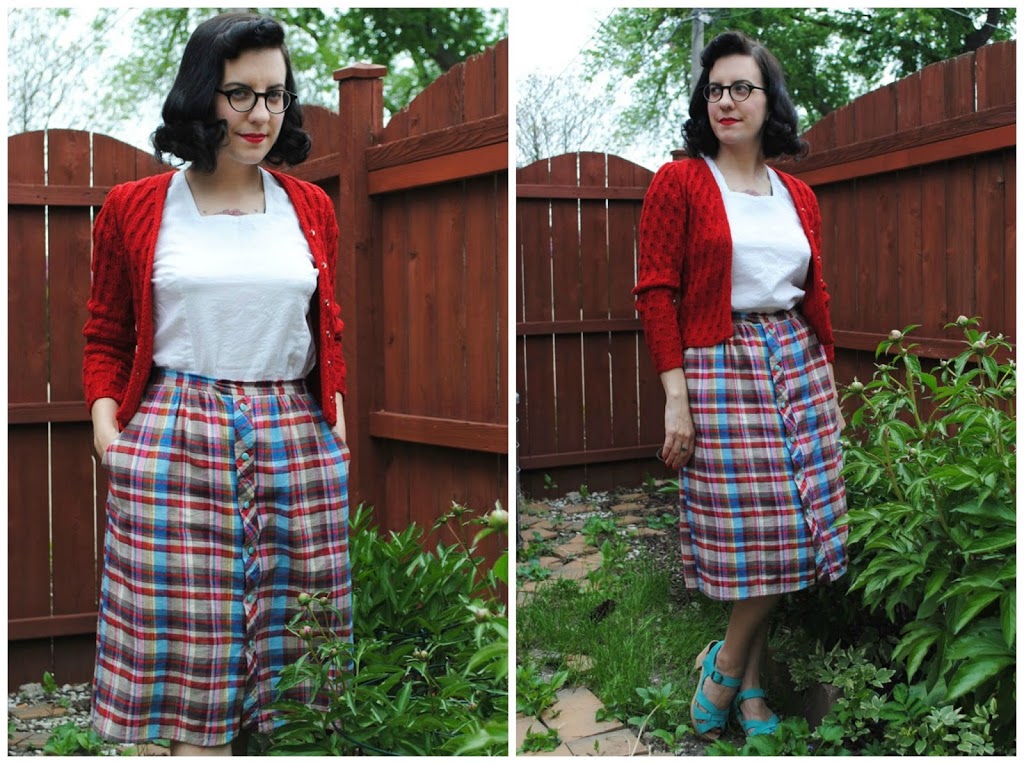
Well, what do you think?? I would have loved to make a matching top – this one is thrifted, soooo close enough!Â

…but my time management tends to run either super-duper early, or at the last possible second. Guess which one this falls under? 😉
Ha, Portia is probably staring at these pictures thinking, “I’ve made a huge mistake.†(and you know, I should probably be thinking the same thing, with regards to SHINY COTTON SATEEN ON MY ASS, WHAT WAS I THINKING), but this is what happens when you give me free reign to make whatever I want. I end up half-naked in a pair of booty shorts :B

I had a lot of fun with this project! Letting someone else choose the refashion definitely pushed me out of my comfort zone, and coaxed me to try new things (like utilizing the rest of the skirt – the lining, the button, the zipper, even the waistband – instead of *just* using the main fabric). I love my shorty shorts and I’m excited to wear them out all summer – maybe even to the Hot Chicken Festival? They are the color of hot chicken, after all J